


Transforming your child’s nursery into a magical space is a delightful yet sometimes challenging task. One of the easiest and most effective ways to inject colour, character, and charm into the room is by adorning the walls with nursery stickers. In this guide, we’ll walk you through the process step by step, ensuring that each sticker is applied seamlessly, looking as if painted on by the gentle hands of a professional artist.
Before you start, ensure you have all the necessary supplies ready:
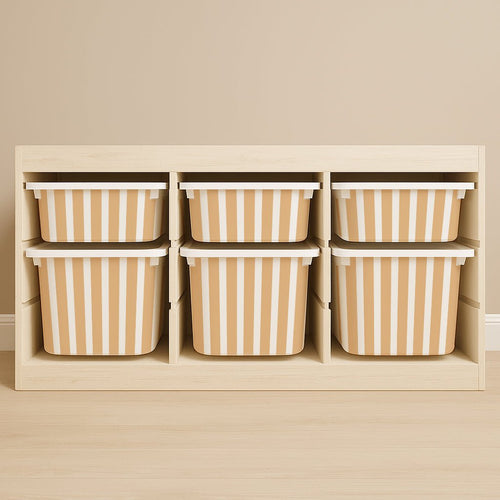
- Nursery wall stickers of your choice
- A clean, dry, and smooth wall surface
- A soft cloth or sponge for cleaning
- A level to ensure straight placement (optional)
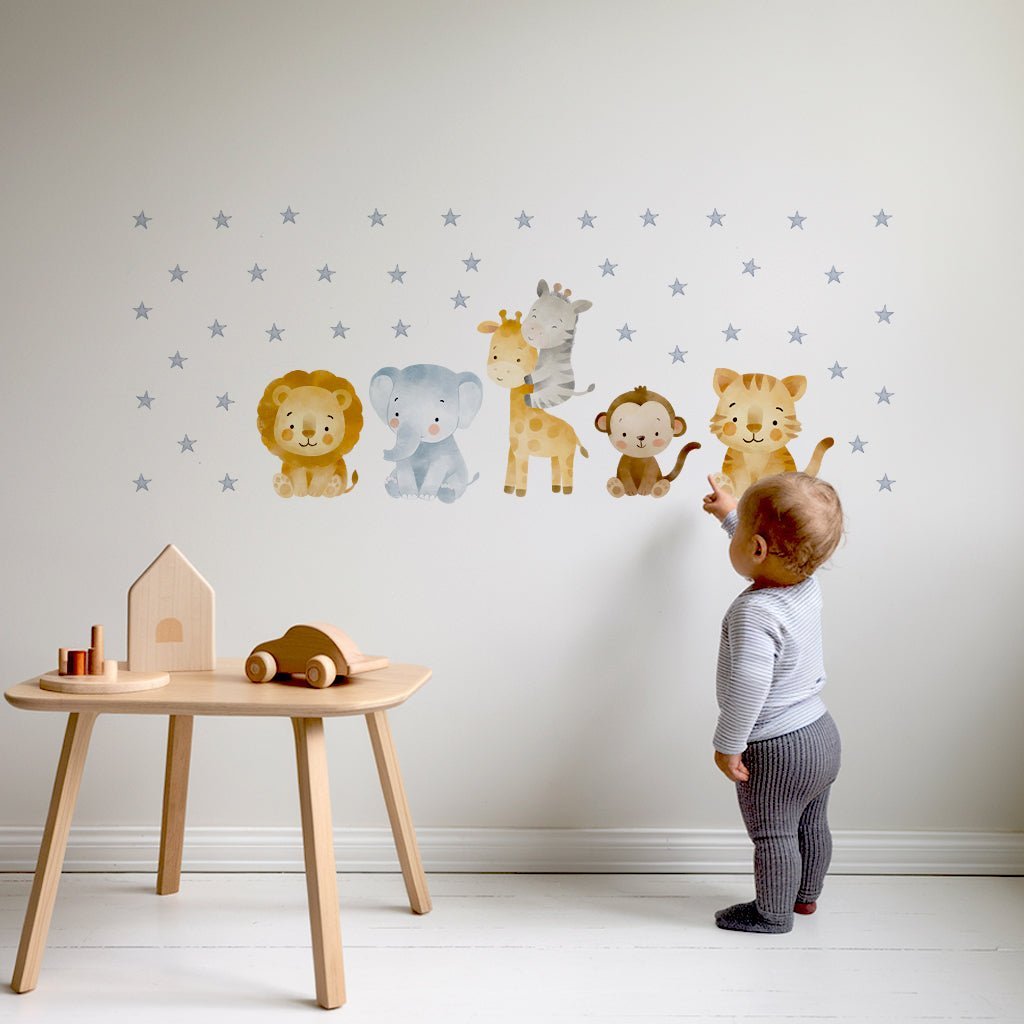
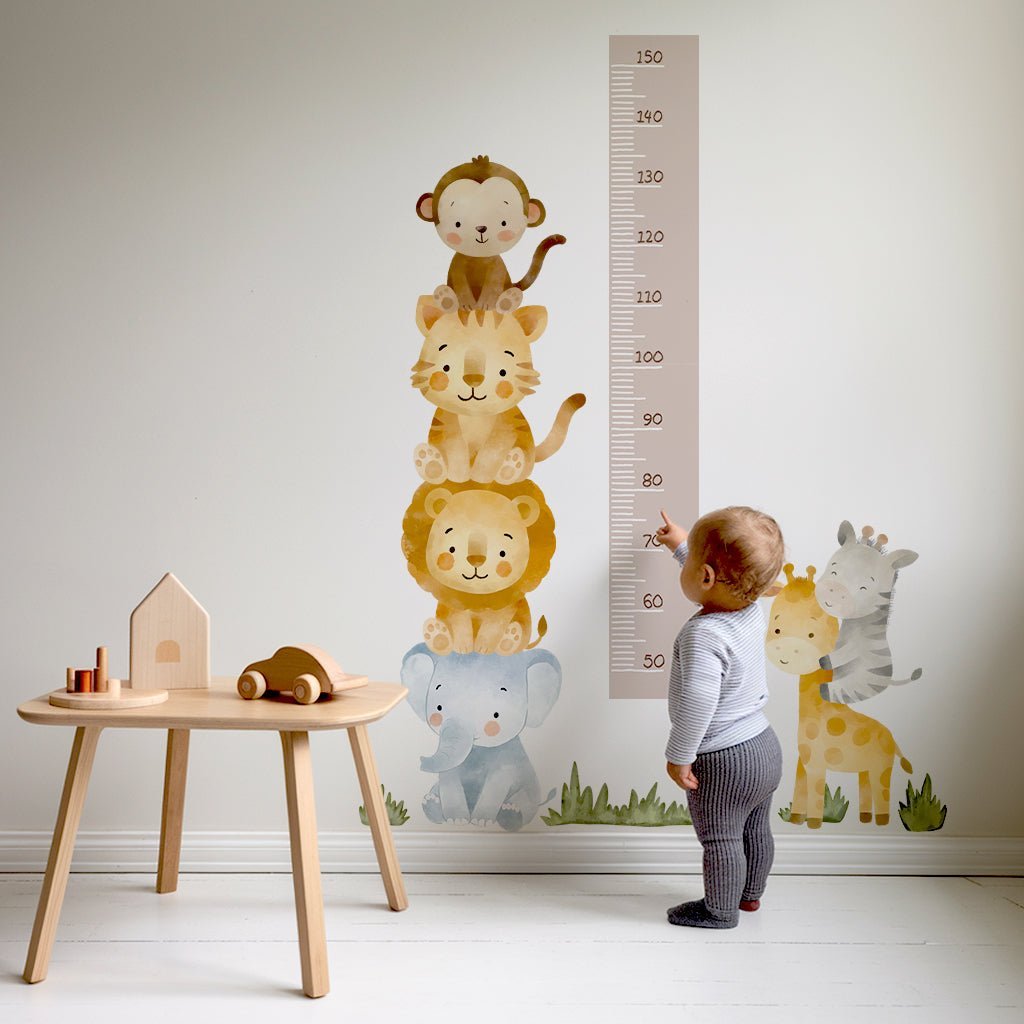
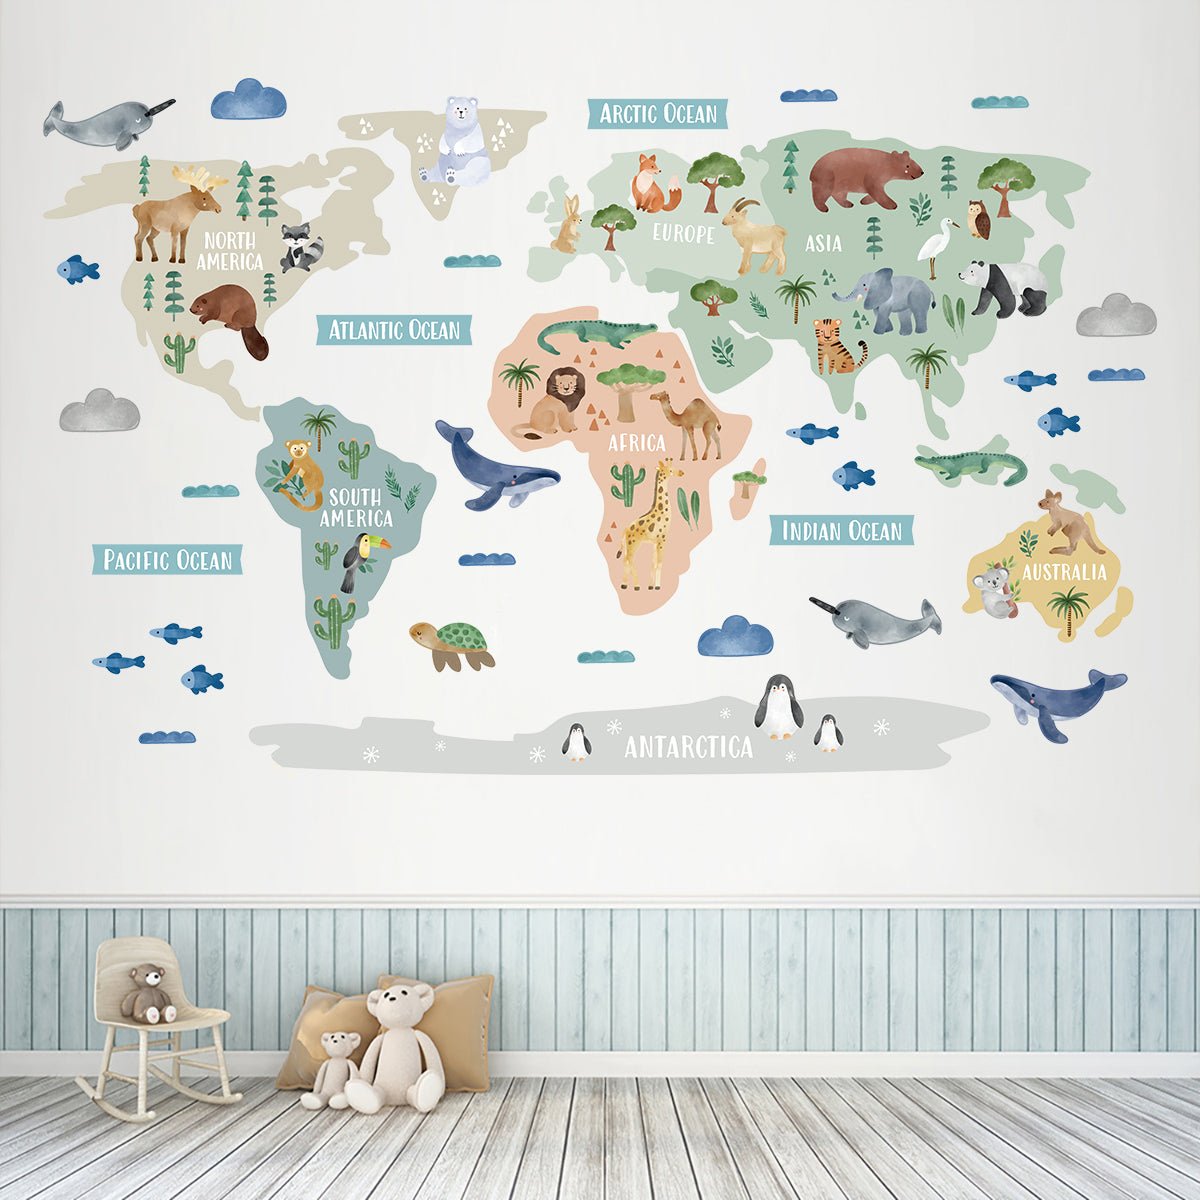
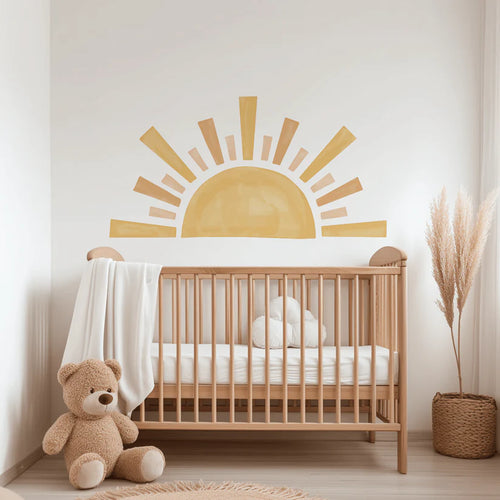
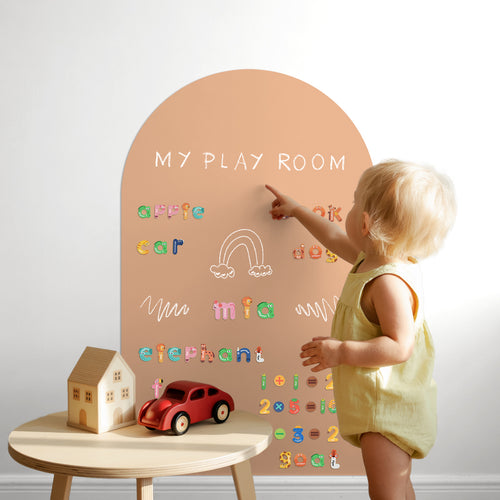
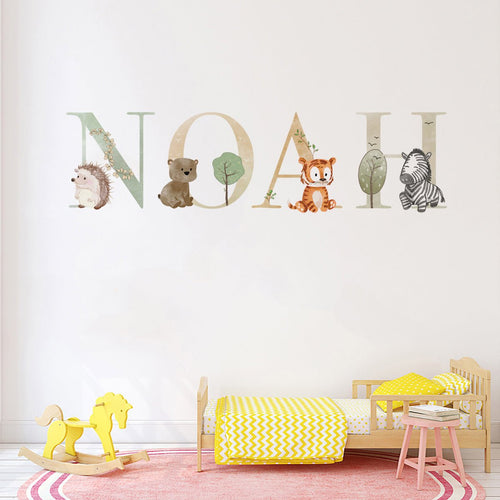
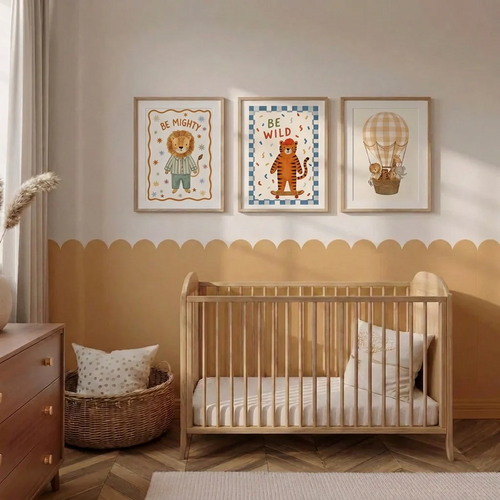
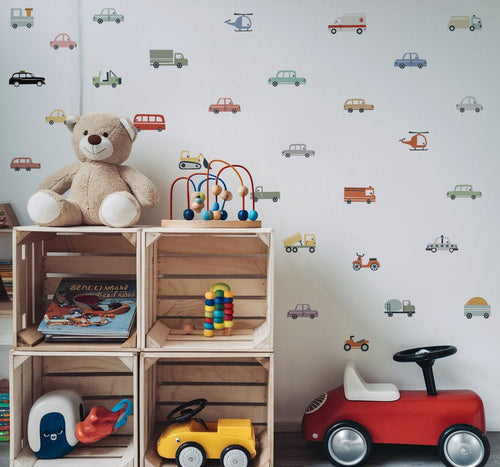
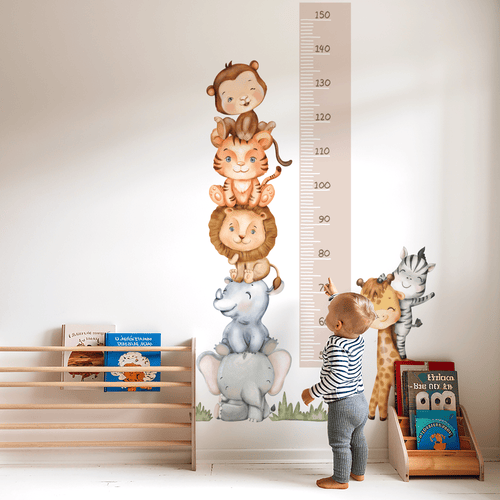
Step 1: Choose Your Nursery Stickers
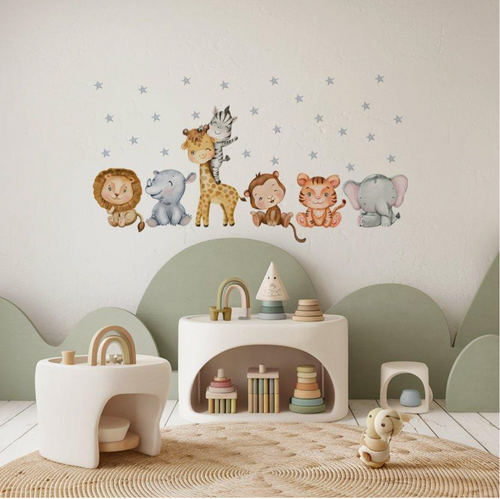
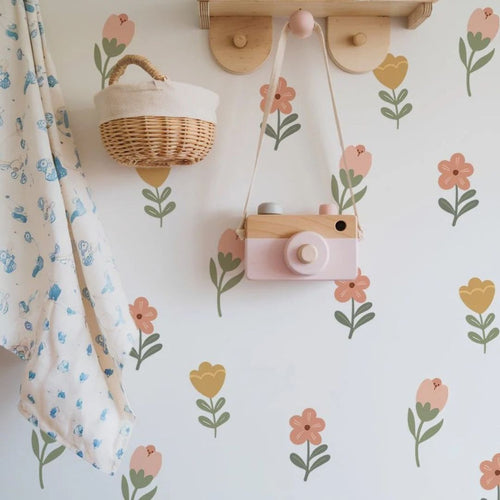
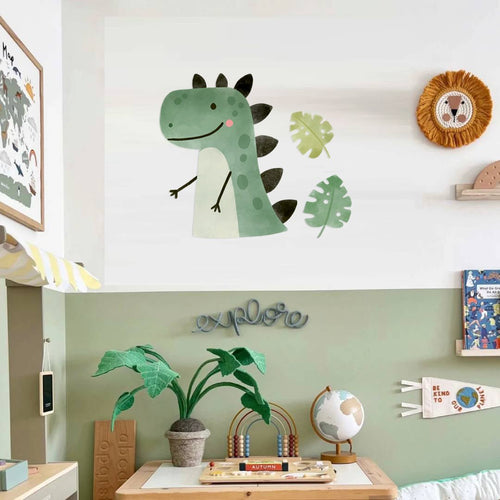
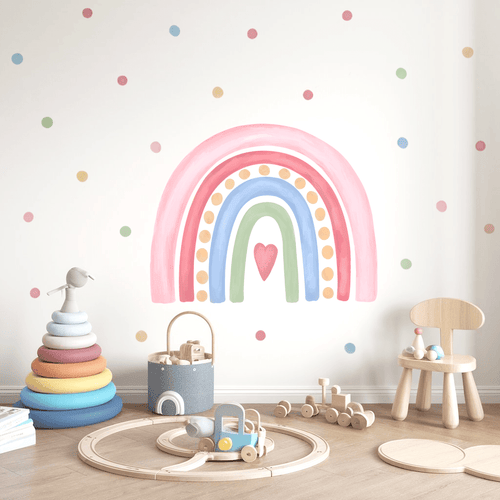
The first step is selecting the perfect nursery stickers. Consider the room’s theme, your child’s preferences, and the overall aesthetic you’re aiming to achieve. Whether it’s whimsical fairies, bold geometrical shapes, or soothing stars and moons, there’s a plethora of designs available to cater to every taste and theme. Explore our full range of Nursery Stickers.
Step 2: Prepare the Surface
For the stickers to adhere properly, the wall surface must be clean and dry. Wipe the walls with a dry cloth to remove dust and dirt. Ensure the paint is fully cured if the walls are newly painted, as nursery stickers adhere best to smooth, flat surfaces.
Step 3: Plan the Layout
Before peeling off the backing, plan the layout. Use a pencil to lightly mark where you want each sticker to go. Consider using a level to ensure straight lines and an even look.
Step 4: Apply the Stickers
Peel the sticker from the backing and apply it to the wall, smoothing it out gently with a flat tool, like a squeegee or credit card, to avoid air bubbles. Start from the centre and move outward for the best results.
Step 5: Stand Back and Admire
Take a step back and admire your work. Make any necessary adjustments. Nursery stickers can generally be repositioned, so don’t worry if you need to move them around a bit to get the perfect look.
Step 6: Swap and Change as Preferences Evolve
As your child grows and their preferences change, you can easily swap out the nursery wall stickers for new ones. Whether your little one transitions from a love of animals to a fascination with space or superheroes, updating the decor is a breeze. Remove the old stickers, store them for future use, and apply the new ones to create a fresh and exciting atmosphere in the nursery.
Tips for Maintenance
Maintain the vibrancy and appeal of the nursery stickers by wiping them gently with a soft, damp cloth. Avoid using harsh chemicals, as they can affect the colours and adhesiveness of the stickers.
Explore our full range of Nursery Stickers.