









Best for smooth wall application in UK.
For smooth wall application in UK homes, match the repair to the size of the problem: fill isolated dents, line tired walls with widespread minor flaws, or choose a plaster skim when the surface is badly uneven. That check can save time, dust and money.
Key Takeaways
- The right repair for your walls depends on how widespread the damage is, so assess the surface before buying anything.
- Small, isolated dents respond well to simple filler and a light sanding, making this the quickest fix for minor marks.
- If flaws are scattered across the whole wall, lining paper offers a smooth base without the cost of replastering.
- Badly uneven surfaces usually need a full plaster skim, which gives the cleanest finish for painted walls or wall stickers.
- Choosing the right option from the start saves time, reduces dust, and keeps your budget under control.
If you’re getting a child’s room ready, a smoother surface also gives paint and decoration a neater finish. Here’s how to choose a method that suits your walls, budget and confidence with DIY.
There isn’t one best method for every wall. For small holes and shallow marks, filling and sanding is usually the most direct fix. If flaws cover a larger area, lining paper can give you a fresh surface without a full plastering job. For deep unevenness or a poor old finish, a plasterer’s skim coat is the route to a smooth, paint-ready wall.
Best Overall, Best on a Budget, Best for Renters: Our Top Picks
Best overall for a very uneven wall: skim coating creates a new plaster finish, though it takes skill or a professional. Best on a budget: fill and sand local damage, rather than treating the whole wall. Toupret TX120 is a ready-mixed filler option; Gyproc Easifill is another product to consider for filling and finishing. Best for a capable DIYer facing widespread minor flaws: lining paper can provide a more even base, provided the wall is sound and dry.
For renters, check your tenancy agreement before making a change. Lining paper and plaster are not automatically reversible, so a small, local repair may suit better than a full-wall treatment. Choose based on the finish you need, not just the product on the shelf.
Smooth Walls Decision Tree: Choose Your Method in 30 Seconds
Use this quick guide to narrow down your options before buying materials. A rough-looking wall may have anything from a few pinholes to broad dips, and the amount of repair needed changes the sensible choice.
- Only a few small holes or shallow scratches? Fill, let the repair dry, then sand it level.
- Minor flaws spread across most of the wall? Consider lining paper if the surface is stable, clean and dry.
- Deep waves, damaged plaster or a consistently poor finish? Ask a plasterer whether a skim coat is suitable.
- Cracks returning, damp patches or loose material? Find and address the cause before covering the surface.
Compare the Five Main Ways to Smooth UK Walls (Pros, Cons and Costs)

Choose by the condition of the wall, rather than assuming every bump needs replastering. Filling is targeted and usually the least costly option for isolated defects; a full skim involves more labour and preparation. Lining paper sits between those approaches, while textured wallpaper can disguise slight flaws without creating a smooth surface. Material prices and tradesperson quotes vary by location, wall condition and preparation required, so get a detailed quote before committing.
| Method | Best suited to | Cost and effort | Main limitation |
|---|---|---|---|
| Filling and sanding | Local holes, dents and shallow scratches | Lower material spend; manageable DIY task | Labour grows if defects cover a large area |
| Skim coating | Broad unevenness and worn plaster | More labour; often best assessed by a plasterer | Needs application skill and drying time |
| Lining paper | Sound walls with widespread minor flaws | Moderate materials and careful hanging | Does not correct serious unevenness |
| Textured wallpaper | Minor marks you’re happy to cover | Can avoid plastering, with hanging effort | Leaves a textured, not smooth, finish |
Filling and Sanding: The Fix for Small Imperfections
For a handful of nail holes, shallow cracks or small dents, apply a suitable filler with a filling knife, slightly proud of the surface. Once dry, sand gently with fine abrasive paper and check the area in side light. Toupret TX120 is a high-spec ready-mixed filler; Gyproc Easifill is another option for filling and finishing work. Match the product to the repair and follow its label. This keeps the job local, but repeated patching across a whole room can take longer than expected.
Skim Coating: When Your Walls Need a Fresh Plaster Finish
A skim coat applies a thin layer of plaster over the existing surface to create a fresh finish. The research brief gives a typical added thickness of 2-3mm. It suits widespread unevenness, but good results depend on preparation, timing and a steady hand. If you’re new to plastering, get a professional assessment before attempting a full room. A skim is not a cure for damp, unstable plaster or cracks that are still moving.
Lining Paper: The Forgiving Shortcut for Tired Walls
Lining paper can disguise small surface flaws and give paint or wallpaper a more even base, as long as the wall is dry and secure. Select a grade suitable for the surface, then hang it carefully with aligned joins and no trapped air. It can be a useful middle ground if you want to avoid plastering, but won’t flatten pronounced ridges or fill deep hollows. Allow the adhesive to dry as directed before decorating.
Textured Wallpaper: Hiding Imperfections Without Plastering
Textured wallpaper can soften the appearance of small marks if you’re happy with a patterned or raised finish. It’s a decorating choice, not a wall repair: deal with loose plaster, damp and deeper unevenness first. If your aim is a genuinely smooth painted wall, this method won’t deliver it. For a child’s room, consider the overall look before committing to a permanent covering. The ABC Animal Friends Alphabet Wall Stickers are a decorative idea to consider once the wall is ready; the product is currently sold out or unavailable.
DIY or Hire a Plasterer? UK Costs and Timeframes Compared
DIY filling is often the simplest starting point when repairs are small and you have time to let each layer dry. Lining a wall calls for careful measuring, cutting and paste application; a skim coat demands more specialist technique. Timeframes depend on the surface area, preparation, drying conditions and finish. Ask plasterers what preparation is included, whether repairs cost extra, and when the wall will be ready for decorating. Balance the finish, skill and full cost, not just the price of materials.
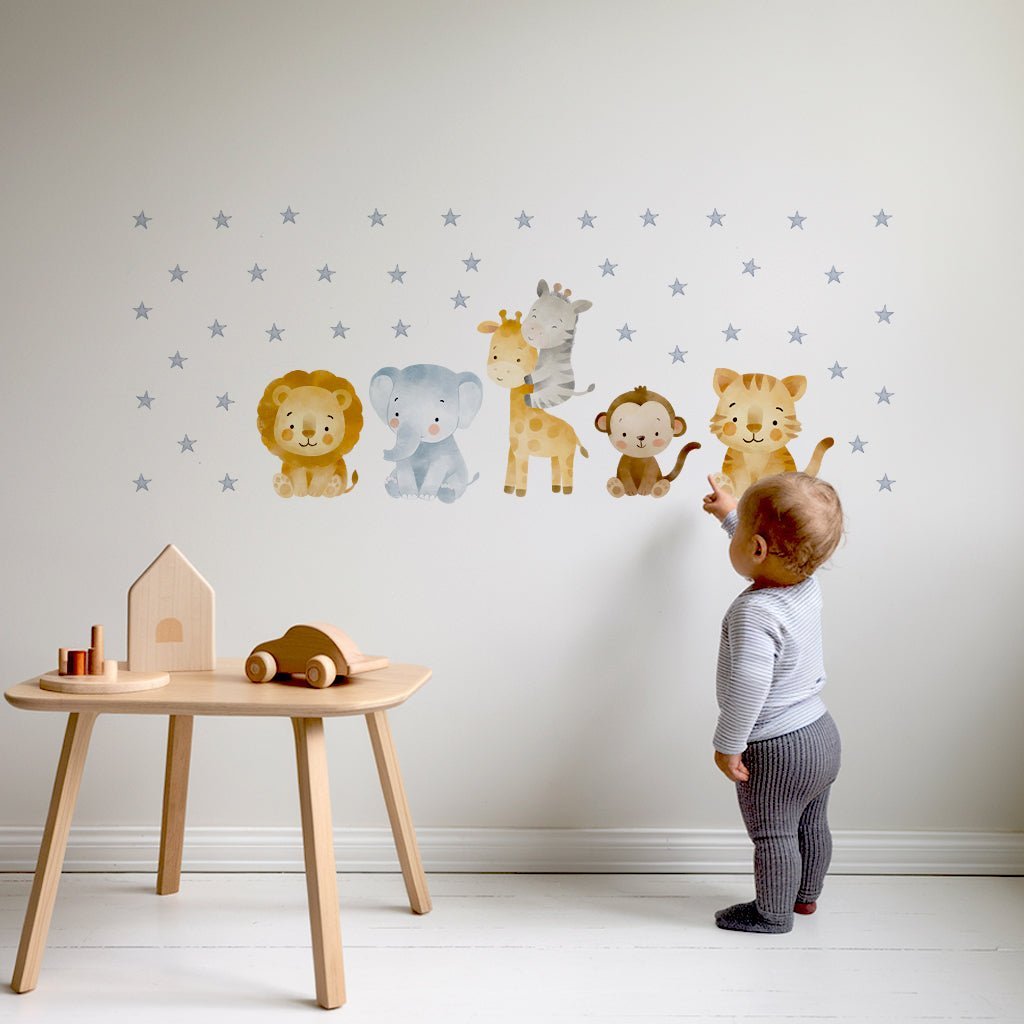
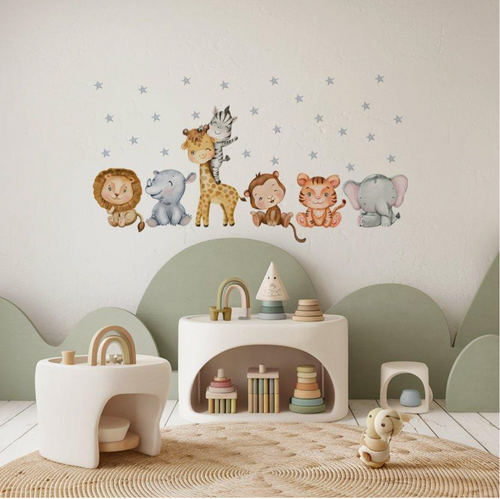
Before you begin, check that you have the right filler or lining paper, a filling knife, abrasive paper, dust protection and suitable primer for the next finish. For a nursery mood-board, ABC Animal Friends Alphabet Wall Stickers show how a finished wall might become part of a playful room scheme; they depict animals associated with letters of the alphabet and are decorative wall stickers, not a smoothing product.
How to Smooth Walls Step by Step: Prep, Application and Finishing
Careful preparation matters as much as the smoothing method. Protect the room, check the surface and follow product instructions. Taking time now can help prevent peeling, visible ridges and extra sanding later.
Step 1: Prepare Your Wall (The Bit Everyone Rushes)
Move furniture away from the wall, cover the floor and remove pictures, hooks and loose wallpaper. Brush away dust, then wash off greasy marks with a suitable wall cleaner and allow the surface to dry fully. Scrape away loose paint or plaster, but don’t cover damp, mould or a crack that appears to be moving. These need attention before decorating.
Use a torch or lamp held close to the wall to spot bumps, dents and old filler. Mark the areas that need repair, and check that the surface is firm. For a plaster skim or lining paper, follow the material’s preparation instructions; some surfaces need a primer or another treatment first.
Step 2: Apply Your Chosen Method (Filler, Skim Coat or Lining Paper)
For small defects, press filler into the hole or crack with a filling knife and draw the blade across the surface to leave a neat patch. Apply another thin layer if the repair sinks as it dries, rather than trying to fill a deep hole in one go. Toupret TX120 is a ready-mixed filler option; check its label for suitable uses and application guidance.
A skim coat involves spreading plaster in even, thin passes. It adds around 2-3mm to the wall, according to the research findings for this guide. If you haven’t plastered before, practising on a small area or asking a plasterer to assess the job can help avoid a patchy finish. For lining paper, measure and cut each length, apply paste as directed, then smooth from the centre towards the edges to push out trapped air.
Step 3: Drying Times, Sanding and Finishing Touches
Drying time varies with the product, layer thickness, room temperature and ventilation. Follow the instructions on the filler, plaster or paste, and don’t rush the next stage because the surface feels dry to the touch. In cool or damp UK weather, drying may take longer. Keep the room aired, while avoiding strong direct heat that could dry a repair unevenly.
When filler is fully dry, sand gently with fine abrasive paper, using light, even strokes. A sanding block helps keep the area flat. Wear a suitable dust mask and eye protection, and clear the dust before checking the wall again in side light. Stop when the repair sits level with the surrounding surface; heavy sanding can damage the finish.
Step 4: Prime and Paint for a Truly Flawless Surface
Remove sanding dust with a clean, dry cloth or soft brush before priming. Choose a primer suitable for the surface and paint system, and follow the stated drying time. Zinsser 1-2-3 can be used as a basecoat to improve paint finish, according to the research findings for this guide. Apply paint only once the primer and any fresh plaster are ready for decorating.
Use a roller for broad areas and a brush around edges, keeping a wet edge as you work. Once the first coat is dry, check for missed pinholes or raised patches. Small touch-ups are easier to see before the final coat, especially in daylight.
Tools and Materials Checklist for UK DIYers
Gather your supplies before starting so you’re not leaving wet filler or paste while searching for a tool. The right kit depends on your chosen method, but these basics cover common preparation and finishing jobs:
- Dust sheets, masking tape and a stable step ladder
- Scraper, cleaning cloths and a suitable wall cleaner
- Filling knife and appropriate filler, or plastering tools or lining paper supplies
- Fine abrasive paper, sanding block, dust mask and eye protection
- Primer, paint, brush and roller for the final finish
Wall Types Explained: Plasterboard, Solid Plaster and Masonry
The right finish depends partly on what sits beneath the paint. Plasterboard, older solid plaster and brick or block walls respond differently to repairs, so check the surface before choosing a method. If you’re unsure whether a wall is sound, press gently around damaged areas and look for loose or hollow sections. Don’t cover a problem simply to make it look tidy: deal with the cause first, or ask a plasterer to assess it.
Which Method Works Best on Each Wall Type
Use the wall’s condition as your guide, rather than choosing by material alone. Small, stable blemishes can often be repaired locally; broad damage or a weak surface may need professional attention. This table is a starting point, not a substitute for checking the wall and the instructions for your chosen materials.
| Wall type | What to check | Approach to consider |
|---|---|---|
| Plasterboard | Loose tape at joints, dents, torn paper or proud screw heads | Repair local damage with a suitable filler; seek advice if the board is soft or badly damaged |
| Solid plaster | Hollow patches, flaking paint, fine cracks or loose plaster | Repair small, stable flaws; have extensive or detached plaster assessed before covering it |
| Masonry | Unevenness, powdery surfaces, crumbling mortar or signs of moisture | Use a finish suited to the substrate, and resolve moisture or crumbling material first |
Plasterboard needs care around joints and the paper face, which can tear if scraped aggressively. A small hairline mark on solid plaster differs from a crack accompanied by loose or hollow areas. Masonry can be uneven by nature, so check that the planned finish suits the surface rather than expecting a thin decorative layer to correct deep irregularities.
Dealing with Cracks, Damp and Artex Safely
A crack that keeps returning, widens, or runs around doors and windows deserves investigation before filling. Damp patches, mould, salt marks and persistently peeling paint also need their source identified; covering them can hide a continuing issue. If you notice a musty smell, water ingress or soft, crumbling material, pause decorating and seek advice from a suitable building professional.
Take particular care with older textured coatings such as Artex. Some coatings may contain asbestos, so don’t sand, scrape, drill or disturb a surface if you’re unsure of its age or contents. Arrange appropriate professional advice and testing before work that could release dust. A smooth finish can wait; keeping your household safe comes first.
Smooth Walls and Beautiful Nursery Walls: What Comes Next 💛

Once the wall is sound, dry and ready for decoration, you can bring the room’s personality to life. A calm painted backdrop works with storybook animals, favourite colours or a feature area beside the cot. Give fresh plaster and paint the full drying time stated on their labels before adding anything to the surface. That pause helps your prepared finish stay looking its best.
Painting a Nursery: Baby-Safe Paints and Primers
Choose paint and primer labelled for interior walls, then follow the manufacturer’s guidance on application, ventilation and drying. Look for clear instructions about room use and re-entry, and keep babies and children away while decorating and while the room airs. There isn’t one paint label that answers every family’s needs, so read the product information rather than relying on a broad “baby-safe” claim.
Prime the prepared surface with a product suitable for its condition, especially where repairs or fresh plaster need an even base. Keep the room well ventilated during painting, and wait until the coating is fully dry before moving furniture back or planning the next decorative layer.
Decorating Without the Mess: Peel, Stick & Transform
If you’re planning a playful animal theme, ABC Animal Friends Alphabet Wall Stickers depict animals associated with letters of the alphabet and are designed to transform a baby’s nursery. They’re regular vinyl decorative wall stickers, not a wall repair or a toy. The product is currently sold out or unavailable, so check its listing for its current status before making plans around it.
ABC Animal Friends Alphabet Wall Stickers belong to the nursery wall stickers and decals category and the Animal Wall Stickers Collection. A customer review is available on the listing. Once your paint has dried, consider placement and the room’s overall feel before choosing decorations. Planning can turn a plain wall into a warm backdrop for bedtime stories and growing imaginations.
Frequently Asked Questions
What is the best method for smoothing walls in the UK?
The best method depends on the wall's condition: use filler for a few small holes, lining paper for widespread minor flaws, and a plaster skim for badly uneven surfaces. As a parent-led brand founder, I always suggest matching the repair to the problem, as it saves time, dust and money before you decorate a child's room.
Can I smooth walls without plastering?
Yes, you can smooth walls without plastering by using filler and sanding for isolated marks or hanging lining paper on sound, dry walls with minor flaws across a larger area. Textured wallpaper is another option, though it disguises marks rather than creating a genuinely smooth, paint-ready finish.
What filler is best for smoothing walls?
Toupret TX120 is a high-spec ready-mixed filler for smoothing walls, and Gyproc Easifill is another well-regarded option for filling and finishing work. Match the product to the size of the repair, apply with a filling knife slightly proud of the surface, then sand gently once dry and check in side light.
How do I prepare a wall for skim coating?
Preparing a wall for skim coating means making sure the surface is clean, stable and free of damp, loose material or moving cracks, as a skim cannot cure underlying problems. Good results depend on careful preparation, timing and a steady hand, so get a professional assessment if you are new to plastering.
How long does it take to smooth a wall?
The time it takes to smooth a wall depends on the method: filling and sanding small dents is usually a quick DIY job, while a skim coat adds 2-3mm of plaster and needs skill, drying time and more preparation. Lining paper sits between the two, with careful hanging and adhesive drying time before decorating.
Should I DIY or hire a plasterer to smooth my walls?
DIY filling is the simplest starting point when repairs are small and you can let each layer dry, while a full skim coat is often best assessed by a plasterer. Lining a wall calls for careful measuring and hanging, so it suits a capable DIYer facing widespread minor flaws on sound walls.
Can I use textured wallpaper to hide wall imperfections?
Textured wallpaper can soften the appearance of small marks if you are happy with a raised or patterned finish, but it is a decorating choice rather than a wall repair. Deal with damp, loose plaster and deeper unevenness first, and remember it will not give you a genuinely smooth painted wall.