


Key Takeaways
- Fairies bedroom decor can be created easily with smart planning and removable elements.
- Designs should accommodate evolving tastes from toddler years to teenage interests.
- Themed decor can range from woodland fairy forests to sparkling fairy princess styles.
- Choosing adaptable decor helps build magical spaces that grow with your child.
Table of Contents
- What Makes Fairy Bedroom Decor "Fairy" (and Not Just Pink and Frilly)?
- Planning Your Fairy Bedroom: Start with Your Child, Not Pinterest
- Fairy Bedroom Decor Ideas by Age: Toddlers, Kids, Teens, and Adults
- Building a Fairy Room from Scratch: Step-by-Step Plan
- Rental-Friendly Fairy Bedroom Decor (No Paint, No Damage)
- Fairy Walls: Stickers, Wallpaper, Murals and DIY – What to Choose?
Fairy Bedroom Decor: A Playful Guide to Creating a Magical, Flexible Fairy Room
Creating enchanting fairies bedroom decor doesn't require a magic wand, just smart planning and the right removable elements. Whether you're designing for a toddler's first fairy obsession or updating a teen's space with fairycore vibes, the key lies in choosing decor that transforms easily as tastes evolve. From woodland fairy forests to sparkling fairy princess themes, we'll show you how to build magical spaces that grow with your child.
Authentic fairy decor combines soft lighting, nature motifs, gentle sparkle, and storybook charm. These elements work brilliantly in children's rooms because they stimulate imagination whilst maintaining the cosiness essential for good sleep. A single strand of warm fairy lights, a mushroom-shaped cushion, and removable fairy wall stickers can transform any corner in under 15 minutes.
The magic lies in layering these elements thoughtfully. Start with nature-inspired base colours, soft greens, warm creams, or gentle lavenders, then add fairy touches through easily changeable items like bedding, wall stickers, and lighting. For more inspiration, you might enjoy reading about the best girls wall stickers for decorating bedrooms.
What Makes Fairy Bedroom Decor "Fairy" (and Not Just Pink and Frilly)?
Fairy vs Princess vs Woodland: What's the Difference?
| Theme | Key Motifs | Colour Palette | Textures |
|---|---|---|---|
| Fairy | Wings, stars, flowers, mushrooms | Soft pastels, jewel tones | Sheer fabrics, sparkle |
| Princess | Crowns, castles, carriages | Pink, gold, purple | Velvet, satin, sequins |
| Woodland | Trees, animals, acorns | Forest greens, browns | Natural wood, linen |
Understanding these distinctions helps you choose decor that truly captures fairy magic rather than accidentally creating a princess palace. Fairy bedroom decor draws from nature's wonder, think delicate butterfly wings, toadstool houses, and starlit gardens rather than grand ballrooms.
Key Elements of Fairy Bedroom Decor
Authentic fairy decor combines soft lighting, nature motifs, gentle sparkle, and storybook charm. These elements work brilliantly in children's rooms because they stimulate imagination whilst maintaining the cosiness essential for good sleep. A single strand of warm fairy lights, a mushroom-shaped cushion, and removable fairy wall stickers can transform any corner in under 15 minutes.
The magic lies in layering these elements thoughtfully. Start with nature-inspired base colours, soft greens, warm creams, or gentle lavenders, then add fairy touches through easily changeable items like bedding, wall stickers, and lighting.
Fairycore vs Fairy Forest vs Dark Fairy
Fairycore embraces cottagecore aesthetics with dried flowers, vintage touches, and earthy pastels, perfect for tweens and teens seeking Instagram-worthy spaces. Fairy Forest leans into woodland magic with mushrooms, vines, and forest creatures, ideal for nature-loving children aged 4-10. Dark Fairy incorporates gothic elements like deep purples and mysterious motifs, suited to older teens and adults who prefer sophisticated fairy themes.
Planning Your Fairy Bedroom: Start with Your Child, Not Pinterest

Questions to Ask Before You Buy a Single Cushion
Before browsing fairy decorations for bedroom collections, assess your specific situation. Consider your child's current age and whether the theme will suit them in 2-3 years, a 3-year-old's cartoon fairy preferences often evolve into more sophisticated tastes by age 6. Check your tenancy agreement for any "no paint, no nails" restrictions that might limit your options.
Observe your room's natural light at 8am, 2pm, and 7pm to understand how colours will appear throughout the day. Darker rooms benefit from lighter fairy themes with plenty of sparkle, whilst bright rooms can handle deeper forest greens and jewel tones without feeling heavy.
Choosing a Fairy Theme That Can Grow with Them
Smart fairy bedroom ideas focus on keeping large furniture neutral whilst letting removable decor tell the fairy story. Choose beds, wardrobes, and main rugs in versatile colours like white, natural wood, or soft grey, then use wall stickers, bedding, and artwork to create the magical atmosphere.
This approach allows seamless transitions from fairy princess at age 4 to enchanted forest at 8, requiring only an afternoon to swap key elements. Keep expensive items timeless and invest your creativity in affordable, changeable pieces that can evolve with your child's developing tastes.
Budgeting for Fairy Magic (Without the Fairy Godmother)
Divide your fairy bedroom decorations budget into three key areas: walls (£20-40 for quality removable stickers), textiles (£30-50 for bedding and cushions), and lighting (£15-25 for fairy lights and lamps). With around £70-100, you can completely transform a small room's atmosphere.
Prioritise spending on items used daily, comfortable bedding and safe lighting deserve investment over decorative props. Save money by choosing removable wall stickers over expensive wallpaper, and focus on flexible, changeable decor that can be updated as your child's interests grow.
Fairy Bedroom Decor Ideas by Age: Toddlers, Kids, Teens, and Adults
Creating the perfect fairy bedroom means matching the magic to your child's developmental stage. What enchants a toddler might feel babyish to a ten-year-old, whilst teens crave sophistication over sparkles. Here's how to tailor your fairies bedroom decor approach for every age.
Gentle Fairy Magic for Toddlers (Ages 2–4)
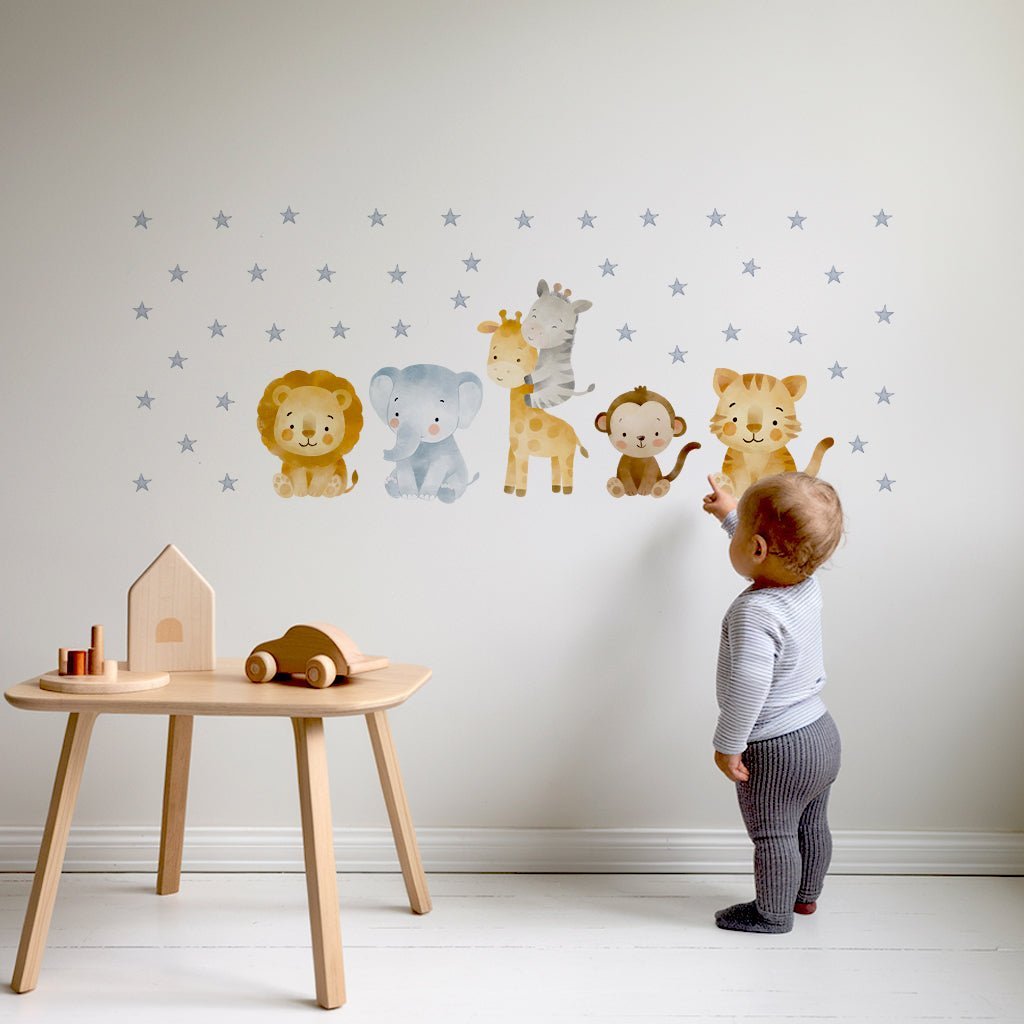
Safety trumps spectacle for little ones. Position removable wall stickers at toddler eye level, 60 to 90 cm from the floor, so they can interact with friendly fairy characters during play. Choose soft, rounded fairy designs rather than intricate details that might overstimulate at bedtime.
Keep fairy lights well out of reach, opting for battery-operated strings clipped along high shelves or around door frames. A washable fairy-themed throw for the reading chair adds magic they can touch safely, whilst mushroom floor cushions create cosy story-time spots that won't cause injury during tumbles.
Imaginative Fairy Worlds for Primary-Age Kids (Ages 5–9)
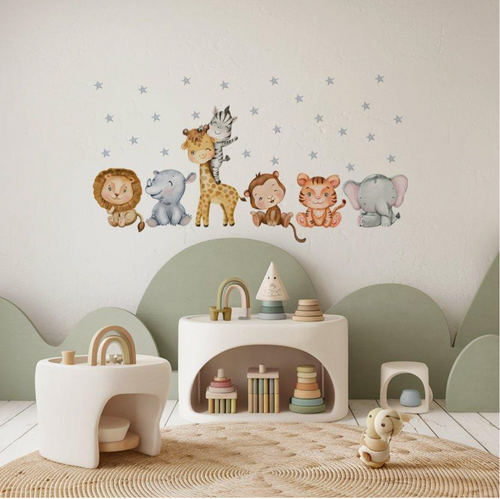
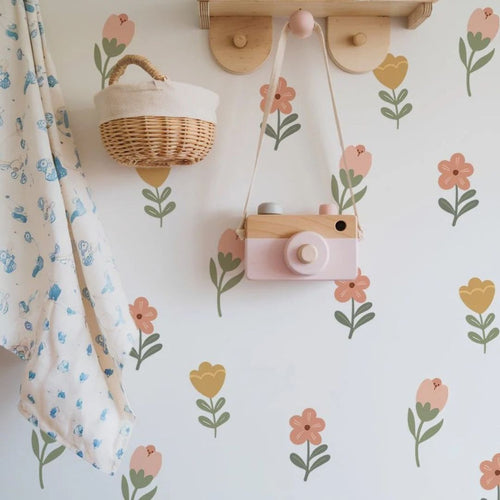
This age craves story and adventure. Create an enchanted forest scene using removable flower and fairy stickers across 1.5 to 2 metres of wall space, enough to spark imagination without overwhelming the room. Add a dedicated dress-up corner with a basket for wings, wands, and costume bits near a simple fairy door made from small decals at skirting board level.
Layer the magic with glow-in-the-dark star stickers on the ceiling and a reading nook draped with sheer fabric. These children love interactive elements, so choose fairy bedroom decor they can rearrange and play with rather than just admire.
Fairycore and Aesthetic Fairy Bedrooms for Teens
Teenagers want mood over cartoon characters. Swap obvious fairy figures for botanical motifs, trailing vines, delicate butterflies, and crescent moons create fairycore vibes without childish associations. Layer warm white lights around the bed frame and add sheer curtains for Instagram-worthy ambience.
The beauty of removable stickers shines here, transform last year's rainbow fairy wall into sophisticated botanical fairycore in under 30 minutes. Keep the colour palette muted with sage greens, dusty pinks, or cream tones that photograph beautifully and won't embarrass them in front of friends.
Subtle Fairy Touches for Adults
Adult fairy bedrooms require restraint and sophistication. Limit yourself to three to five fairy elements maximum, perhaps delicate botanical wall decals above the headboard, one embroidered fairy cushion, and soft ambient lighting. The magic lies in suggestion rather than statement.
Choose neutral bedding with subtle fairy motifs like tiny embroidered flowers or stars. A single wall of soft vine decals creates enchantment without overwhelming the space, whilst maintaining the mature aesthetic essential for restful adult sleep. For more ideas on decorating children's spaces, see this helpful guide on childrens decor bedroom.
Building a Fairy Room from Scratch: Step-by-Step Plan
Creating magical fairies bedroom decor needn't feel overwhelming when you follow a logical sequence. Start with the biggest visual impact, your walls, then layer in textiles and lighting for a cohesive fairy wonderland that comes together beautifully.
Step 1 – Choose Your Fairy Colour Palette
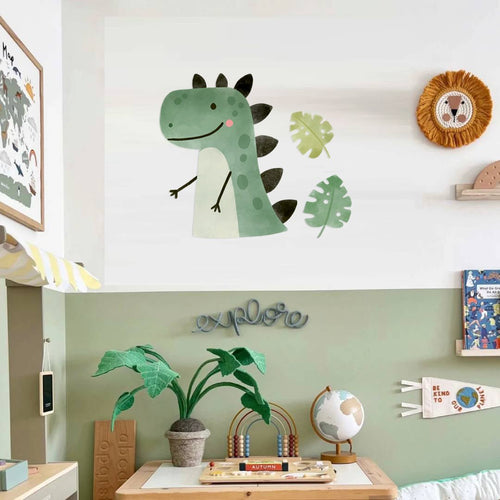
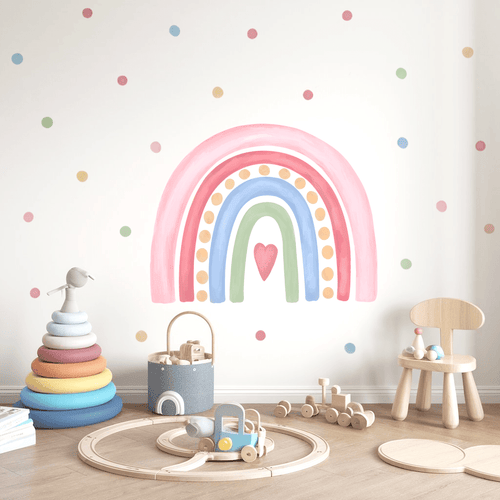
Three proven palettes work brilliantly for fairy rooms. Soft fairy pastels, blush pink, lilac, and mint green, create gentle, dreamy spaces perfect for younger children and bedtime calm. Enchanted forest tones of moss green, mushroom beige, and warm brown suit nature-loving kids and grow beautifully into teen fairycore aesthetics.
For drama-loving children, jewel-toned fairy palettes of emerald, sapphire, and plum create rich, cosy atmospheres whilst maintaining magical appeal. Choose based on your child's energy levels, pastels soothe active children, whilst deeper tones energise quieter personalities.
Step 2 – Walls First: Big Impact, Low Commitment
Walls tell your room's fairy story most powerfully, making them your starting point. Removable wall stickers offer paint-like impact without permanent commitment, perfect for renters and evolving tastes. Measure your main wall width and plan to fill roughly the centre 60 to 70% for visual balance, leaving breathing space at the edges.
A medium sticker set typically applies in 15 to 30 minutes, transforming blank walls into enchanted forests or fairy gardens instantly. Unlike wallpaper or paint, you can reposition elements until the composition feels perfect, then commit knowing removal takes mere seconds when interests change. For more ways to update your space, check out how you can transform your bedroom with stylish wall stickers.
Step 3 – Textiles: Bedding, Curtains, Rugs
Link your textile choices to your wall story, if you've created a woodland fairy scene, choose bedding featuring mushrooms, flowers, or fairy wings. Keep larger items like curtains in quieter patterns so they'll work when you eventually transition from fairy to another theme, protecting your investment.
Follow this simple formula: one patterned fairy duvet plus two solid pillowcases in complementary colours, finished with one textured throw. This creates visual interest without pattern overload, ensuring peaceful sleep in a beautifully coordinated space.
Step 4 – Lighting: The Real Fairy Magic
Warm white fairy lights at 2700-3000K create the perfect fairy atmosphere without disrupting bedtime routines. Position battery-operated string lights around headboards or along shelves, keeping them at least 30cm from bedding for safety.
For younger children, avoid trailing cables by using battery packs tucked behind furniture. A simple strand of 20-30 warm white LEDs can transform a reading corner into a magical fairy nook in under five minutes. Layer this ambient lighting with a dimmable bedside lamp for story time.
Step 5 – Final Fairy Flourishes
Complete your fairy transformation with thoughtful accessories that spark imagination. A mushroom floor cushion becomes an instant fairy reading spot, whilst a small basket filled with dress-up wings encourages creative play. Keep surfaces 20-30% clear to prevent visual overwhelm.
Involve your child in choosing their final three to five fairy touches, perhaps a tiny fairy door near the skirting board or a garland of felt flowers draped over their bookshelf. These personal choices ensure the room truly reflects their fairy dreams.
Rental-Friendly Fairy Bedroom Decor (No Paint, No Damage)

Walls Without Paint: Stickers, Fabrics and Clever Backdrops
Removable wall stickers printed on premium vinyl and fabric materials offer the perfect solution for rental properties. These peel off cleanly without residue, making them ideal for creating stunning fairy scenes on any wall surface. Test a small 5x5cm patch for 24 hours on your specific wall finish before applying larger designs. For more on safe decorating practices in children's rooms, see this authoritative resource on safe home environments for children.
Create an enchanting fairy garden across 1.5-2 metres of wall using clusters of removable stickers instead of permanent wallpaper. This approach delivers maximum visual impact whilst respecting your tenancy agreement and deposit requirements.
Fairy Decor That Attaches to Furniture Instead of Walls
Transform furniture into fairy wonderlands by applying small decals to wardrobe doors, bed frames, or toy boxes. These surfaces move with you to new homes, making your investment worthwhile beyond a single tenancy. Use removable hooks on bookcase sides for hanging fairy wings, garlands, or battery-operated lanterns.
This furniture-focused approach works particularly well in shared rental properties where wall space might be limited or off-limits entirely.
Damage-Free Hanging for Fairy Lights and Canopies
Command strips and removable adhesive hooks support lightweight fairy lights and sheer fabrics without wall damage. Always maintain 5-10cm distance between lights and any fabric elements, following manufacturer safety guidelines for indoor bedroom use.
Safe Installation Tip: Create a magical starry sky effect by zig-zagging battery-operated fairy lights across one wall using removable hooks spaced 40cm apart. This takes under 15 minutes to install and removes completely when moving day arrives.
Fairy Walls: Stickers, Wallpaper, Murals and DIY – What to Choose?
Comparison Overview: Wallpaper vs Wall Stickers vs Painted Murals vs DIY Prints
| Method | Installation Time | Cost Range | Removability | Skill Level |
|---|---|---|---|---|
| Removable Wall Stickers | 15-30 minutes | £25-£80 | Instant removal | Beginner |
| Fairy Wallpaper | 4-8 hours | £40-£150 | Steam removal needed | Intermediate |
| Painted Murals | 1-3 days | £30-£200 | Requires repainting | Advanced |
| DIY Fairy Prints | 2-4 hours | £15-£50 | Easily changeable | Beginner |
Why Removable Wall Stickers Are Ideal for Fairy Rooms
Removable wall stickers excel in children's bedrooms because they adapt to changing tastes without starting from scratch. When your four-year-old transitions from fairy princesses to woodland creatures, simply add mushroom and tree stickers around existing fairies rather than redecorating entirely.
The ability to rearrange elements, moving fairies from the cot wall to a reading corner as your child grows, provides unmatched flexibility. This approach respects both your time and budget whilst keeping pace with childhood development.
When Wallpaper or Paint Makes Sense
Permanent wall treatments suit owned homes where you're planning a long-term fairy theme for older children or adults. Consider pairing a subtle painted accent wall with removable fairy stickers on top, this creates depth whilst maintaining update flexibility for future style evolution. For further reading on the impact of wall decor in bedrooms, see this peer-reviewed study on bedroom environments and wellbeing.
Simple DIY Fairy Wall Art You Can Make in an Afternoon
Create personalised fairy artwork by scanning your child's hand-drawn fairies and printing them onto card or canvas. Add a sprinkle of eco-friendly glitter or frame with a garland of faux flowers for a unique, budget-friendly wall feature. This not only celebrates your child's creativity but also makes the room feel truly their own.
Frequently Asked Questions
What are the key differences between fairy, princess, and woodland bedroom decor themes?
Fairy decor focuses on nature magic with motifs like wings, stars, flowers, and mushrooms, using soft pastels and jewel tones paired with sheer fabrics and sparkle. Princess themes highlight crowns, castles, and carriages, featuring pinks, golds, and purples with velvet, satin, and sequins. Woodland styles centre on trees, animals, and acorns, embracing forest greens and browns with natural wood and linen textures.
How can I create a fairy-themed bedroom that adapts as my child grows from toddler to teenager?
Start with a nature-inspired base palette like soft greens or gentle lavenders, then add removable fairy wall stickers, adjustable lighting, and layered textiles that can be swapped out easily. Choose versatile furniture and decor pieces that can evolve with your child’s changing tastes, allowing you to refresh the room without a full makeover as they grow.
What are some rental-friendly options for decorating a fairy bedroom without causing damage?
Use premium removable wall stickers printed on vinyl or fabric that leave no residue, along with temporary fairy lights, cushions, and rugs that don’t require fixing to walls. Avoid paint or permanent fixtures by opting for freestanding furniture and clip-on accessories to keep the space magical yet damage-free.
Which elements are essential to achieving an authentic fairy bedroom atmosphere that stimulates imagination and comfort?
Combine soft, nature-inspired colours with gentle sparkle and storybook charm through removable fairy wall stickers, warm fairy lights, and cosy textiles like sheer curtains or mushroom-shaped cushions. These layers create a magical yet cosy space that encourages creativity while remaining perfect for restful sleep.