


Key Takeaways
- Hanging wallpaper in a child's room can create a magical atmosphere.
- Traditional wallpaper application is time-consuming and messy.
- Precision and patience are essential when hanging wallpaper.
- Busy parents may find traditional wallpaper challenging to manage.
- Children's involvement can complicate the wallpaper hanging process.
Table of Contents
- What "Hanging Wallpaper" Really Means Today (And Whether It's Right for a Child's Room)
- Types of Wallpaper and How They Behave on Real Family Walls
- Tools & Materials You Actually Need to Hang Wallpaper (With Parent-Safe Shortcuts)
- Preparing Your Walls: The Step Most Parents Want to Skip (But Shouldn't)
- Planning Your Wallpaper Layout (So the First Strip Isn't a Guess)
- Step-by-Step: How to Hang Traditional and Paste-the-Wall Wallpaper
Hanging Wallpaper: A Parent-Friendly Guide (And Why Removable Wall Stickers Might Be Easier)
Hanging wallpaper in a child's room feels like the perfect way to create something magical, until you're three hours in, paste everywhere, and your toddler's "helping" by pulling at the corners. Traditional wallpaper can transform a nursery beautifully, but it demands time, precision, and a tolerance for mess that many busy parents simply don't have.
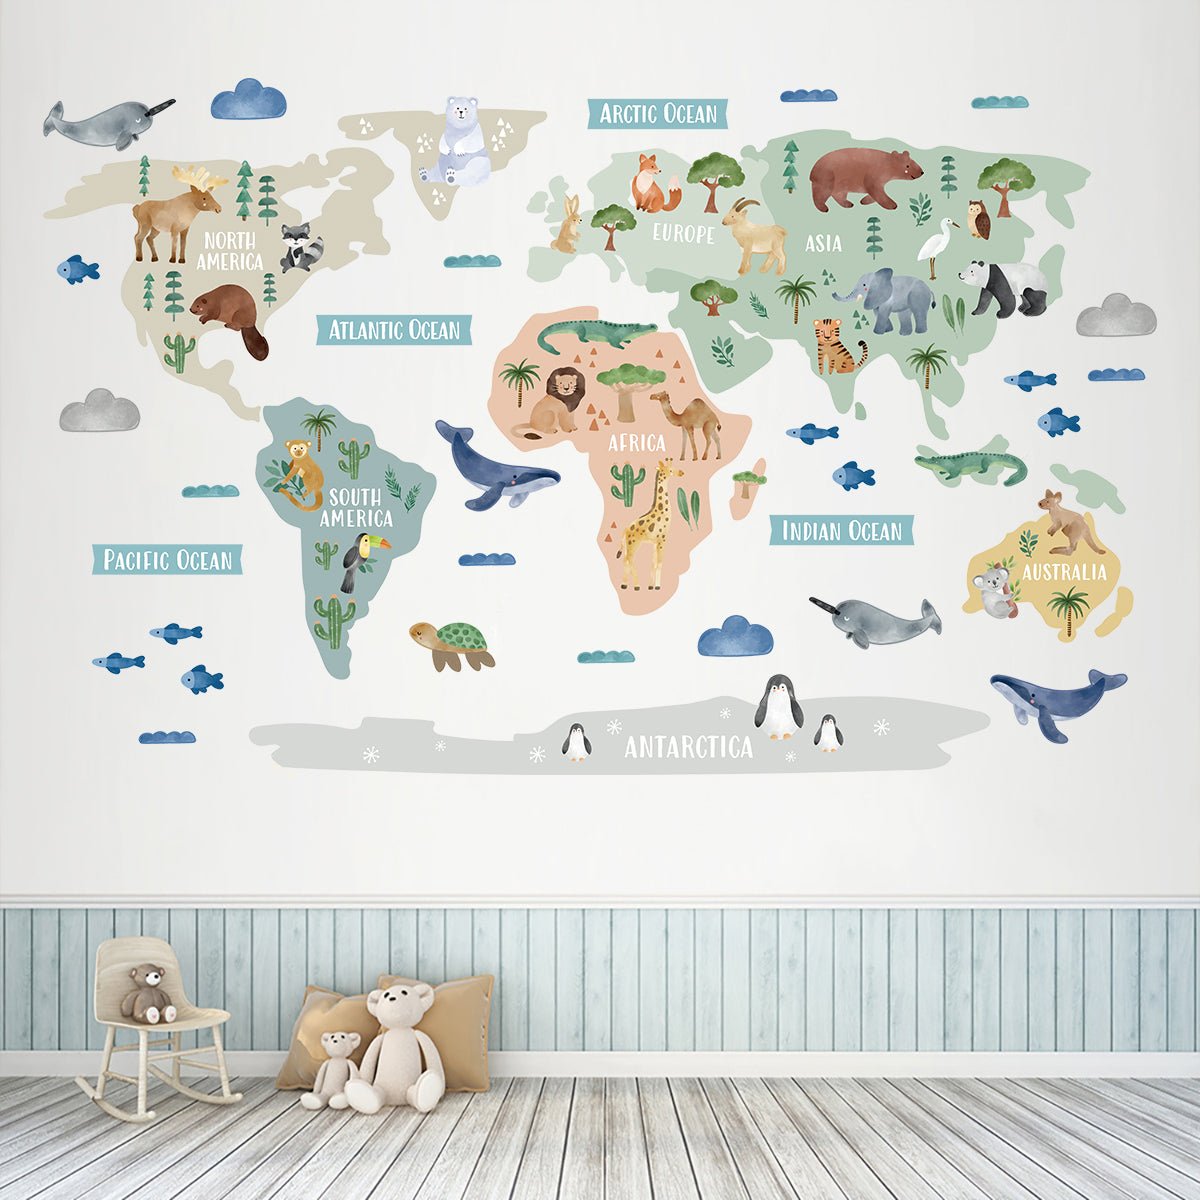
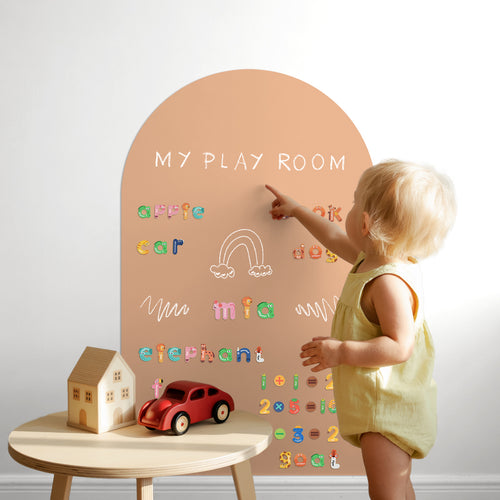
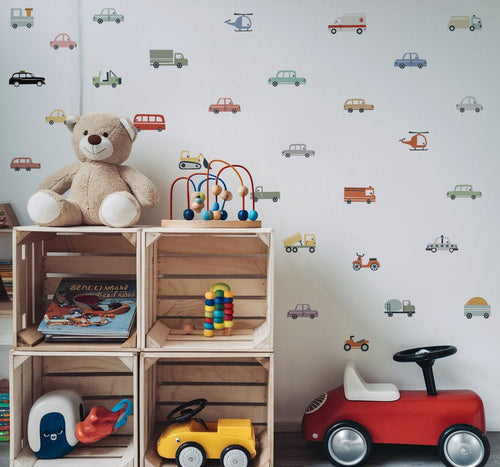
The good news? You have options. From classic paste-the-wall methods to peel-and-stick alternatives, and even removable wall stickers that deliver wallpaper-worthy impact in minutes, there's a solution for every family's timeline and decorating confidence. For example, the Animal World Map Nursery Wall Sticker offers a playful, educational design that can be applied in minutes, perfect for busy parents seeking both style and convenience.
For more inspiration on how to use wallpaper stickers in your child's room, check out our guide on wallpaper stickers interior design. You'll discover creative ways to achieve a wallpaper look without the hassle of traditional application.
What "Hanging Wallpaper" Really Means Today (And Whether It's Right for a Child's Room)
The basics: what counts as "hanging wallpaper"?
Hanging wallpaper covers three main approaches: traditional paste-the-paper (where you apply adhesive to the back of each strip), paste-the-wall (rolling adhesive directly onto your surface), and peel-and-stick varieties with pre-applied backing. A standard 3 x 4 metre room typically takes 4–6 hours once walls are prepped, though first-timers often need longer.
Quick Answer: Can beginners hang wallpaper in a nursery? Yes, but start with a single feature wall and allow double the time manufacturers suggest.
Where wallpaper works best in kids' spaces
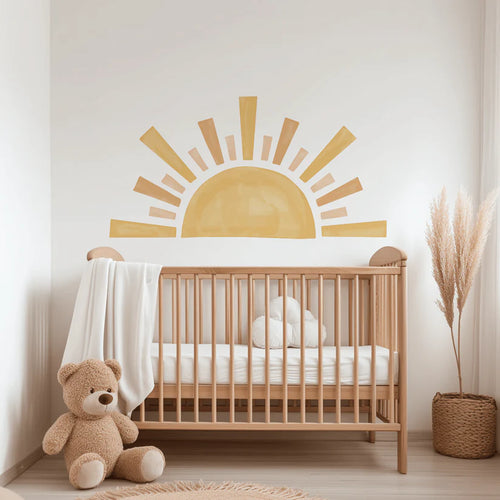
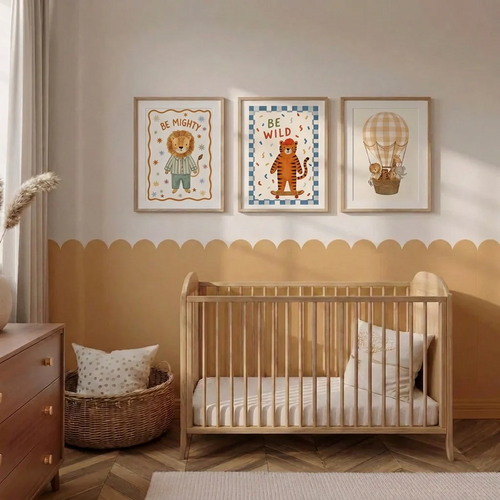
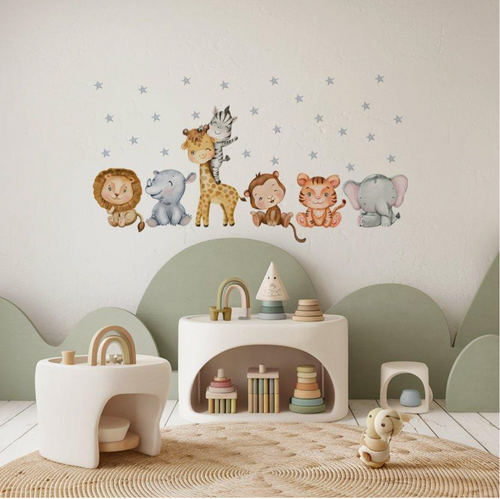
Feature walls behind cots or beds create maximum visual impact with minimal commitment. Play corners, reading nooks, and even ceiling "fifth walls" offer creative opportunities without overwhelming small spaces. Full-room wallpaper looks stunning but represents a significant time and future removal investment, something worth considering when decorating for rapidly changing tastes.
When parents choose wallpaper vs when they don't
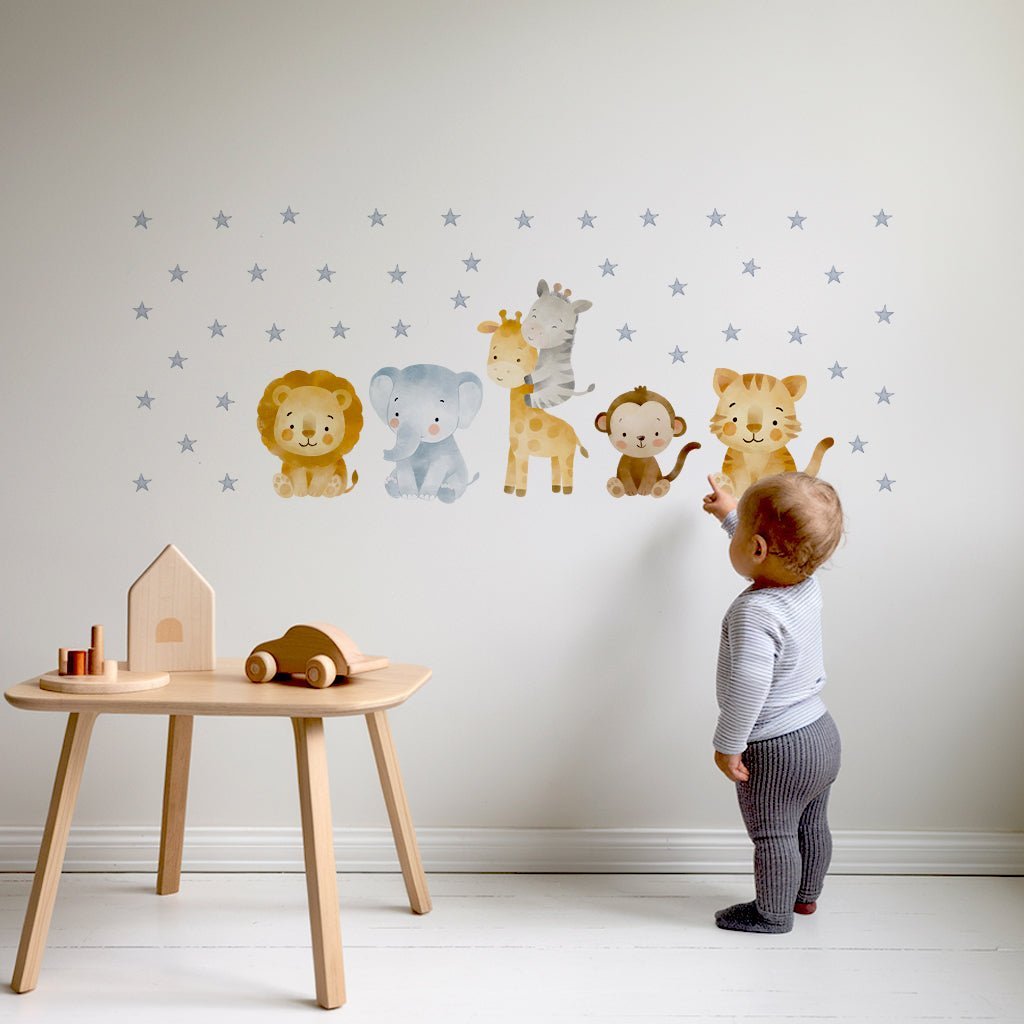
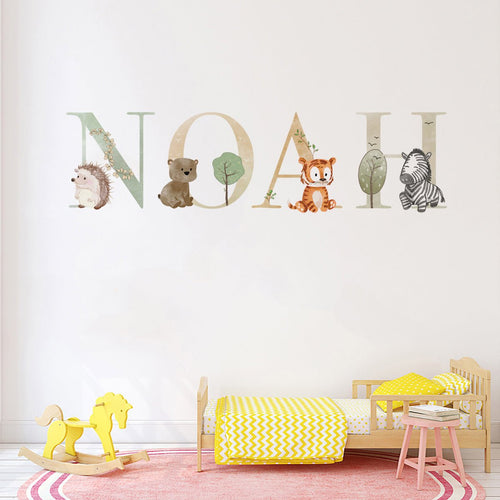
Wallpaper makes sense for owned homes with established room layouts and parents who've fallen in love with one specific design. It's less ideal for rentals, families with very changeable decorating preferences, or tight pre-baby deadlines. Removable wall stickers offer similar visual impact with complete flexibility, letting you create that perfect nursery aesthetic without the permanent commitment.
Types of Wallpaper and How They Behave on Real Family Walls

Traditional pasted wallpaper
Paste-the-paper involves applying adhesive to each strip's back, then "booking" (folding paste-to-paste) for 3–5 minutes while the paper relaxes. Standard rolls measure roughly 50–53 cm wide. This method delivers professional-quality results with rich textures and classic patterns, but creates more mess and requires a steeper learning curve than alternatives.
Paste-the-wall wallpaper
Rolling paste directly onto your wall surface reduces setup time by 15–30 minutes per wall and eliminates the pasting table entirely. Most DIYers find positioning and sliding strips easier with this method, making it particularly effective for large feature walls and newer plastered surfaces where you can work in confident, smooth strokes.
Peel-and-stick wallpaper
Self-adhesive backing creates a simple "peel liner, position, smooth" process that appeals to time-pressed parents. However, these papers stretch and crease more easily than pasted versions, and humidity in south-facing rooms or bathrooms can affect adhesion over 6–12 months, leading to edge lifting or bubbling. For more tips on choosing and using sticky wallpaper, read our article on sticky wallpaper for practical advice.
Wallpaper materials explained
Vinyl offers wipeable surfaces perfect for sticky fingers but can feel shinier than other options. Paper delivers lovely print detail and natural texture, though it tears more easily and dislikes damp conditions. Fabric or woven materials feel softer and prove more forgiving during repositioning, though they typically cost more than vinyl or paper alternatives.
Comparison table: wallpaper types parents ask about most
| Type | How you apply it | Skill level | Typical lifespan in a child's room | Removal difficulty | Best for |
|---|---|---|---|---|---|
| Traditional paste-the-paper | Apply paste to back, book, then hang | Intermediate | 7-10 years | High (scoring, soaking, scraping) | Long-term nurseries, owned homes |
| Paste-the-wall | Roll paste onto wall surface | Beginner-friendly | 6-8 years | Medium (steaming usually needed) | Feature walls, newer plaster |
| Peel-and-stick | Remove backing, position, smooth | Beginner | 2-4 years | Low to medium (may leave residue) | Rentals, temporary themes |
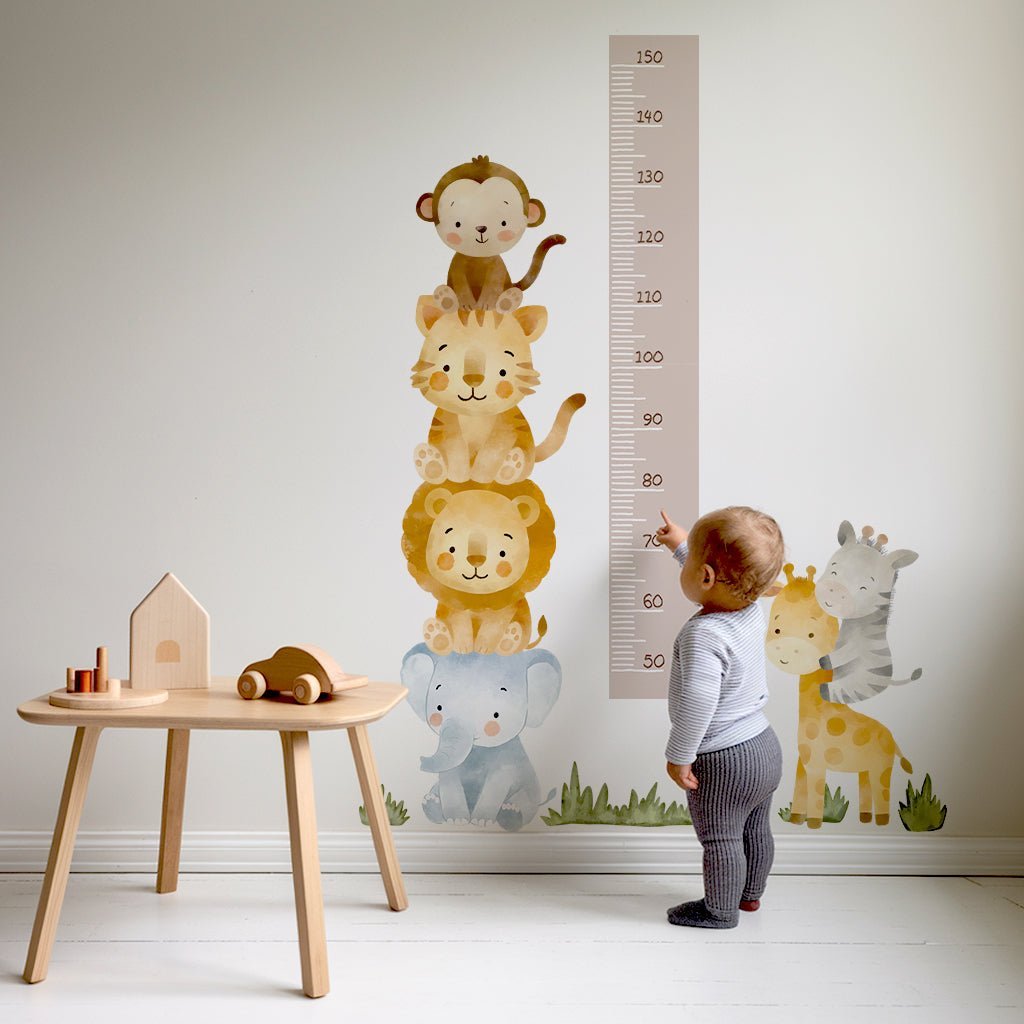
| Removable wall stickers | Peel and position (repositionable) | Beginner | Until you're ready to change | Very low (peels off cleanly) | Growing children, flexible decorating |
Nursery Stickers uses premium removable vinyl and fabric with low-tack adhesive, behaving differently from permanent wallpapers by allowing complete repositioning and clean removal without wall damage.
If you're interested in exploring more about nursery wallpaper options, don't miss our in-depth article on nursery room wallpaper for expert tips and design ideas.
Tools & Materials You Actually Need to Hang Wallpaper (With Parent-Safe Shortcuts)
Core toolkit for hanging wallpaper
Essential tools include a measuring tape (at least 5 metres), plumb line or spirit level, sharp utility knife with 5–10 spare blades, smoothing tool or wallpaper brush, seam roller, clean sponge and water bucket, plus a sturdy step stool or ladder suitable for 2.4–2.7 metre ceilings. These basics handle most standard hanging wallpaper projects without expensive specialist equipment.
Paste, primer, and what each one does
Standard wallpaper paste suits most paper and lightweight vinyl, while heavy-duty versions handle thick vinyl or textured papers. Wall sealer or glue-size, applied 24 hours beforehand, prevents paste soaking into new plaster too quickly. For 5–6 standard rolls, expect to buy roughly 1–2 kg of paste powder or 2–3 litres of ready-mixed adhesive.
Optional extras that make life easier
Drop cloths protect floors from paste drips, while painter's tape shields skirting boards and socket covers. A long straight edge (1-metre ruler) and pencil help with accurate measuring and cutting. Most importantly, recruit a second pair of hands for tall walls or complex pattern matching, the job becomes significantly easier with someone to hold strips while you position and smooth.
Quick Parent Wallpaper Kit: Single feature wall essentials: 1–2 rolls wallpaper, 1 tub paste, utility knife, smoothing brush, sponge, spirit level. Total tool cost: roughly £25–40.
Preparing Your Walls: The Step Most Parents Want to Skip (But Shouldn't)
Why smooth, clean walls make or break your wallpaper
Lumps, flaking paint, and greasy fingerprints telegraph through wallpaper patterns, creating shadows and uneven surfaces that catch light badly. Poor preparation can halve your wallpaper's lifespan by causing lifting seams, persistent bubbles, and adhesion failures that start within months rather than years.
For a deeper dive into the history and science behind wallpaper, you can read more on Wikipedia's wallpaper article.
Step-by-step wall preparation for most family homes
24–48 hours before hanging wallpaper:
- Remove old nails, hooks, and picture strips
- Fill holes with ready-mixed filler (1–2 hours drying time for small holes)
- Sand lightly with fine 120–180 grit sandpaper
12–24 hours before:
- Wash walls with sugar soap or mild detergent, rinse thoroughly, allow complete drying
- Apply primer or size if recommended by wallpaper manufacturer
Special case: newly plastered walls
Wait 4–6 weeks before hanging wallpaper on fresh plaster, using the surface colour as your guide, new plaster appears darker and gradually lightens as moisture evaporates. Newly plastered surfaces must be sealed or sized first to prevent paste being absorbed too quickly, which causes poor adhesion and patchy drying.
Can you wallpaper over paint or old wallpaper?
Sound, matt paint provides an excellent base once cleaned and lightly sanded to create slight texture for adhesion. However, hanging wallpaper over existing wallpaper creates risks, hidden seams may show through, adhesion becomes unreliable, and future removal turns into a nightmare of multiple layers. Strip old wallpaper first in rooms with damp history or multiple previous layers to avoid costly problems later.
Quick Wall Readiness Checklist
- Surface feels smooth when you run your hand across it
- No flaking paint or loose plaster
- Walls are completely dry (no damp patches)
- All holes filled and sanded flush
- Clean, no dust, grease, or crayon marks
- Primer applied if working with new plaster or bare wood
Planning Your Wallpaper Layout (So the First Strip Isn't a Guess)

Measuring your room and working out how many rolls
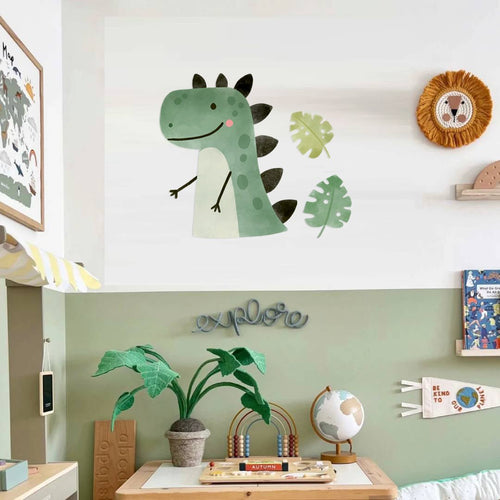
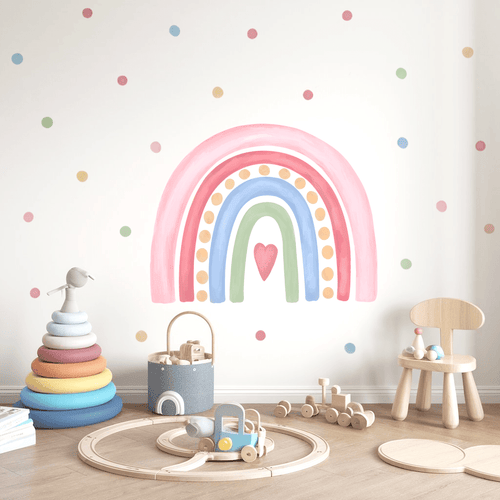
Measure wall width and height in metres, then divide total wall width by roll width (typically 52cm) and round up. Add 10–15% extra for pattern matching and inevitable mistakes. Large pattern repeats of 53cm or more can increase waste significantly, a bold dinosaur or rainbow design might need 20% extra compared to simple stripes.
For more creative ideas on children's wallpaper murals and how to plan your space, you might enjoy our article on children's wallpaper murals.
Choosing your starting point
Never start in a corner where walls meet unevenly. Instead, choose your focal wall's centre point and work outwards, aligning key motifs, animals, stars, or rainbow arches, with the centre of the cot, bed, or main furniture piece. This ensures the most visible elements look intentionally placed rather than randomly positioned.
Drawing a plumb line for your first strip
Mark a vertical line using a spirit level or plumb bob, positioned roughly 2–3cm in from where your first strip's edge will sit. Trust this line completely, not the corner or ceiling, houses settle and walls rarely run perfectly true. This single step prevents the frustrating slope that becomes obvious once you've hung three crooked strips.
Planning around windows, doors, and sockets
Sketch where joins will fall before cutting any wallpaper, avoiding narrow 2–3cm slivers that look awkward and are difficult to hang smoothly. Mark tricky areas like light switches and socket positions with pencil beforehand, planning your approach for clean cuts around obstacles.
Step-by-Step: How to Hang Traditional and Paste-the-Wall Wallpaper
Cutting your first three strips
Measure wall height and add 5–10cm extra for trimming top and bottom. Use your first strip as a template for the next 2–3 pieces, ensuring consistent length. Mark the top of each strip with a pencil arrow, this prevents accidentally hanging strips upside down when pattern direction matters.
Applying paste: paste-the-paper method
Lay strips on a pasting table and use a roller or brush to spread even paste coverage right to the edges, avoiding dry patches that cause lifting. Fold paste-to-paste and rest for 5–10 minutes during "booking" time, allowing the paper to relax and expand before hanging wallpaper becomes much easier.
Applying paste: paste-the-wall method
Roll paste directly onto the wall, covering an area slightly wider and taller than your strip by 2–3cm. Work in sections you can complete within 5–10 minutes before paste begins to skin over. Avoid thick ridges or pooled adhesive that will show through as lumps once the wallpaper is smoothed down.
Hanging the first strip
Lift the top half and align the edge with your plumb line, leaving 2–3cm extra at the ceiling for trimming. Lightly position without pressing hard, then smooth from centre outward using a wallpaper brush or smoother. Double-check vertical alignment with your level before committing to firm pressure.
Smoothing and de-bubbling
Apply firm but gentle pressure from top to bottom, working from centre to edges in overlapping strokes. Small bubbles the size of a 5p coin often disappear as paste dries, but larger ones need immediate attention, gently lift the affected area and re-smooth while paste remains wet and workable.
Trimming top, bottom, and around sockets
Use a sharp utility knife with a metal straight edge, changing blades every 1–2 strips for clean cuts. Press wallpaper lightly into ceiling lines and skirting boards first, then trim in one smooth motion. For electrical sockets, switch power off, loosen covers slightly, cut paper larger than the opening, then trim precisely before refitting.
Hanging subsequent strips and matching patterns
Slide each new strip up or down until key motifs align cleanly with the previous piece, stars should line up with stars, leaves with leaves. Aim for seams that "kiss" without gaps or overlaps unless manufacturer instructions specify otherwise. Run a seam roller lightly over joins to seal and prevent lifting. For additional safety tips and best practices when working on home improvement projects, you can consult this external resource from the U.S. Consumer Product Safety Commission.
Frequently Asked Questions
What are the main differences between traditional wallpaper, paste-the-wall wallpaper, and peel-and-stick wallpaper?
Traditional wallpaper requires applying adhesive to the back of each strip before hanging, which can be messy and time-consuming. Paste-the-wall wallpaper involves rolling adhesive directly onto the wall, making the paper easier to handle but still needing careful alignment. Peel-and-stick wallpaper comes with pre-applied adhesive, allowing for quicker, cleaner application and easier removal, ideal for busy families.
Is it practical for busy parents to hang wallpaper in a child's room, and what alternatives exist to simplify the process?
Hanging traditional wallpaper can be challenging for busy parents due to the time, mess, and precision involved. Simpler alternatives like peel-and-stick wallpaper or removable wall stickers offer a fuss-free way to refresh a room quickly without the stress of paste and drying times.
How can I involve my child safely when decorating their room with wallpaper or wall stickers?
It's best to wait until wallpaper is fully dry and securely hung before letting children help, as wet paste can be messy and tricky. With wall stickers, kids can join in applying decals, making decorating a fun, hands-on activity that’s safe and mess-free.
What are the best areas in a child's room to apply wallpaper for maximum impact with minimal effort?
Feature walls behind cots or beds create a striking focal point without covering the whole room. Play corners or reading nooks are also great spots to add personality and colour, giving you big style with less time and effort.