Your cart is empty
Continue shopping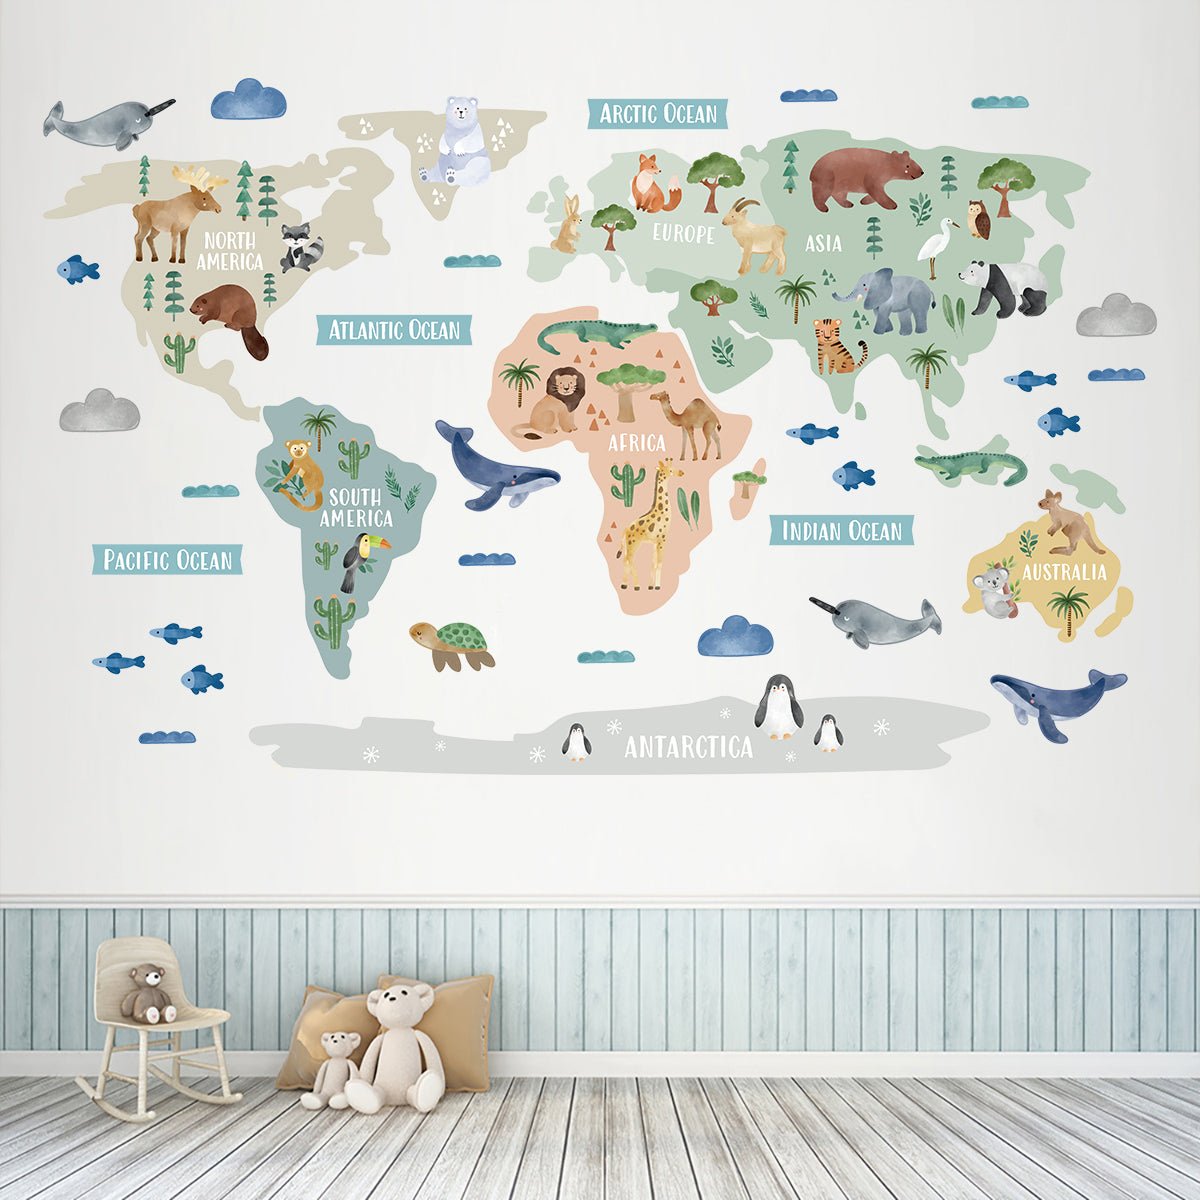
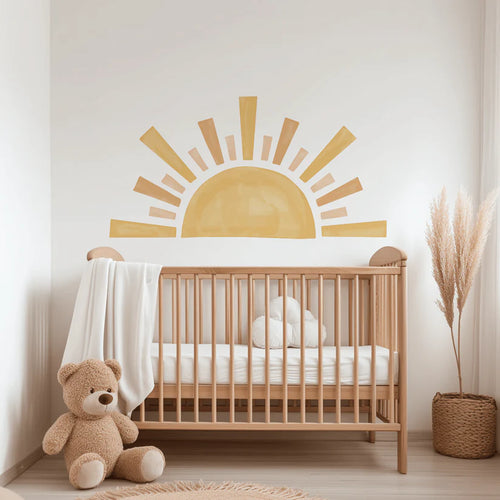
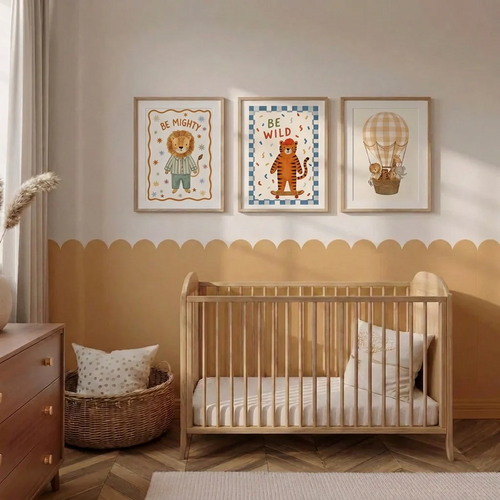
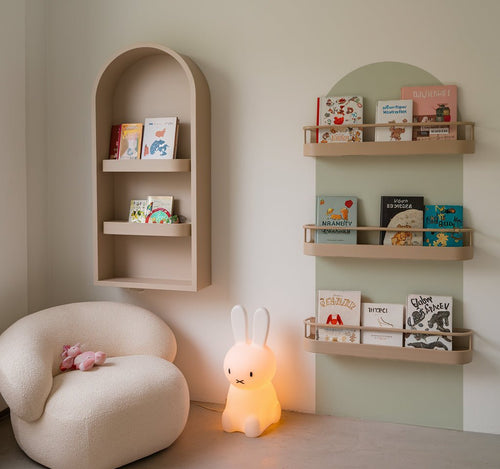
Nursery Wall Stickers
Transform a baby's room with nursery wall stickers made for calm, playful...
Transform a baby's room with nursery wall stickers made for calm, playful...

Up to 60% off Today
Our IKEA LATT and FLISAT table stickers are designed to be easy to apply, but because they are larger flat stickers, a few air bubbles can appear if the sticker is placed down too quickly.
The best finish comes from applying slowly, working section by section, and smoothing the sticker down as you go.
Make sure the table surface is clean, dry and free from dust, crumbs or grease. Wipe the table down first and allow it to fully dry before applying your sticker.
For IKEA LATT tables: we recommend dismantling the table before applying the sticker. This makes it much easier to line up the sticker neatly around the edges without you needing to trim any access material.
For best results, do not remove the whole backing sheet at once.
Place the sticker on the table before peeling off the backing, so you can check the position and make sure you are happy with the alignment.
Once you are ready, peel back a small section of the backing paper from one edge of the sticker. It might be easier to cut away the backing sheet for this section only so it doesn't interfere.
Stick down the first edge, then slowly smooth the sticker onto the table a little at a time.
Use your hands or a soft cloth to press the sticker down as you go. Smooth from the centre out towards the edges, rather than pressing straight down across the whole sticker.
This helps push any trapped air out as the sticker is applied.
The most important thing is to keep smoothing while you apply.
Apply a small section, press it down, then move on to the next section. Try not to rush or let the full sticker fall onto the table at once, as this can trap air underneath.
If you notice a bubble forming, stop before applying more of the sticker.
Gently lift that section back up, then reapply it slowly while smoothing the air out with your hands. Push your hands away from the bubble, guiding the air towards the nearest edge of the sticker.
Do not keep pressing down directly on top of the bubble, as this can trap the air in place.
If your sticker is very slightly off-centre but it is not noticeable on the tabletop, you do not need to remove and reapply the whole sticker.
Instead, carefully use a sharp craft knife or blade to slice away any tiny overhanging edges. This helps prevent the sticker from catching or peeling with use.
Please take care when trimming and only remove the excess sticker that sits beyond the table edge.
Once the sticker is fully in place, go over the whole surface again with your hands or a soft cloth.
Pay extra attention to the edges and corners to make sure everything is firmly pressed down.
A few very small bubbles can sometimes settle naturally after the sticker has been pressed down and used. Larger bubbles are best fixed during application by lifting that section and smoothing it down again.
If you see a bubble:
Stop → lift that area → smooth it back down slowly → push the air out towards the edge.
The slower you apply the sticker, the smoother the final finish will be.
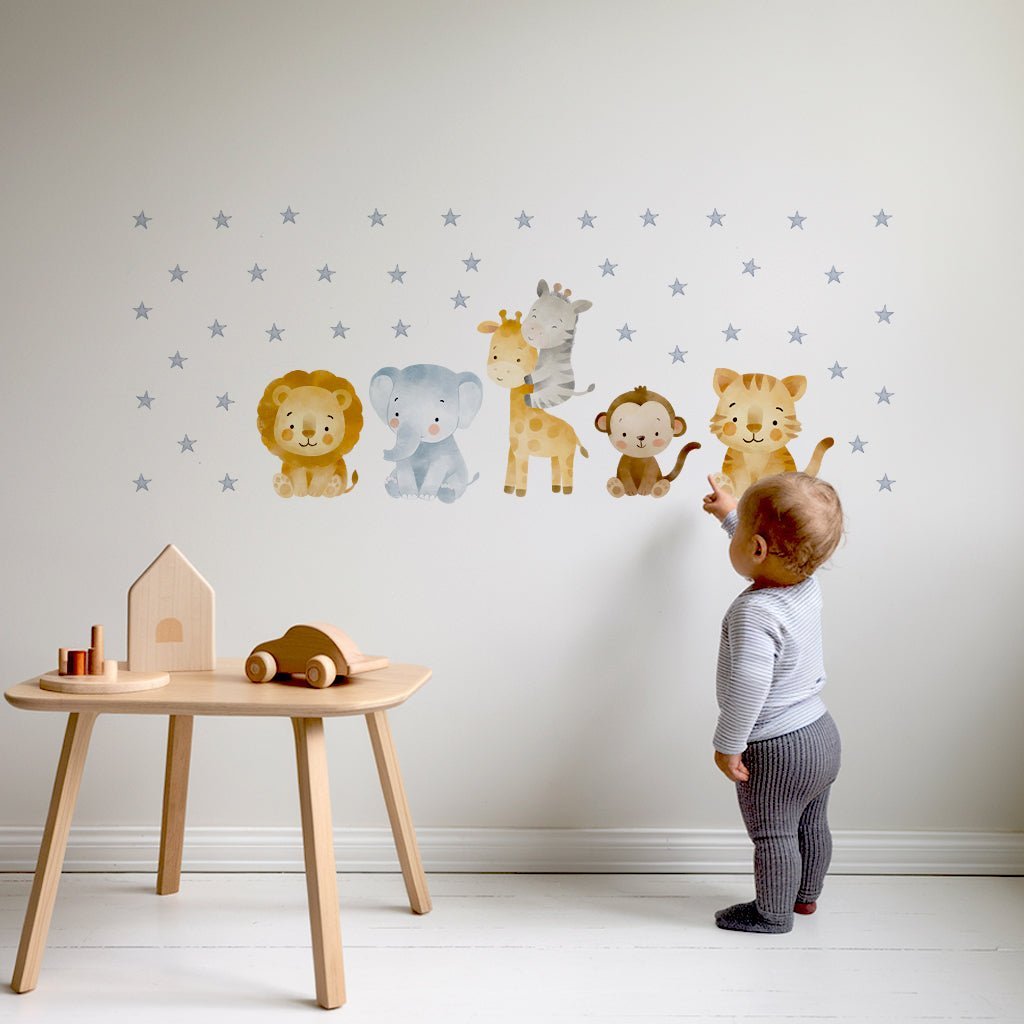
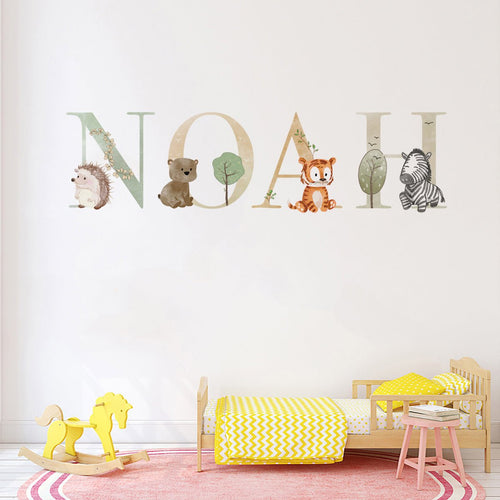
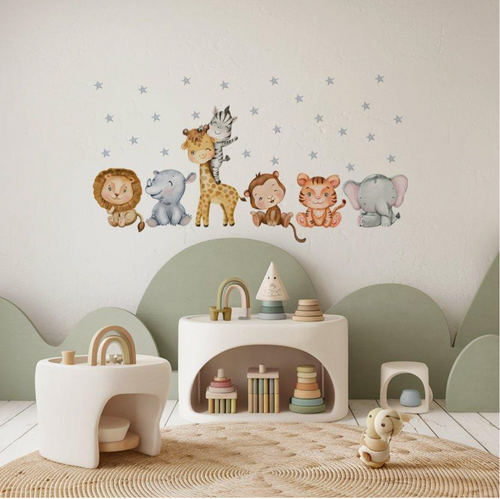
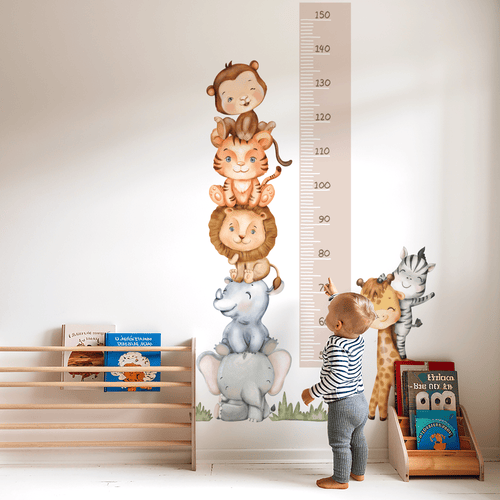
Bring favourite animals into a nursery, bedroom or playroom with animal wall...

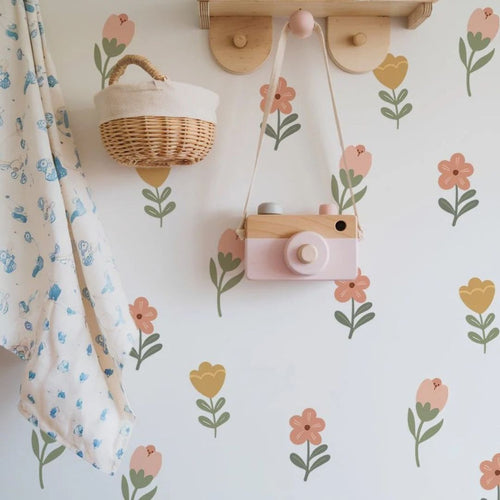
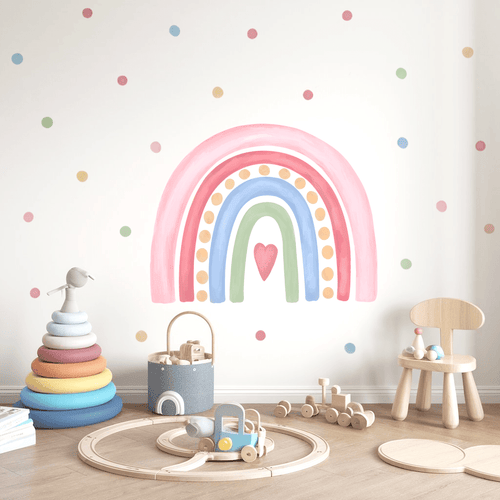
Brighten a nursery, bedroom or playroom with rainbow wall stickers in soft...

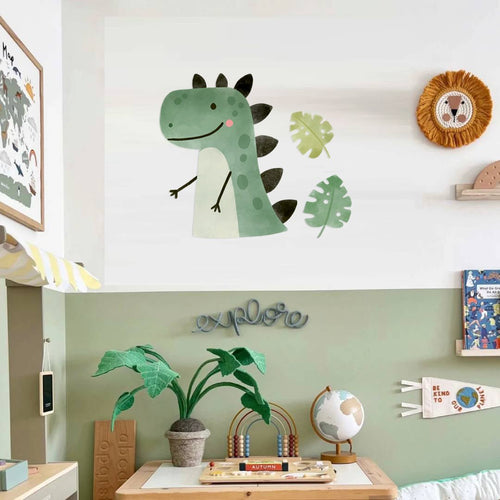
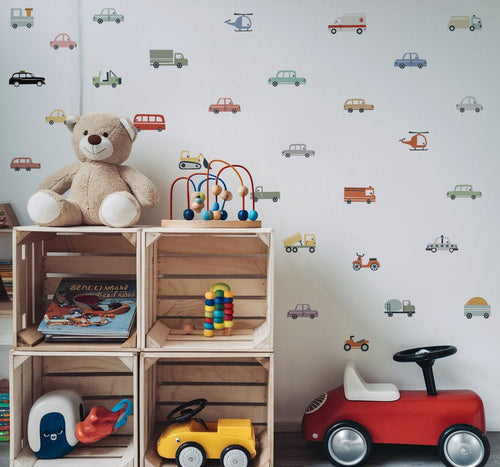
Fuel a transport-themed room with vehicle wall stickers for kids bedrooms and...