Your cart is empty
Continue shopping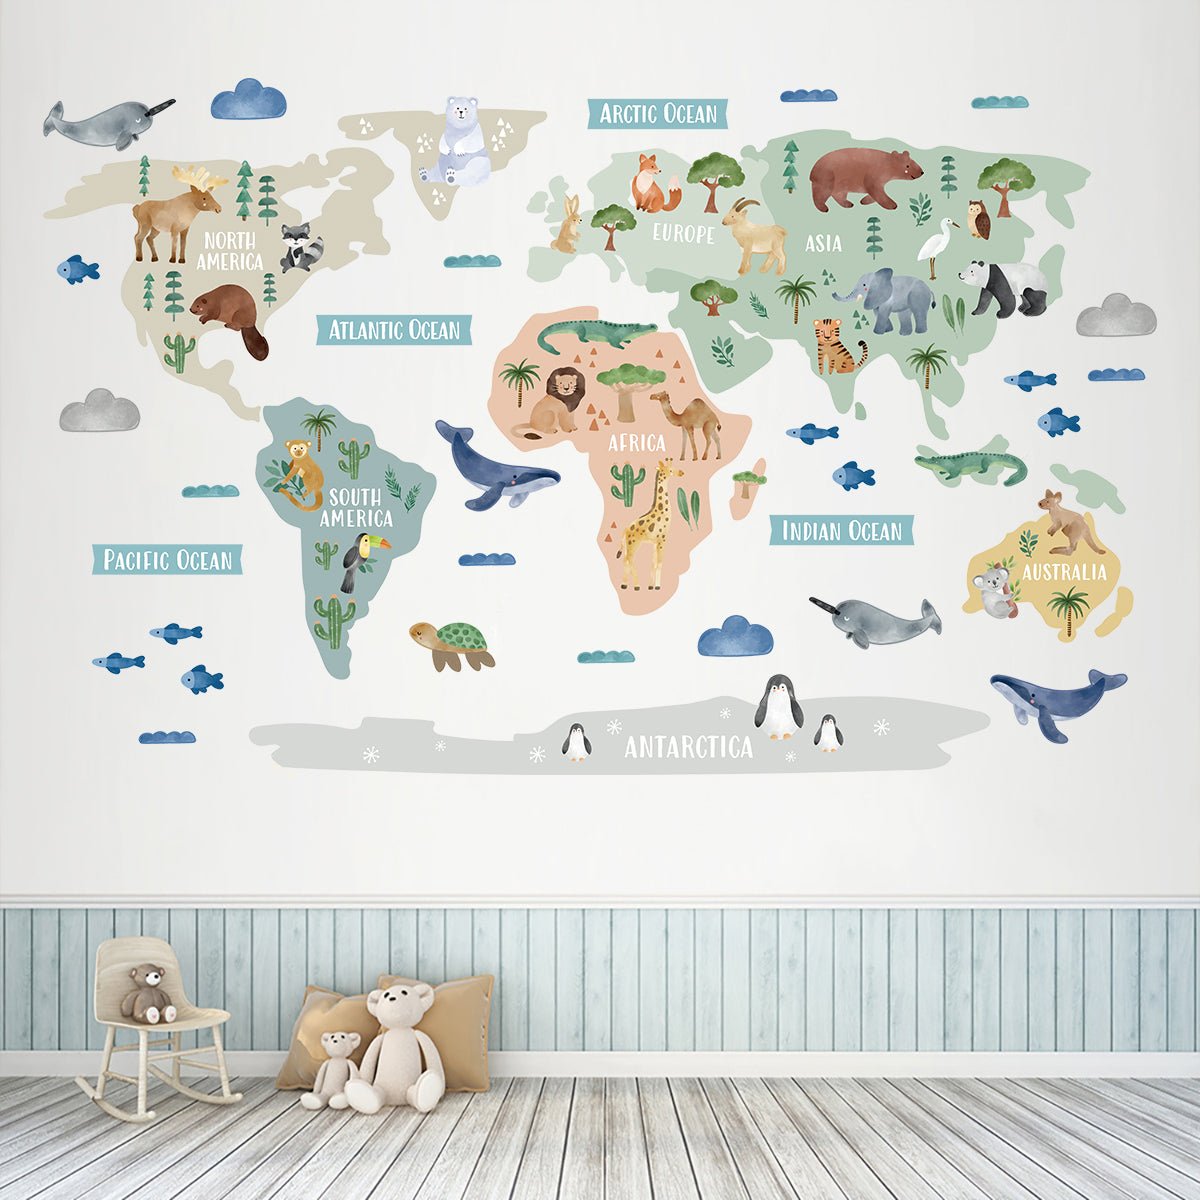
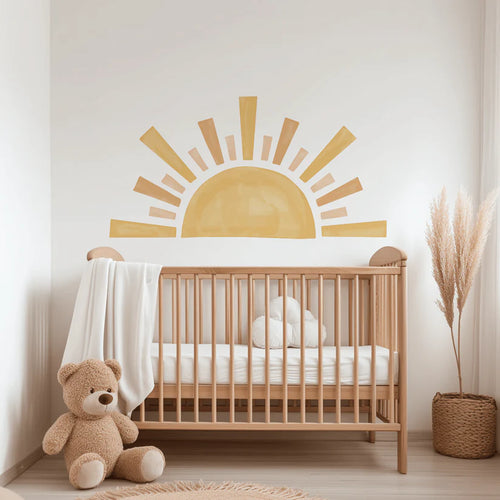
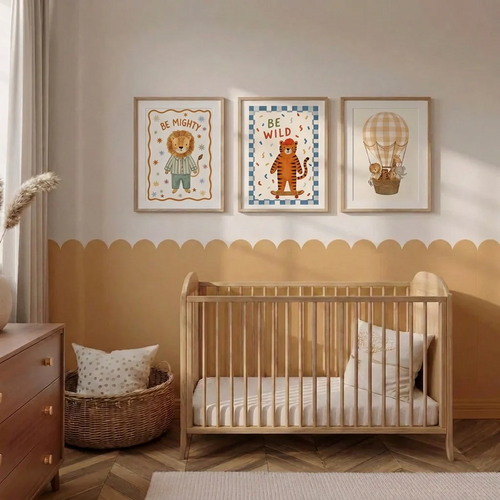
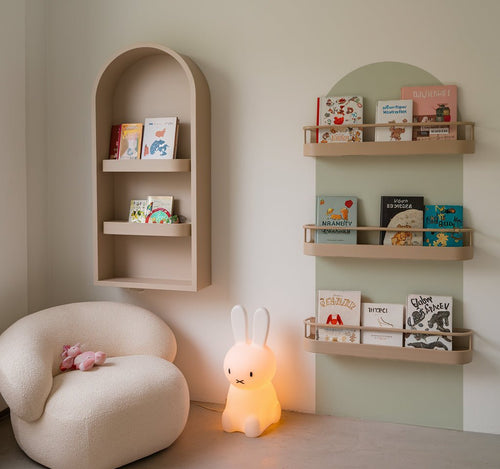
Nursery Wall Stickers
Transform a baby's room with nursery wall stickers made for calm, playful...
Transform a baby's room with nursery wall stickers made for calm, playful...

Up to 60% off Today
Easy to apply, one section at a time
Our wall border stickers are designed to give you the look of a painted or wallpapered border, without the paste, paint or commitment.
Each border strip measures 90cm wide x 40cm tall and can be applied as a single feature or repeated around the room. For the best finish, take your time measuring, apply each strip section by section, and smooth as you go.

Make sure your wall is clean, dry and dust-free before applying your sticker. We recommend having the following tools ready:

Work from one side of the wall to the other, applying one 90cm strip at a time.
Do not remove the full backing sheet straight away. Instead, peel back a small section first, position your border, then slowly remove more backing as you smooth the sticker onto the wall.
This gives you more control and helps prevent bubbles, creases or misalignment.

Decide where you would like your border to sit on the wall.
You can apply it:
Use a tape measure and pencil to lightly mark the height at several points across the wall.
Tip: Do not rely on the ceiling, skirting board or furniture being perfectly level. Always use a spirit level or laser level to create your guide line.

Peel back around 10–20cm of the backing paper from one side of your first border strip.
Line the top edge of the sticker up with your pencil or level guide, then gently press the first section onto the wall.
Once you are happy with the position, smooth the first section down using your hand or smoothing tool.

Slowly peel away more of the backing paper, smoothing the sticker onto the wall as you go.
Work gradually across the strip rather than trying to apply the whole piece at once.
Smooth from the centre outwards to push out air bubbles and help the sticker sit flat against the wall.
Tip: If the strip starts to drift slightly, gently lift the last section and reposition before continuing.

To continue your border, position the next strip directly alongside the first.
Before sticking it down fully, check that:
Once aligned, apply the next strip in the same way — peeling and smoothing section by section.
For a seamless look, take your time at each join before moving on.

After each strip is applied, rub across the full border using your smoothing tool, bank card or hand.
Pay extra attention to:
Most small bubbles can be pushed gently towards the edge.
If your border reaches a corner, door frame, window frame or piece of fixed furniture, measure the space carefully before cutting.
Use scissors or a craft knife to trim the strip to size.
For the neatest finish:
If you are continuing the border around a corner, we recommend finishing one wall first, then starting the next wall with a fresh strip.
This usually gives a neater finish than trying to bend one strip around the corner, especially if your walls are not perfectly straight.
Line up the new strip using your level guide and continue applying section by section.

If your border overlaps a plug socket, light switch or fixture, apply the sticker carefully up to the edge first.
Make sure the power is switched off before working around electrical fittings.
Gently smooth the sticker around the area, then use a sharp craft knife to carefully cut around the socket or switch. Take your time and avoid stretching the sticker as you cut.
Once your border is applied, step back and check the full wall.
Gently smooth over each strip again, especially at the edges and joins.
If any section needs adjusting, carefully lift and reposition it as soon as possible, before firmly smoothing it into place.
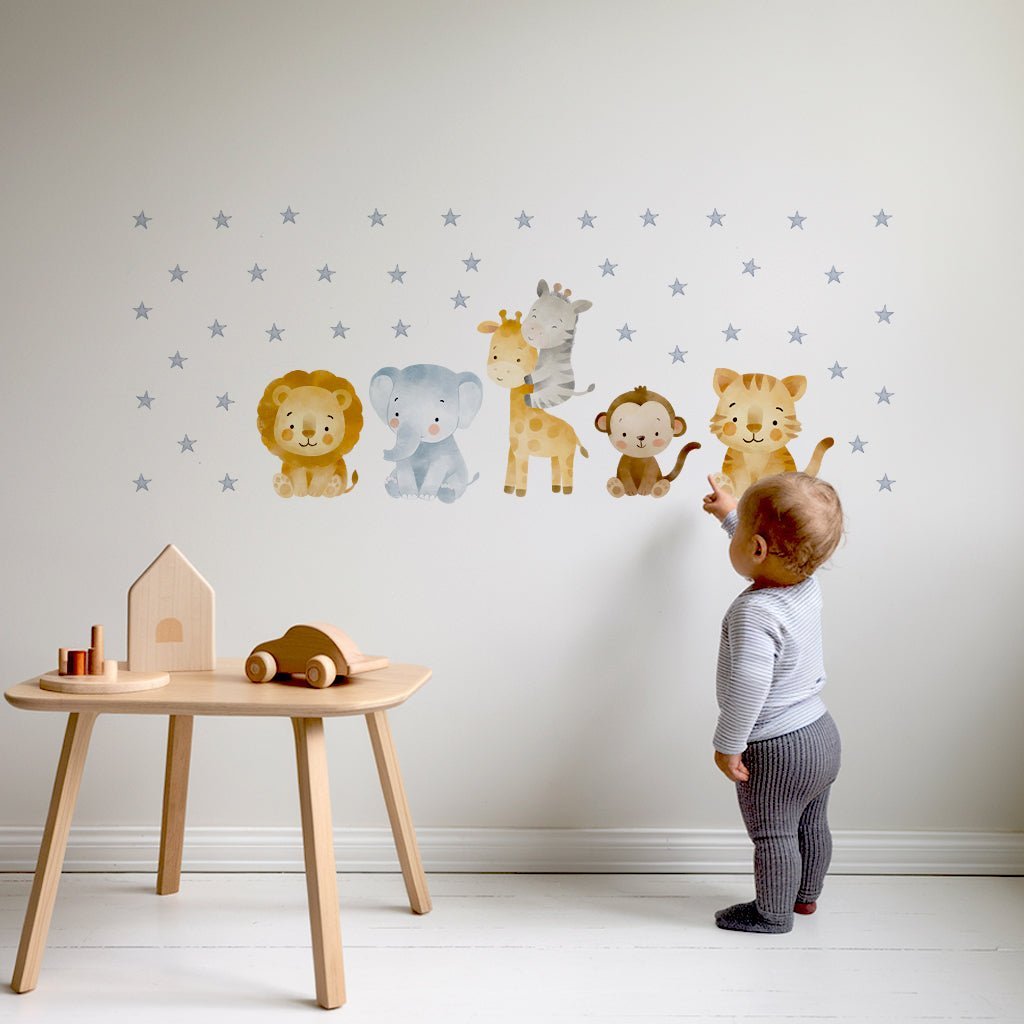
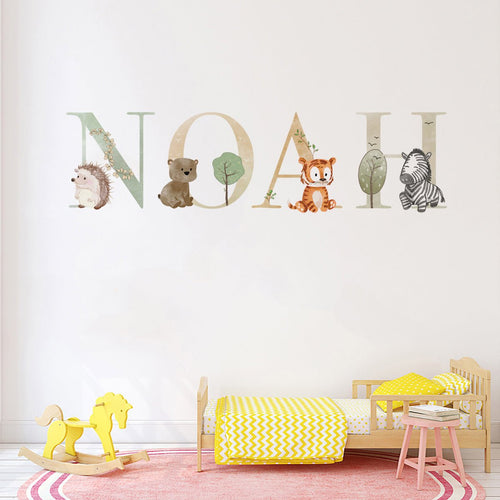
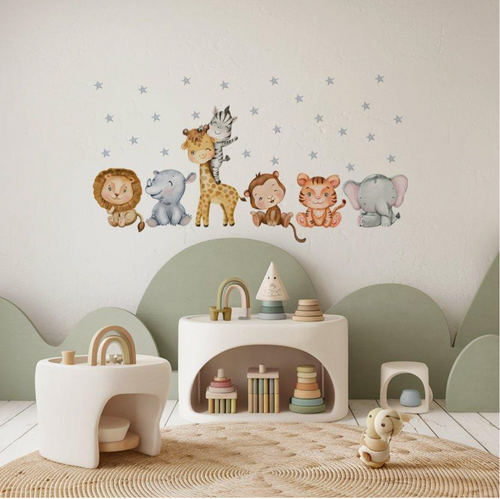
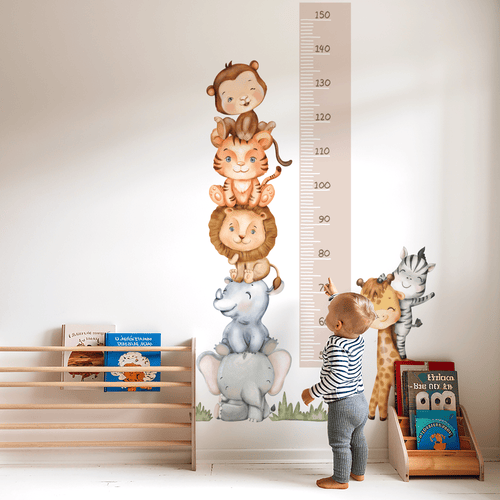
Bring favourite animals into a nursery, bedroom or playroom with animal wall...

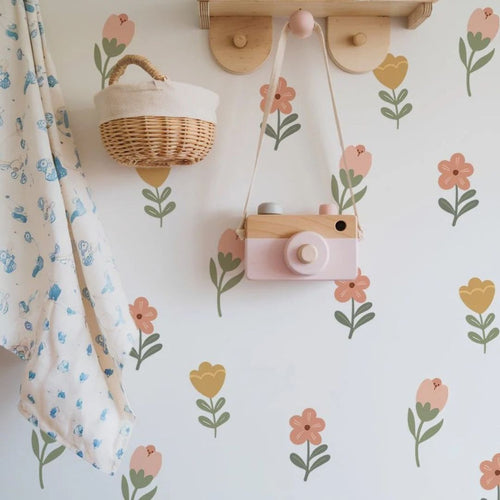
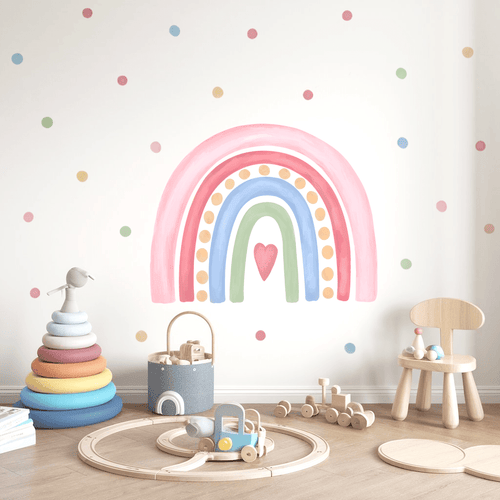
Brighten a nursery, bedroom or playroom with rainbow wall stickers in soft...

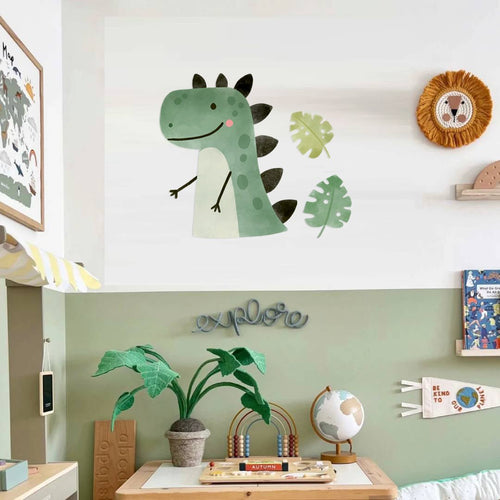
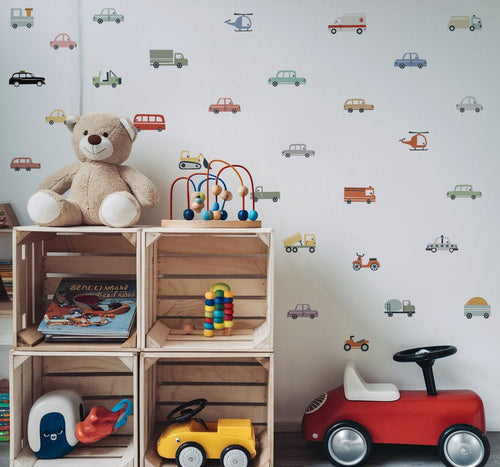
Fuel a transport-themed room with vehicle wall stickers for kids bedrooms and...