Your cart is empty
Continue shopping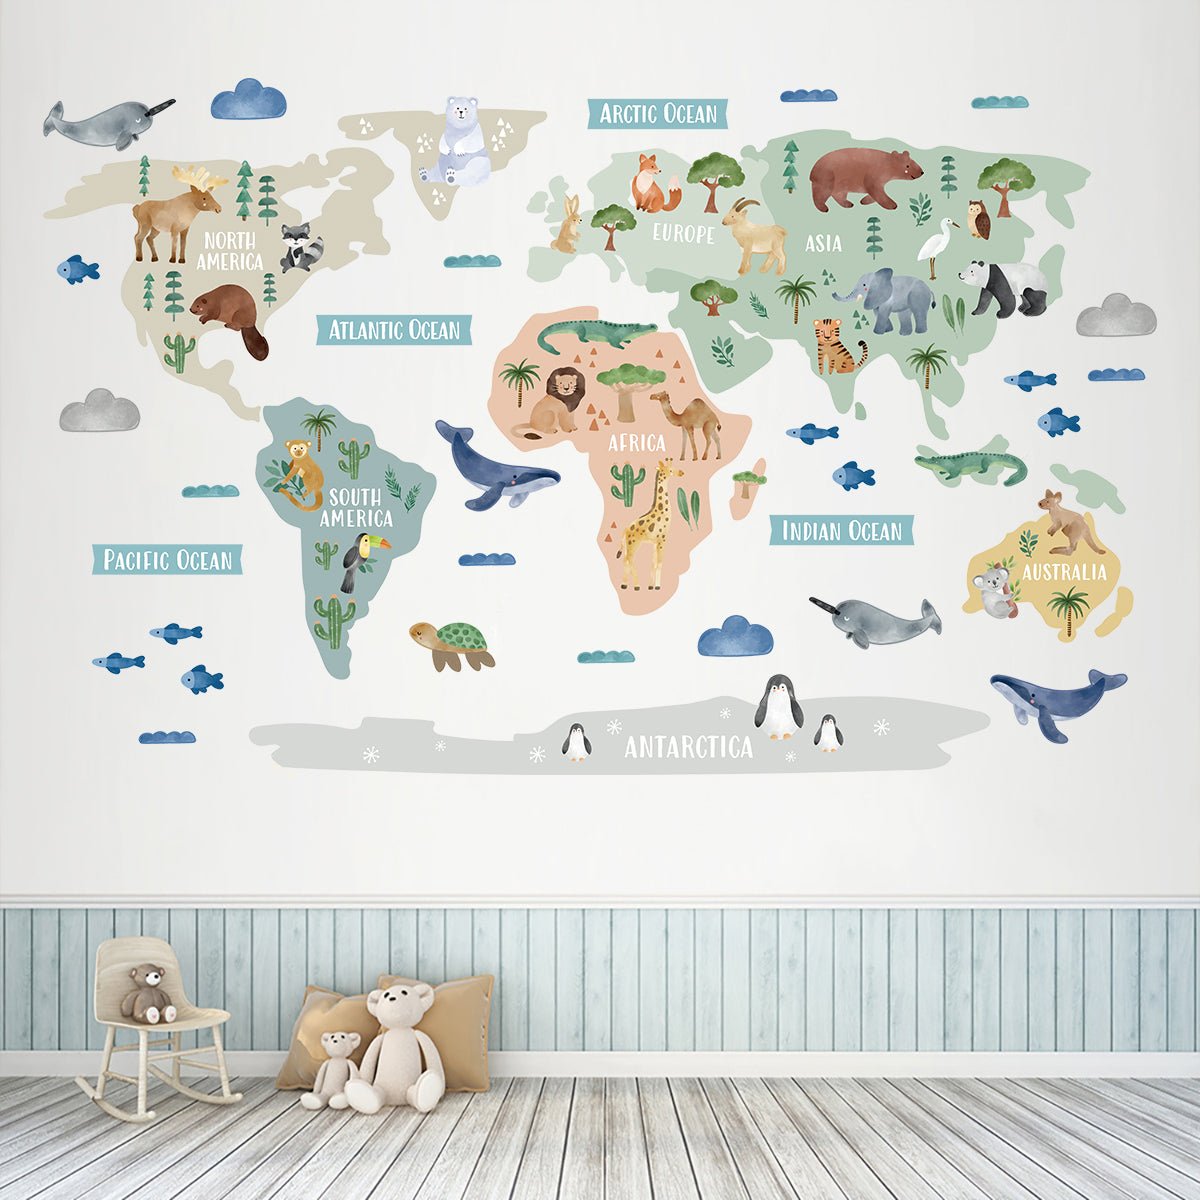
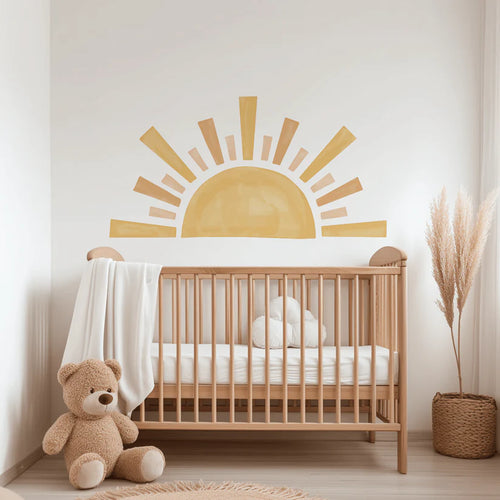
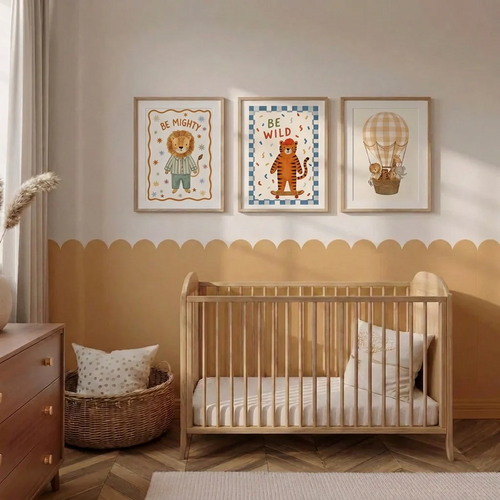
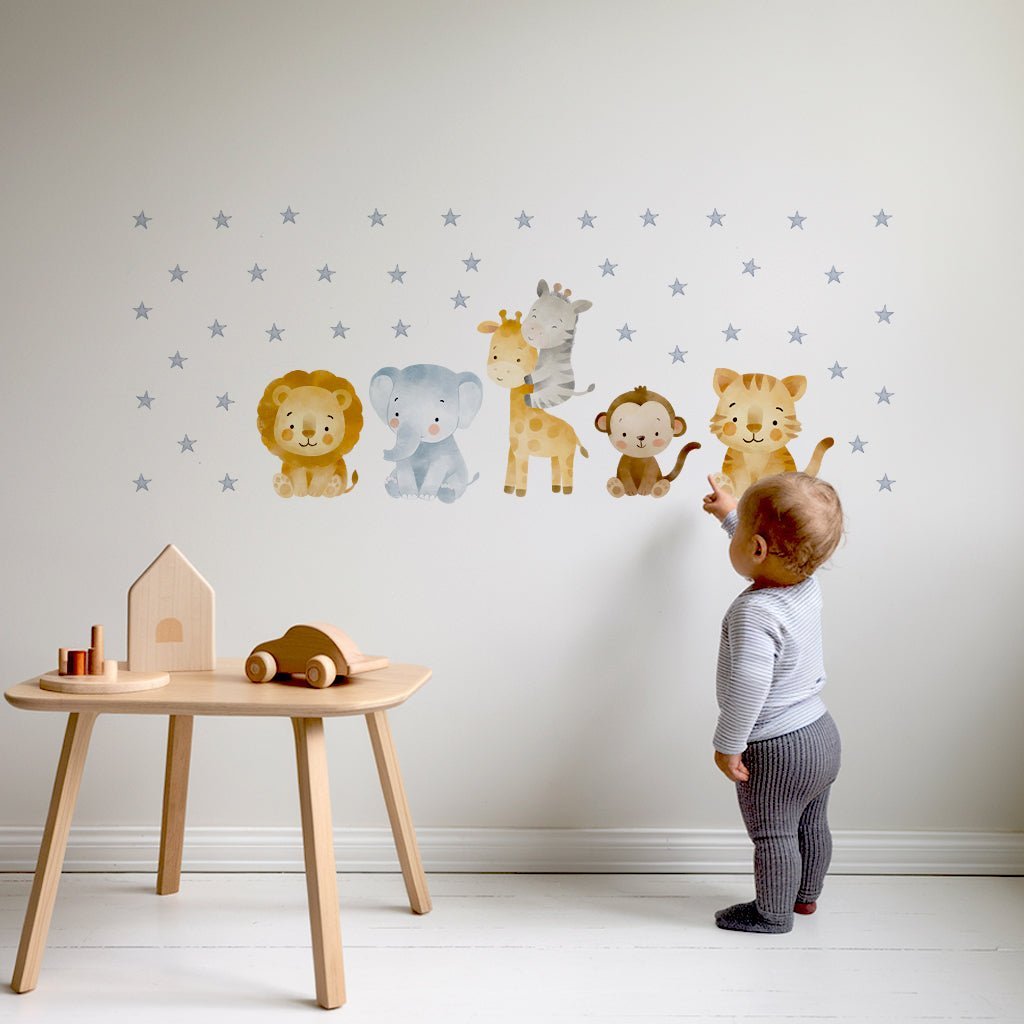
Nursery Wall Stickers
Transform a baby's room with nursery wall stickers made for calm, playful...
Transform a baby's room with nursery wall stickers made for calm, playful...

Up to 60% off Today
Easy to apply, one section at a time
Each wall panel sticker measures 50 cm wide x 113 cm high and is easiest to apply by starting at the bottom and working upwards in manageable sections. This helps you line the panel up neatly with the skirting board, avoid the adhesive sticking to itself, and make small adjustments as you go.

Make sure your wall is clean, dry and dust-free before applying your sticker. We recommend having the following tools ready:

Work from the bottom up. Peel away only the bottom section of the backing sheet first, across the full width of the panel, in a strip of around 20–40 cm. Apply that section to the wall, smooth it down, then peel and apply the next section. Continue this way until the full panel is in place
Why this works: It keeps the panel aligned with the skirting board, stops it sticking to itself, and makes the whole process much easier to control.

Place the panel the correct way up. Peel away the bottom part of the backing sheet first, but do not remove the whole backing sheet at once. Starting at the bottom makes it much easier to line the panel up neatly with the skirting board.

Position the exposed lower section against the wall and line the bottom edge up with the skirting board. Press it down gently first so you can make sure it is straight, then smooth it firmly into place. The first section sets the line for the whole panel, so take a moment to get this part right.
Peel off the next 20–40 cm of backing sheet, tear away that loose backing, then apply and smooth that section before moving on to the next. Continue section by section from bottom to top. Working in smaller sections helps stop the sticker folding onto itself and keeps the process much more controlled.

Rub down each section firmly once it is on the wall. Smooth out the edges and push out any bubbles immediately. If anything looks off, lift and adjust that section before moving on. This method means only one section needs correcting, rather than the whole panel.

If your panel needs shortening or narrowing, measure first.
For the neatest finish, you can:
Use slow, controlled cuts for the cleanest finish.

Apply the panel up to the socket or switch in the normal way, but leave the area covering the fitting slightly unstuck. Then use a Stanley knife carefully to cut around the edges. Remove the excess piece and press the panel down firmly around the fitting. The same method works for both plug sockets and light switches. Cut gradually rather than trying to do it all in one fast movement.
Always use scissors and Stanley knives with care. Cut slowly, keep fingers clear of the blade, and take extra care around sockets and switches
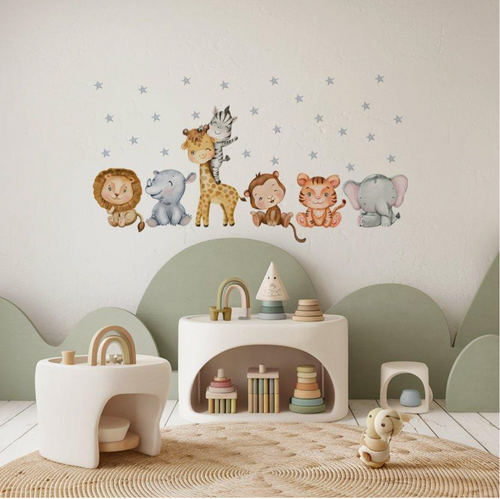
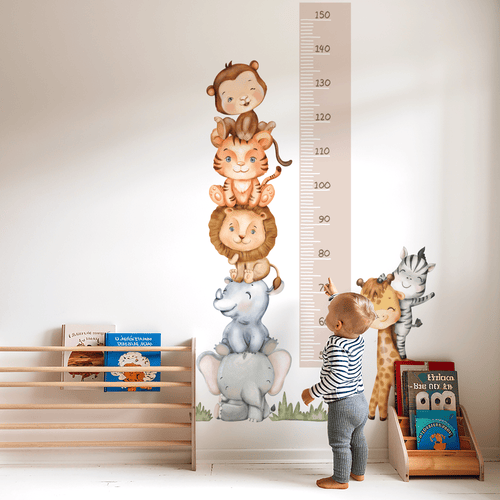
Bring favourite animals into a nursery, bedroom or playroom with animal wall...

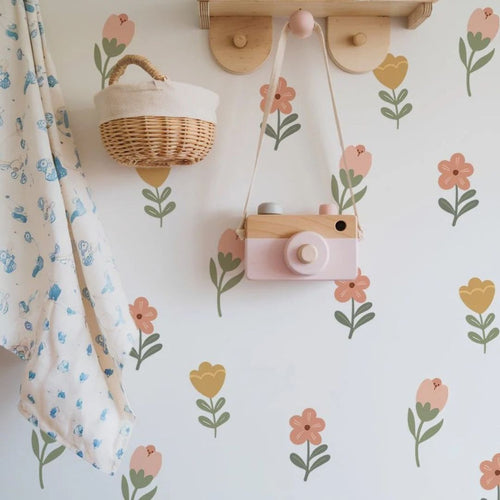
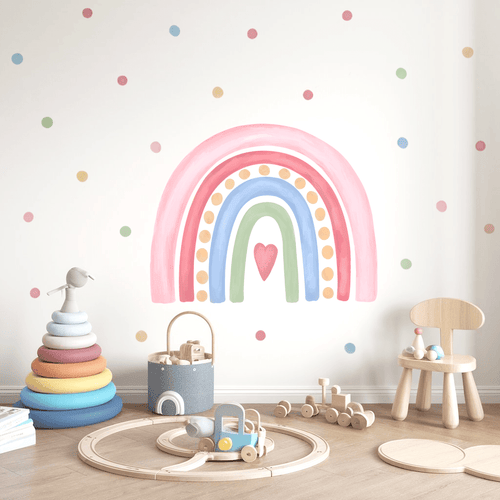
Brighten a nursery, bedroom or playroom with rainbow wall stickers in soft...

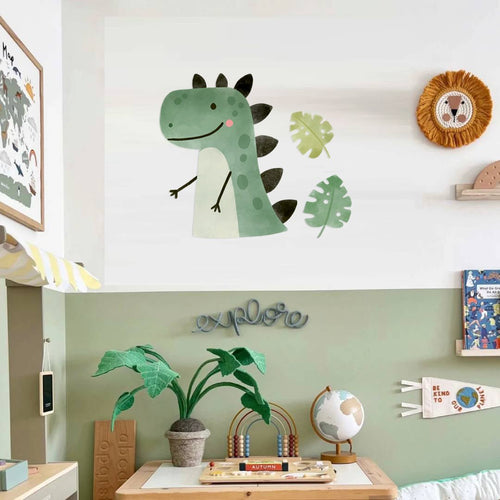
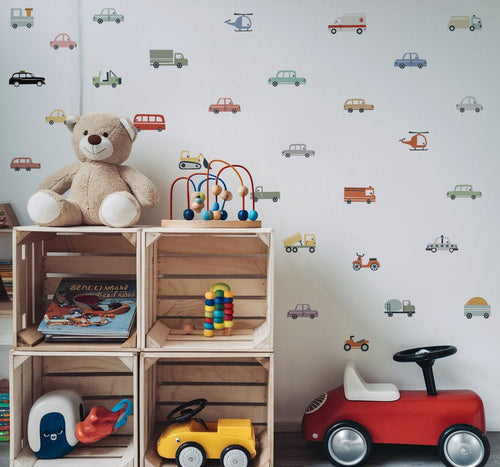
Fuel a transport-themed room with vehicle wall stickers for kids bedrooms and...