


In today's modern nursery, parents are always looking for ways to create a captivating and inspiring space for their little ones. One popular and cost-effective way to achieve this is by using wall stickers. These versatile decorations can transform any bland wall into a magical and enchanting world. In this complete guide, we will explore the importance of wall stickers in a nursery, factors to consider when choosing them, different types available, and how to apply and remove wall stickers.
Understanding the Importance of Wall Stickers in a Nursery
Creating a Stimulating Environment for Your Baby
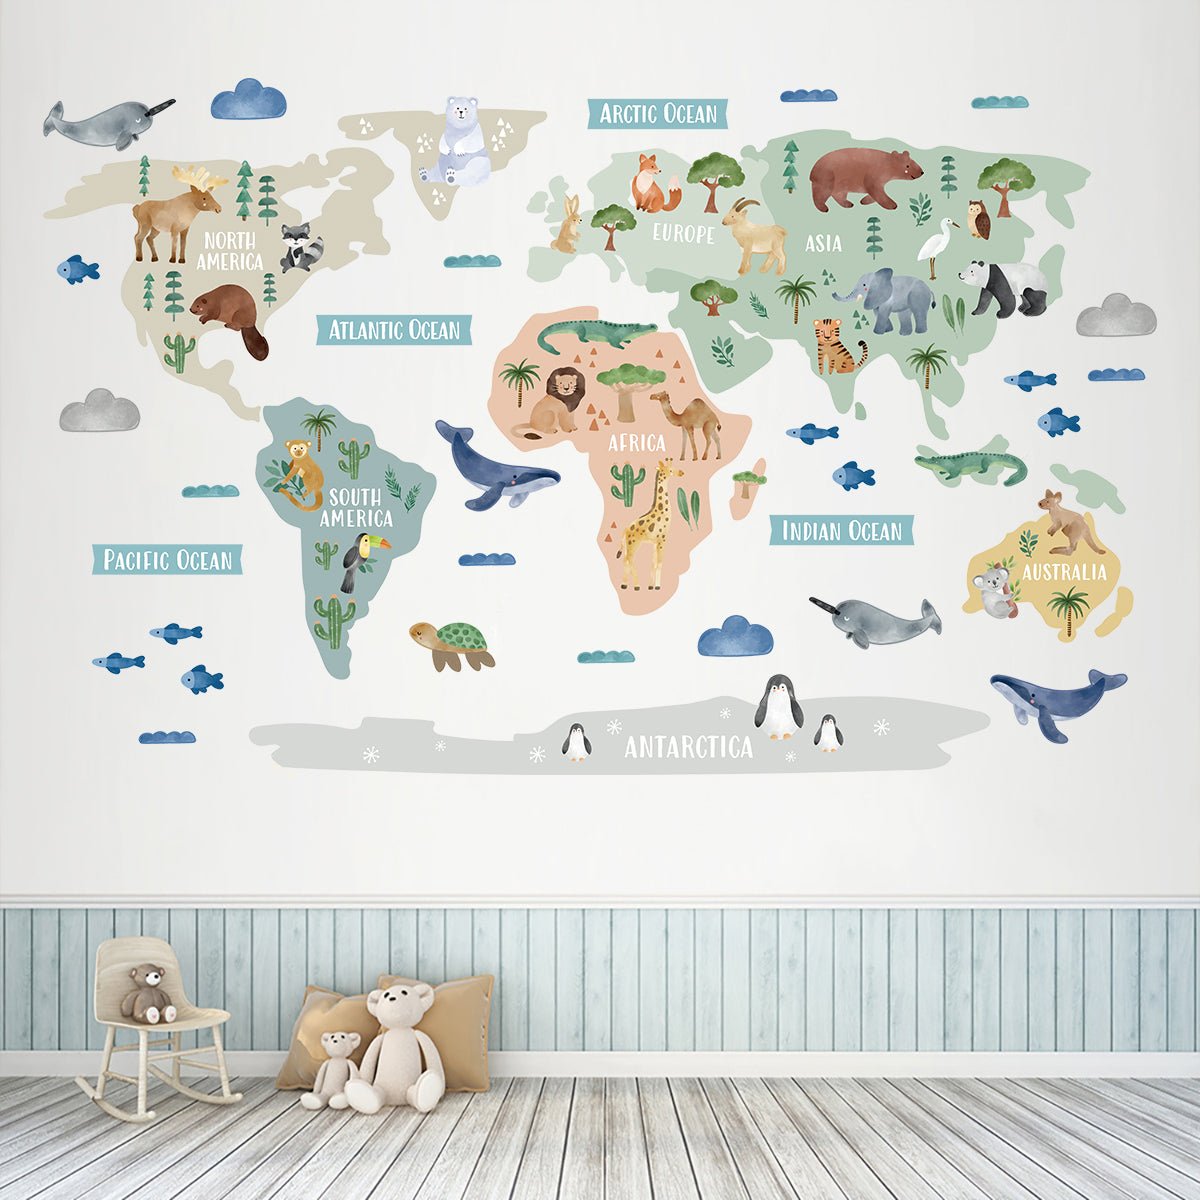
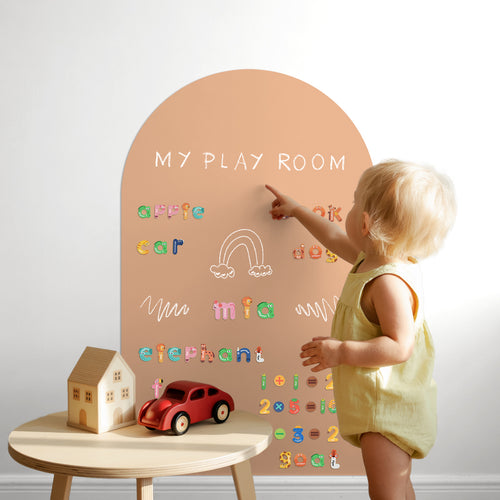
Wall stickers are a simple way to enrich your baby’s environment. Bright, colourful designs engage their senses and support early cognitive development. Educational stickers featuring letters, numbers, or words can also spark early language learning, offering a fun way to introduce new concepts as your child grows.
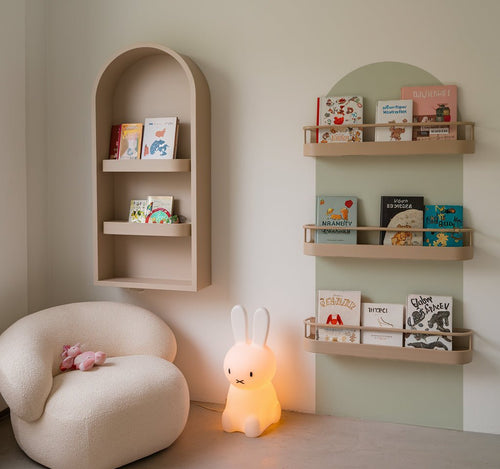
Enhancing the Aesthetic Appeal of the Nursery
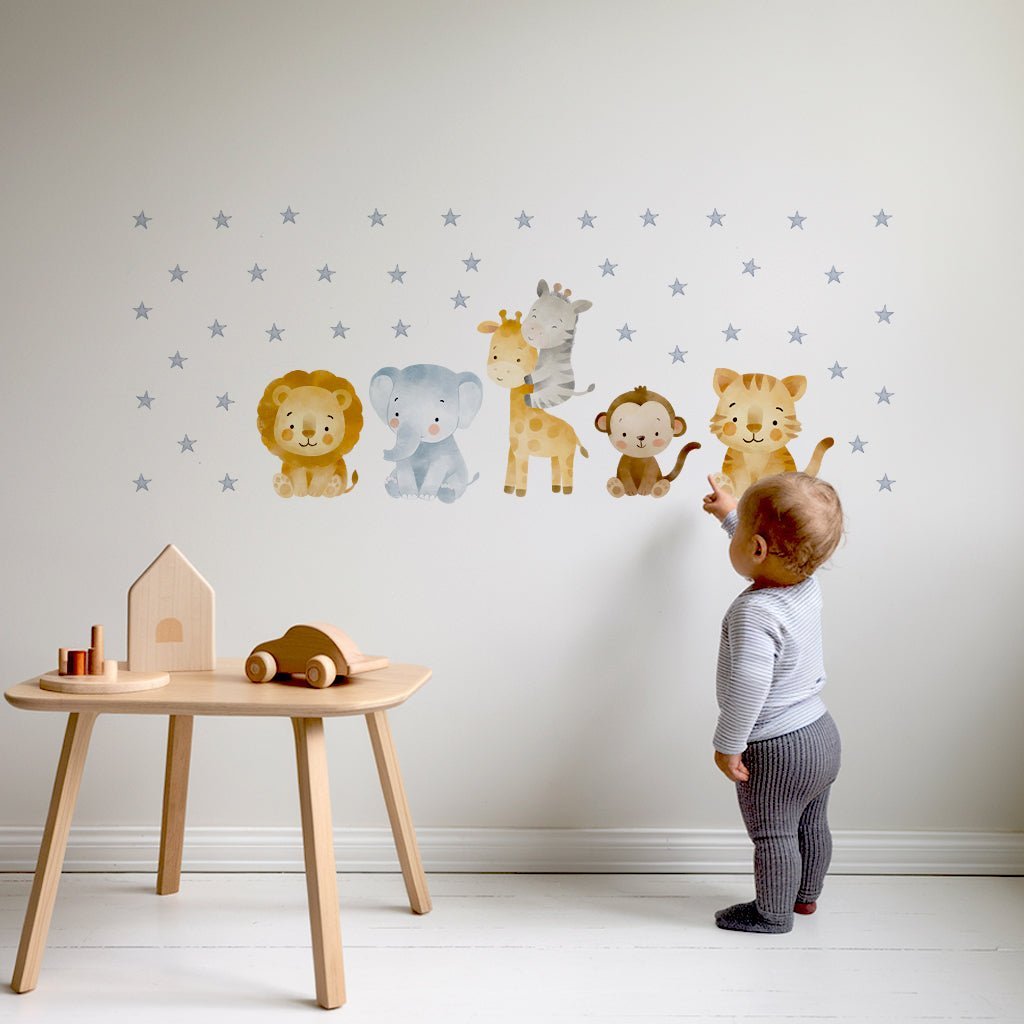
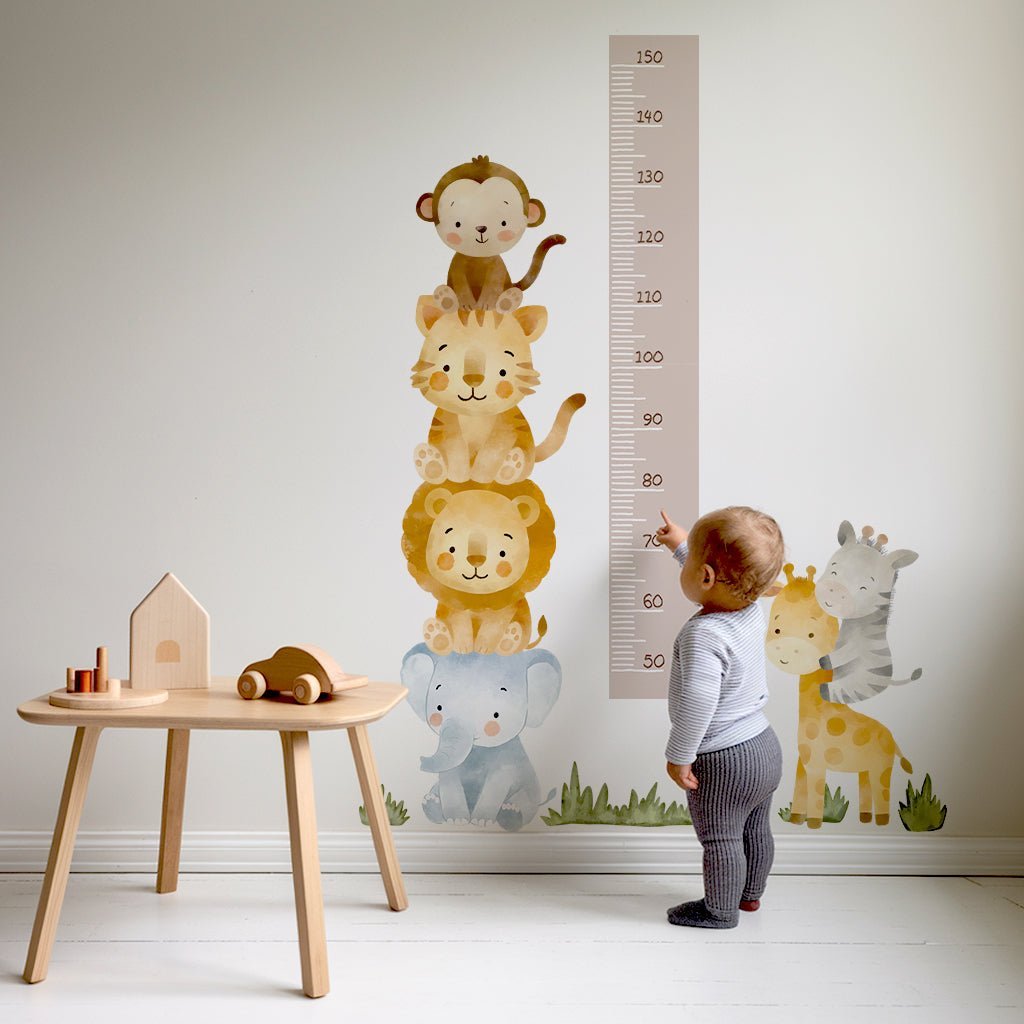
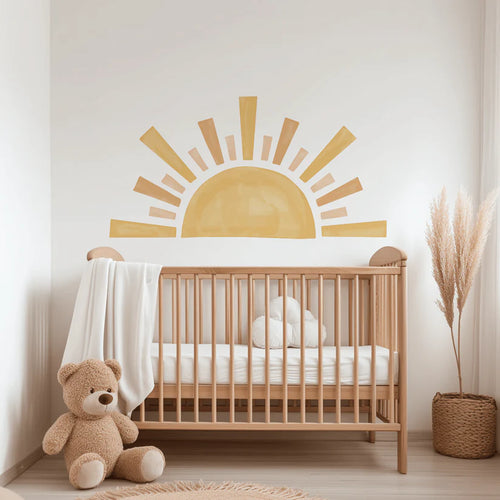
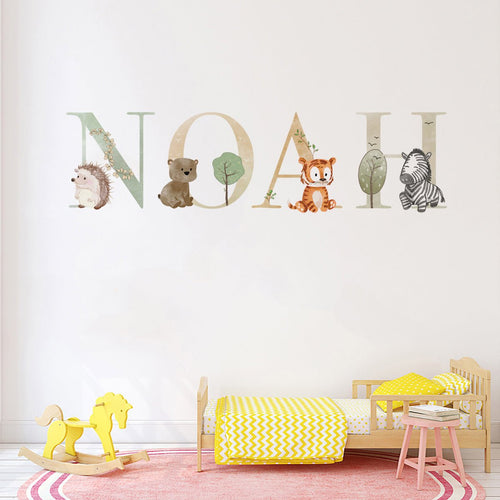
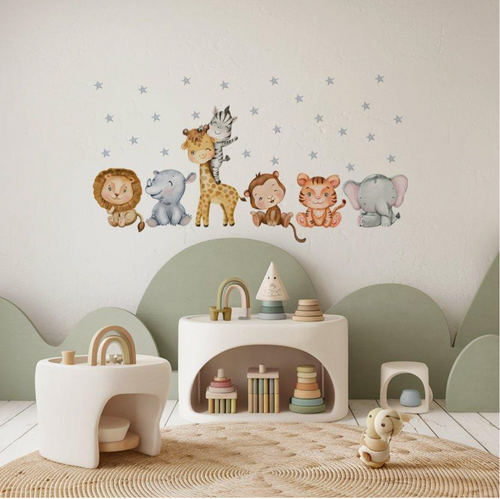
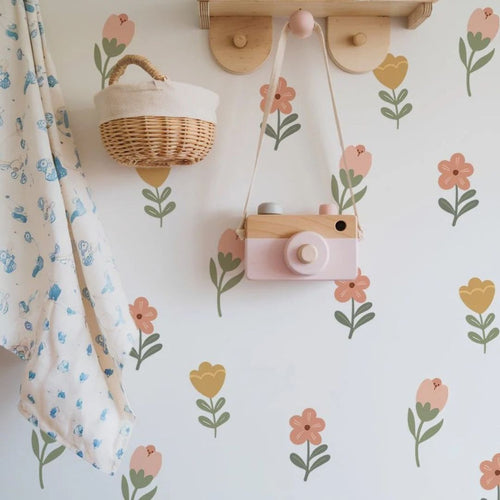
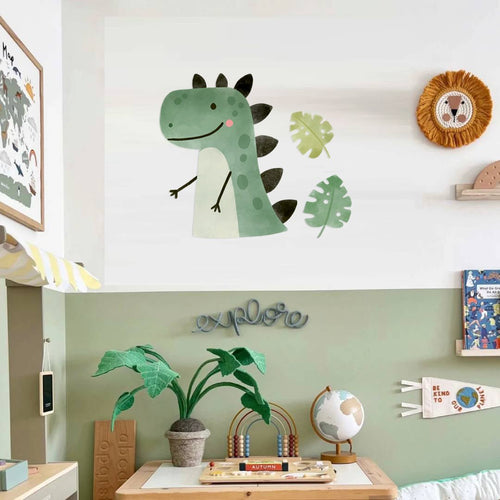
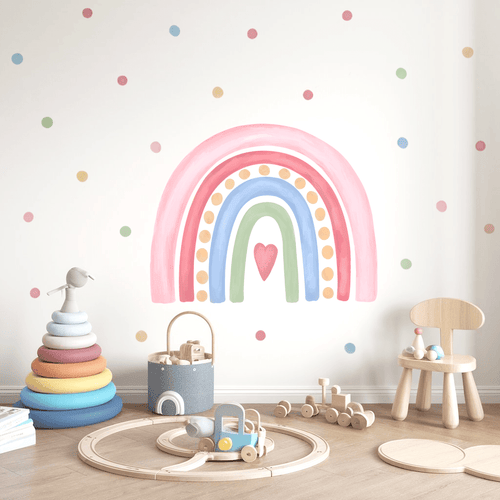
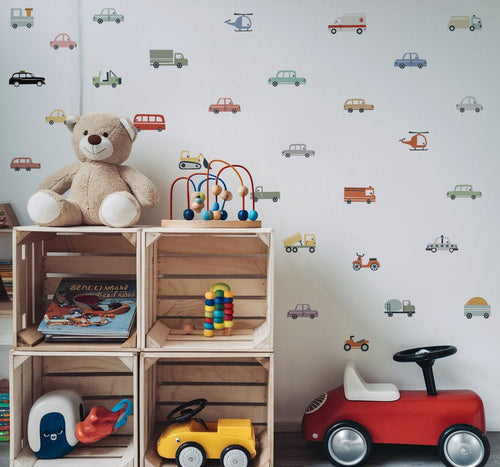
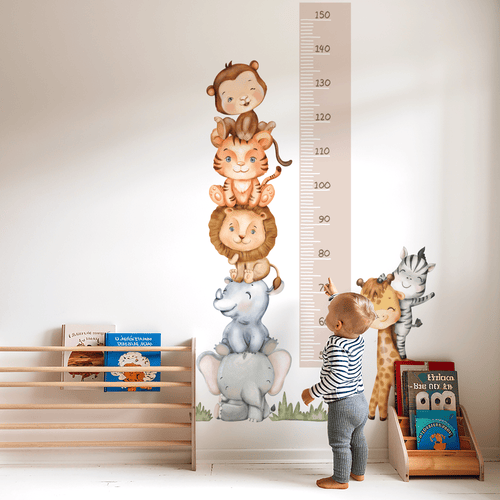
Beyond learning benefits, wall stickers add charm and personality to a nursery. With countless themes, from adorable animal wall stickers to rainbow wall stickers you can tailor the space to your taste. Stickers also help create a cohesive theme, whether it’s a calming ocean vibe or a lively jungle, enhancing the room’s overall feel.
Factors to Consider When Choosing Wall Stickers
Safety Considerations
Choose wall stickers made from non-toxic materials that meet safety standards. Look for rounded edges and adhesives that are strong yet removable, so they don’t damage walls when taken down. Some wall stickers are designed with a removable adhesive that allows for easy repositioning without leaving any residue behind.
Durability and Quality
Opt for stickers that are water-resistant and easy to clean. Vinyl is a top choice for nurseries, it’s durable, wipeable, and maintains bright, crisp colours over time, adding a beautiful touch to the nursery decor.
Theme and Colour Scheme
Select stickers that match your nursery’s theme and colour palette. Whether you prefer soft pastels or bold, playful tones, coordinating stickers enhance the room’s style. Don’t hesitate to mix sizes and shapes to add depth and interest.
Types of Wall Stickers for Nurseries
Now that you understand the importance of wall stickers and the factors to consider when choosing them, let's explore the different types available:
Vinyl Wall Stickers
Vinyl stickers are durable, affordable, and easy to apply. They’re low-maintenance and perfect for parents who want a long-lasting decorative solution. They are made from a durable material that can be easily cleaned, making them ideal for nurseries. Vinyl stickers come in various sizes, shapes, and designs, allowing you to find the perfect fit for your space.
Fabric Wall Stickers
Fabric wall stickers are another excellent option for nurseries. Fabric stickers offer a soft, textured touch and are often made from eco-friendly materials. They’re reusable, residue-free, and ideal for evolving nursery designs.
Glow in the Dark Wall Stickers
To add a touch of magic and wonder to your nursery, consider glow in the dark wall stickers. These stickers absorb light during the day and emit a gentle glow at night, creating a soothing and comforting environment for your baby. From stars and moons to cute animals, glow in the dark stickers can transform the nursery into a mesmerising nighttime haven. Moreover, glow in the dark wall stickers can serve a dual purpose by acting as a subtle night light for your little one!
How to Apply and Remove Wall Stickers
Preparing the Wall Surface
Clean and dry the wall to ensure the sticker sticks properly. Remove dust and grime with a mild cleaning solution.
Applying the Wall Sticker
Peel the backing and place the sticker on the wall. Smooth out bubbles with a cloth, working from the centre outward for a clean finish.
Removing the Wall Sticker
To remove, gently peel from one corner. If it's stubborn, use a hairdryer on low heat to soften the adhesive and prevent wall damage.
By following these steps, you can ensure a smooth and hassle-free application and removal process.
Now, let's dive a little deeper into the process of preparing the wall surface. Cleaning the wall thoroughly is essential for the wall sticker to adhere properly. Use a soft cloth or sponge and a mild cleaning solution to wipe away any dirt, grease, or stains. Pay extra attention to areas near windows or doors, as they tend to accumulate more dust and grime. Once you have cleaned the wall, allow it to dry completely before moving on to the next step. This will ensure that the adhesive on the wall sticker bonds effectively with the wall surface, providing long-lasting results.
When it comes to applying the wall sticker, precision is key. Take your time to carefully position the sticker on the wall, making sure it is straight and aligned with your desired spot. If you are working with a large sticker, it may be helpful to have a second pair of hands to assist you in handling and positioning it. Once the sticker is in place, use a clean cloth to smooth out any air bubbles. Start from the centre and gently press outwards, ensuring a smooth and seamless application. This step is crucial for achieving a professional-looking finish.
Removing the wall sticker. While wall stickers are designed to be easily removable, it is important to approach the removal process with caution. Start by gently pulling from one corner of the sticker and slowly peel it off the wall. If the sticker is stubborn and refuses to come off easily, do not force it. Instead, grab a hairdryer and set it to a low heat setting. Gently heat the adhesive behind the sticker, making it more pliable and easier to remove. As you peel off the sticker, continue to apply heat if needed. This method will help prevent any damage to the wall surface and ensure a clean removal.
By following these additional details and tips, you can confidently apply and remove wall stickers with ease. Remember, preparation is key, so take the time to clean and dry the wall surface before applying the sticker. Be patient and meticulous during the application process, ensuring a smooth and bubble-free result. And when it's time to remove the sticker, use gentle heat to make the process hassle-free. With these insights, you can enjoy the versatility and beauty of wall stickers in your home.