


The Ultimate Guide to Nursery Room Wall Decals
Wall decals are a popular choice for parents decorating their nursery rooms. They offer a fun and affordable way to add beautiful designs and themes to the walls without the need for paint or wallpaper. In this guide, we will explore everything you need to know about nursery room wall decals, from understanding their benefits to choosing the right ones for your nursery, as well as installation, maintenance, and removal tips.
Understanding Nursery Room Wall Decals
Wall decals, also known as wall stickers or wall tattoos, are self-adhesive designs you can apply to walls and other smooth surfaces. At Nursery Stickers Co., we also have a premium range, with decals made from 100% polyester fabric with no PVC, giving them a realistic, matte finish that looks just like a painted mural.
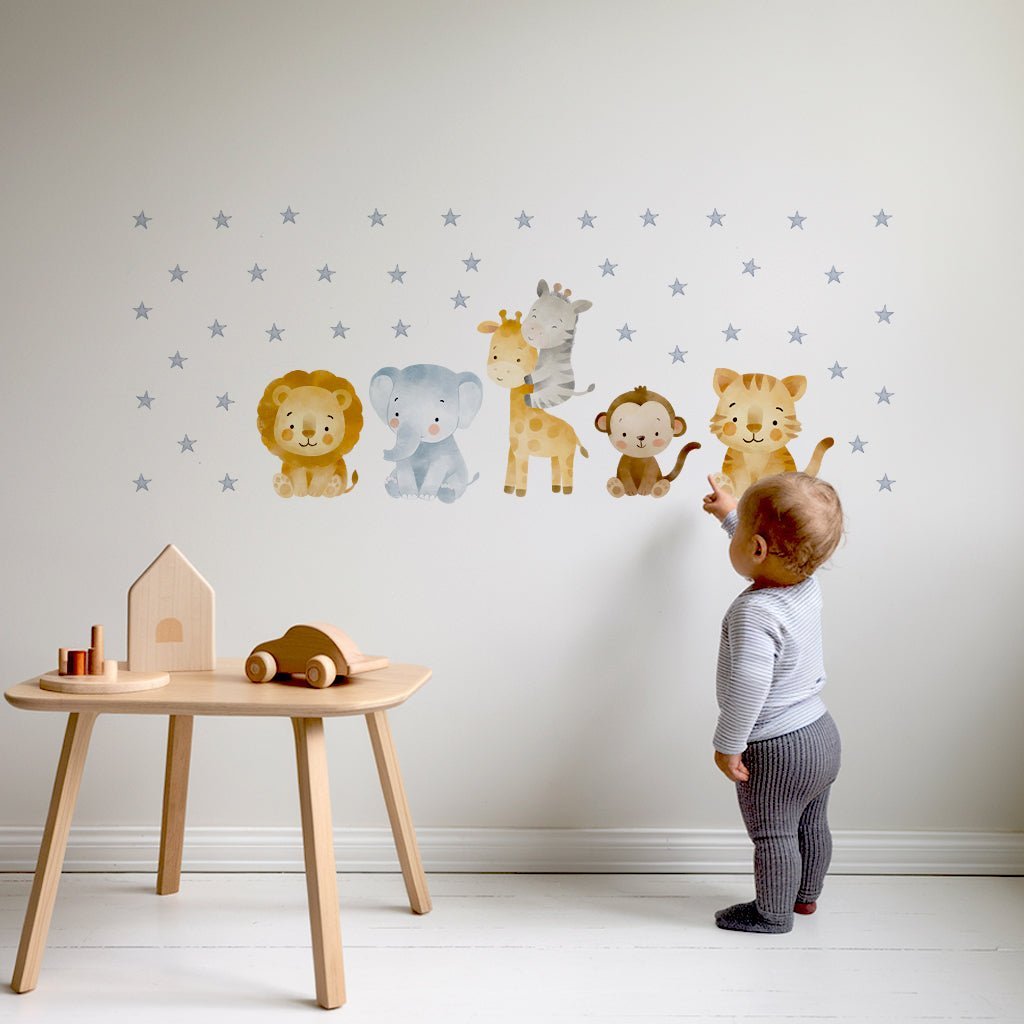
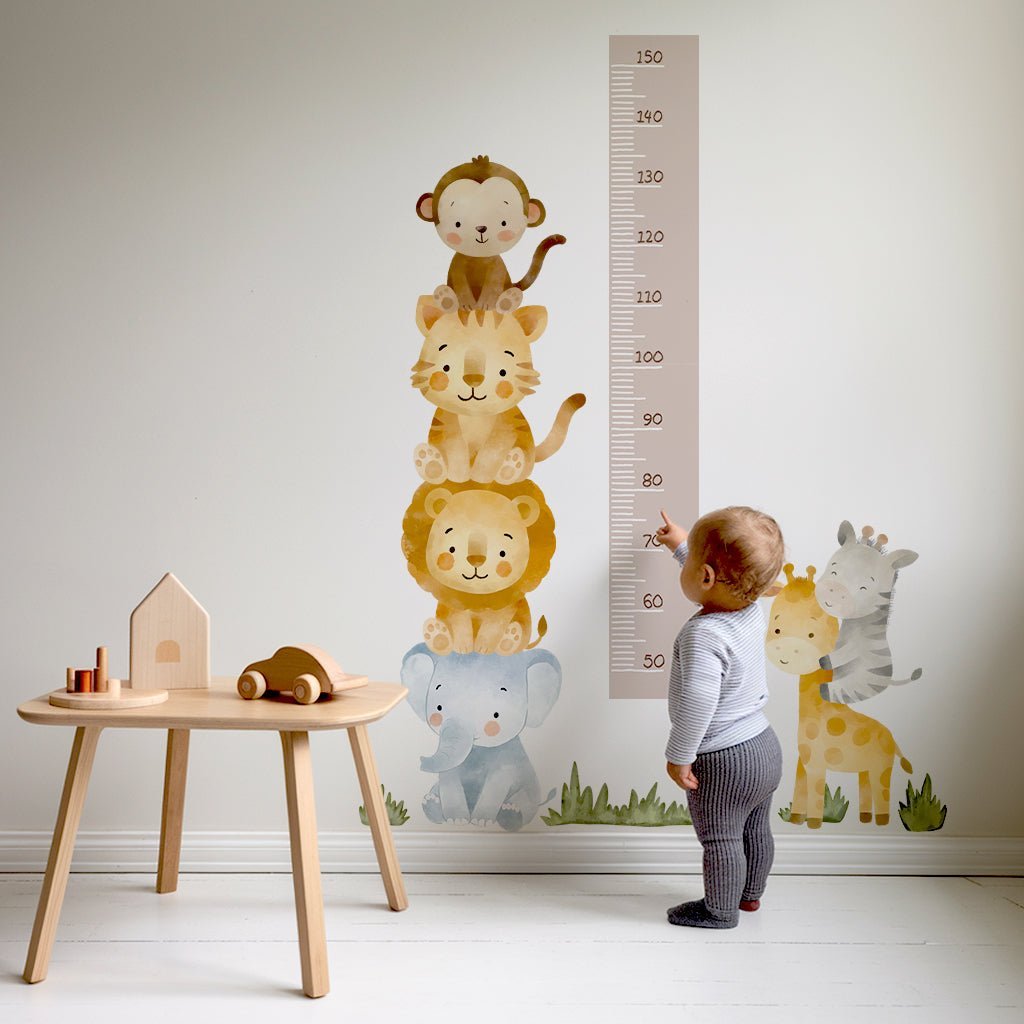
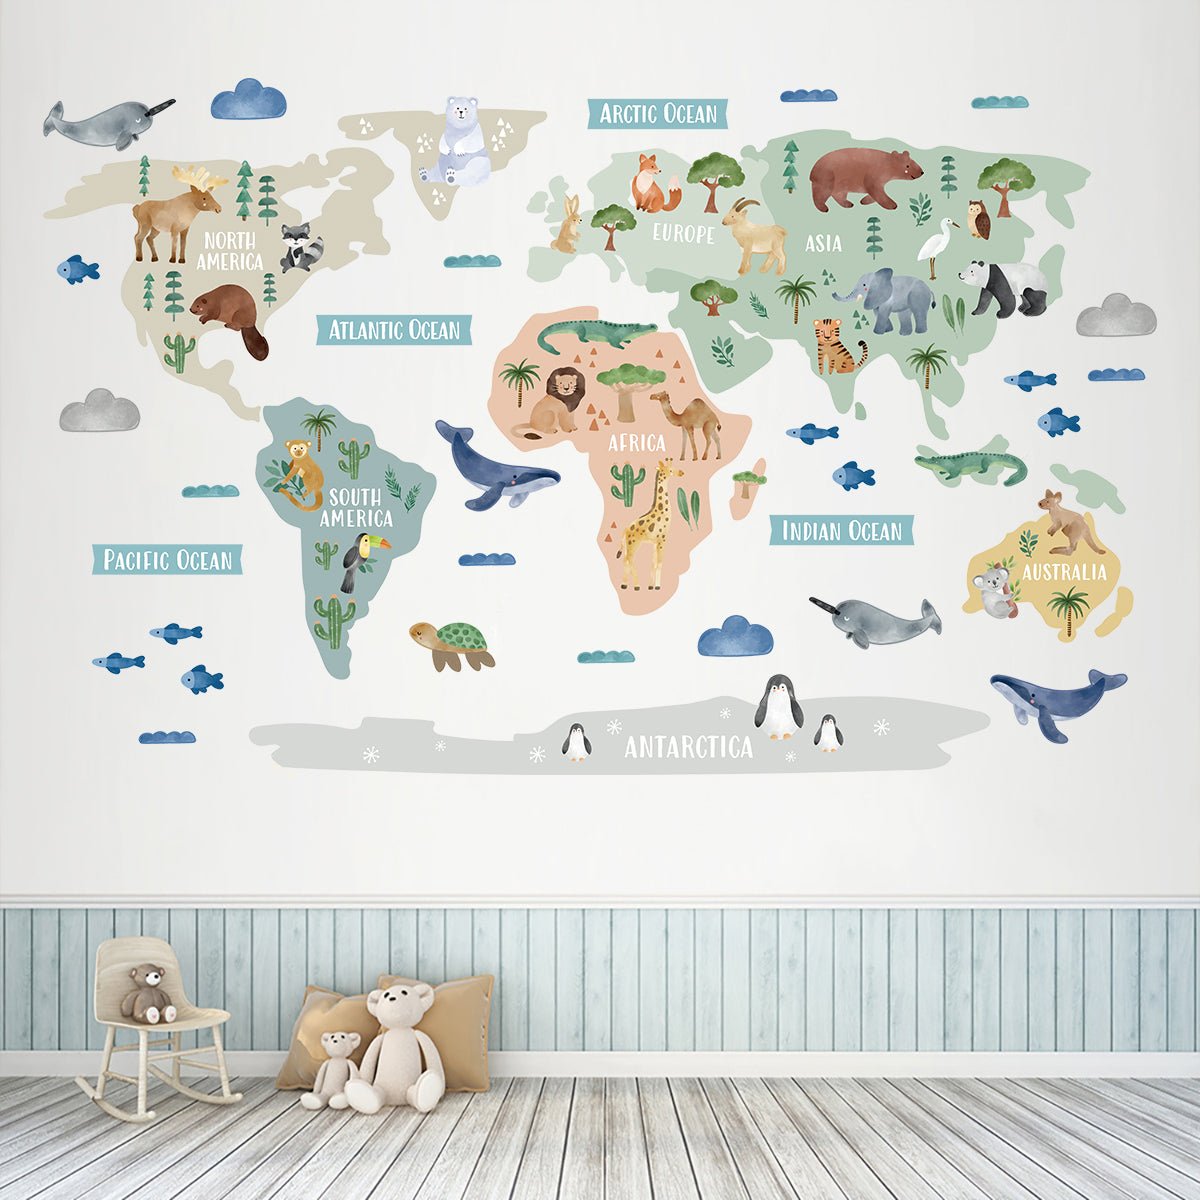
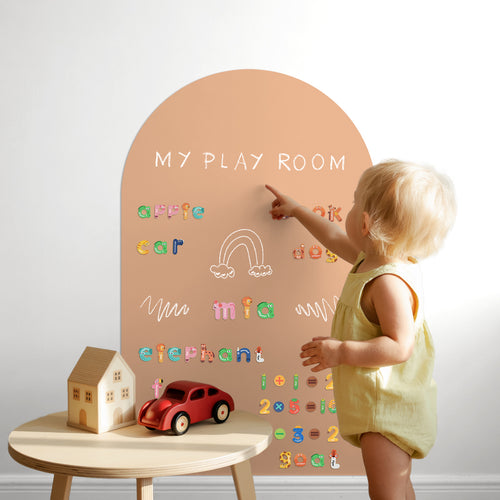
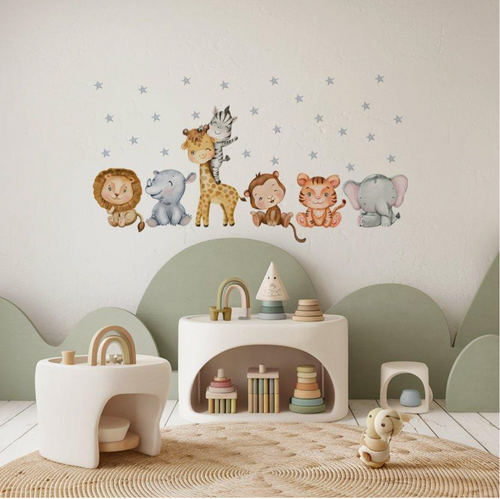
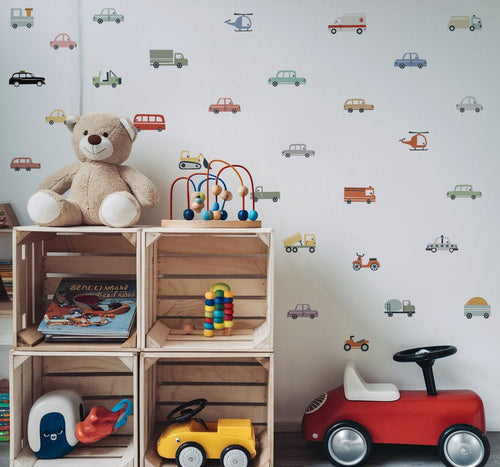
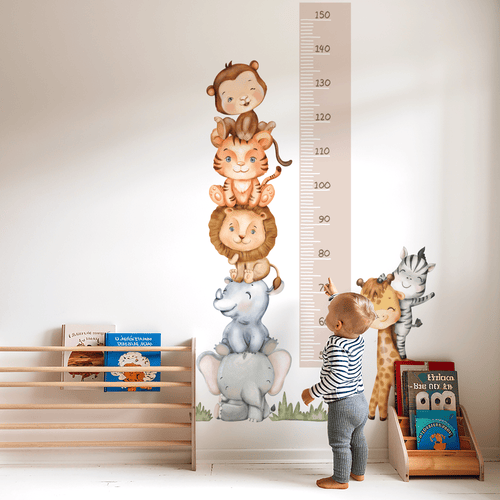
When it comes to nursery room wall decals, the options are endless. From exciting safari height charts to educational wall stickers, there is a design to suit every child's imagination. They’re perfect for any child’s space, they’re fun, stimulating, and always easy to change as they grow.
What are Wall Decals?
Unlike permanent wall decor, decals are easily applied and removed without damaging your walls. Our high-quality stickers are water-resistant, anti-reflective, and leave no residue behind. Want to reposition or replace them? Go for it! No tools needed.
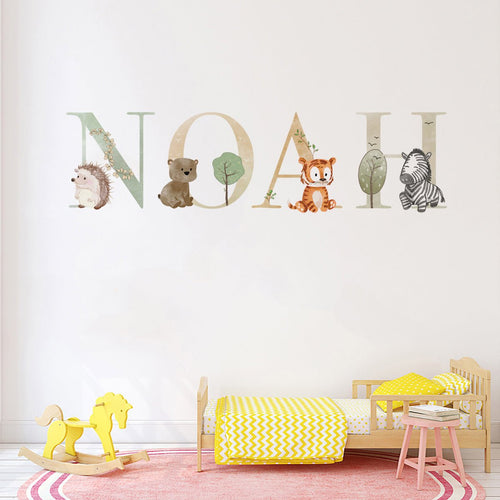
Whether you're personalising a space with your child's name or going all out with a themed design, decals give you flexibility and creative freedom.
Benefits of Using Wall Decals in a Nursery
- Quick transformation - Instantly liven up blank walls.
- Budget-friendly - More affordable than wallpaper or artwork.
- Easy updates - As your child’s interests evolve, so can their room.
- No damage - Perfect for rented homes or temporary setups.
Our gender-specific and gender-diverse collections mean there's something for everyone, from bold and bright to soft and subtle.
Choosing the Right Wall Decals for Your Nursery
When choosing decals, think about:
- Size - match the decal size to your wall space.
- Placement - create a feature wall or scatter designs around the room.
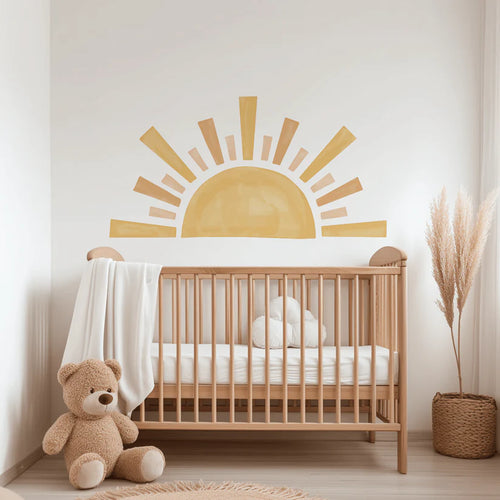
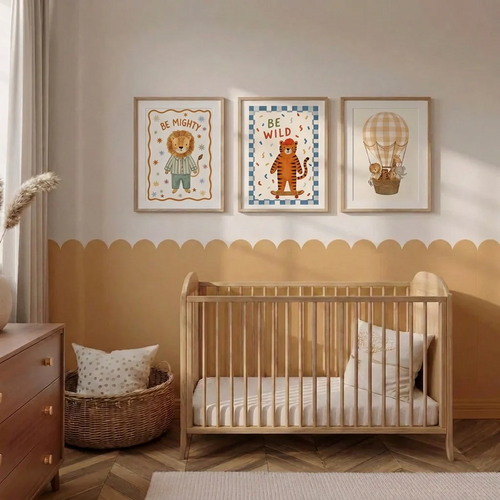
- Colour & Theme - Choose calming tones, vibrant animals, or space adventures - whatever suits your style and your child’s personality. There is a collection of themes available for nursery wall decals, catering to various interests and aesthetics. Think about what themes or subjects your child is most fascinated by and use them as inspiration for the decals.
Installation Process of Wall Decals
Here, we will outline a step-by-step guide to help you apply your wall decals successfully.
Preparing the wall:
- Clean with mild soap and warm water to remove any dust or dirt. Allow the wall to dry.
- Let newly painted walls cure fully before applying. This will prevent any damage to the paint or decals during the installation process.
How to apply:
- Mark your desired placement using a pencil or removable tape.
- Peel the backing off the decal. Be careful not to touch the adhesive side with your fingers
- Stick to the wall and smooth it out with a card or cloth to smooth out any air bubbles or wrinkles as you apply the decal. Start from the centre and move outwards.
- Once the decal is fully applied, gently rub over the entire surface with the credit card or squeegee to ensure a secure bond with the wall.
- Finally, remove the transfer tape slowly at a 45-degree angle, ensuring that the decal adheres properly to the wall.
That’s it - instant transformation!
Maintaining and Caring for Your Wall Decals
To clean, just wipe gently with a damp cloth, don’t use any harsh chemicals. Keep decals away from direct heat and sunlight to prevent fading and avoid applying them to flaking paint or wallpaper. Finally, consider periodically rotating the placement of the decals to prevent adhesive residue from building up in one area.
Removing and Replacing Wall Decals
When it’s time for a change:
- Gently peel from one corner at a 45° angle.
- Apply heat to the decal by using a warm hairdryer to loosen adhesive if needed.
- Wipe away any residue with mild remover or rubbing alcohol.
Then you’re ready for a fresh design!
Wall decals are an effortless way to create a magical space for your little one. With Nursery Stickers Co., decorating your nursery is fun, fast, and fuss-free…just peel, stick, and enjoy!