


Star wall stickers are a popular and versatile way to decorate any room. Whether you want to create a celestial-themed nursery or add a touch of whimsy to your living space, star wall stickers offer an affordable and easy solution. In this ultimate guide, we will explore everything you need to know about star wall stickers, from understanding their appeal to choosing the right ones for your space, applying them correctly, and maintaining or removing them when necessary.
Understanding Star Wall Stickers
What are Star Wall Stickers?
Star wall stickers are adhesive decorations that can be easily applied to walls, ceilings, or other smooth surfaces. They come in a variety of shapes, sizes, colors, and designs, allowing you to personalize your space according to your taste and style. Whether you prefer a minimalist look or a more vibrant display, there are star wall stickers to suit every aesthetic.
These stickers are typically made from high-quality vinyl material, which is durable and long-lasting. They are designed to be removable without damaging the surface underneath, making them a convenient option for temporary decorations or seasonal themes. Some star wall stickers even glow in the dark, adding a magical touch to any room when the lights go out.
The Popularity of Star Wall Stickers
Star wall stickers have gained immense popularity in recent years due to their versatility and ease of use. Unlike traditional wall art or wallpaper, star wall stickers offer the flexibility to change your decor without commitment. They are a great option for renters or those who like to refresh their living spaces frequently without the hassle of repainting or redecorating. Additionally, star wall stickers are often loved by children and adults alike, making them suitable for any age group.
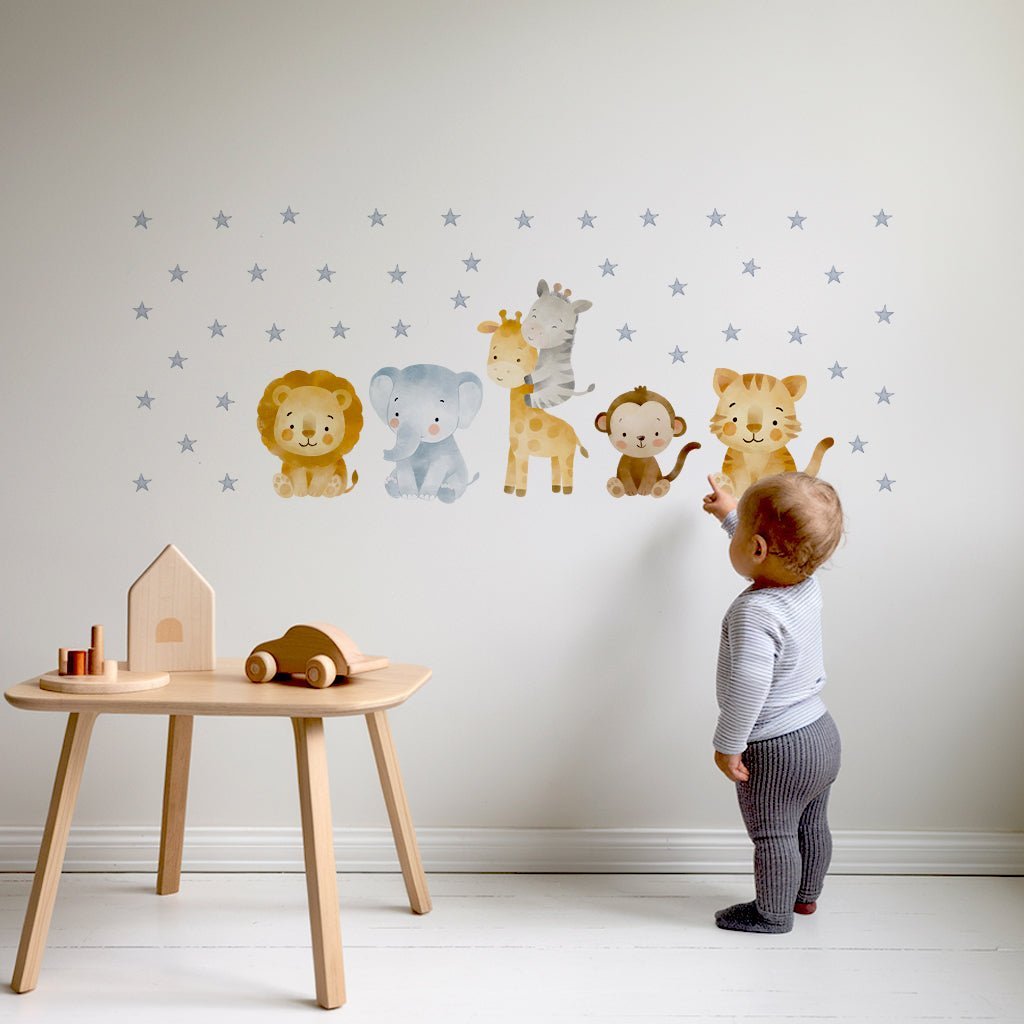
Many interior designers and DIY enthusiasts also appreciate the creative possibilities that star wall stickers provide. From creating a celestial-themed nursery for a newborn baby to adding a touch of whimsy to a home office, the versatility of star wall stickers knows no bounds. With the ability to mix and match different sizes and colors, you can unleash your imagination and transform any room into a stellar masterpiece.
Choosing the Right Star Wall Stickers
Material Considerations
When selecting star wall stickers to adorn your space, it is crucial to pay attention to the material from which they are crafted. Opting for high-quality vinyl stickers ensures a durable and long-lasting solution for your wall decor needs. Vinyl stickers are not only waterproof, making them easy to clean, but they also boast a remarkable ability to retain their vibrant colors over time, maintaining the allure of your chosen starry design for years to come.
Moreover, high-quality vinyl stickers offer a hassle-free application process, allowing you to effortlessly transform your walls without the worry of peeling or fading. The smooth finish of these stickers ensures a seamless integration into your existing decor, elevating the aesthetic appeal of your room with ease.
Size and Quantity
When embarking on the journey of selecting star wall stickers, it is essential to consider the dimensions of your wall and the aesthetic outcome you wish to achieve. For expansive walls, opting for larger star stickers can create a bold focal point, while a greater quantity of smaller stars can impart a sense of whimsy and charm. Experimenting with various sizes and quantities enables you to tailor the look to suit your space perfectly, striking a harmonious balance that resonates with your personal style.
Furthermore, the strategic placement of star wall stickers can play a pivotal role in transforming the ambiance of a room. By clustering stickers in certain areas or dispersing them evenly across the wall, you can create different visual effects that enhance the overall appeal of your space, adding depth and character to the environment.
Color and Design Options
Delving into the realm of star wall stickers opens up a myriad of color and design possibilities to enhance your living space. When choosing from the array of options available, it is essential to consider the existing color scheme and design elements within your room. Opt for colors that either complement or contrast with your decor to achieve a cohesive and visually striking aesthetic.
Additionally, exploring diverse design options such as twinkling stars, shooting stars, or intricate constellation patterns can infuse a sense of wonder and enchantment into your surroundings. These variations in design not only add visual interest to your walls but also invite contemplation and spark imagination, transforming your space into a captivating haven of celestial beauty.
Applying Star Wall Stickers
Preparing Your Wall
Before applying star wall stickers, ensure that the surface is clean, dry, and free from dust or debris. Wipe the wall with a damp cloth and allow it to dry completely before proceeding. This will ensure that the stickers adhere properly and prevent any premature peeling or lifting.
Additionally, if the wall has been recently painted, it's recommended to wait at least two weeks before applying any stickers to allow the paint to fully cure. This will help avoid any damage to the paint or the stickers themselves.
The Application Process
To apply star wall stickers, start by selecting your desired placement and gently peel the sticker from its backing. Carefully position it on the wall, smoothing out any wrinkles or air bubbles as you go. Use a soft cloth or your hand to firmly press the sticker onto the wall, ensuring it adheres firmly.
For a creative touch, consider mixing different sizes of star stickers or combining them with other celestial elements like moons or planets. This can add depth and complexity to your wall decor, making it truly unique and eye-catching.
If you are creating a constellation pattern or specific design, consider using a level or measuring tools to ensure accuracy. Take your time during the application process to achieve the desired effect.
Tips for Perfect Placement
When placing star wall stickers, step back occasionally to assess the overall balance and spacing. If needed, reposition stickers or add additional ones to achieve the desired visual impact. Remember that the placement is subjective and can be adjusted to your personal preference.
If you're unsure about the placement, you can use removable tape or sticky notes to create a mock design on the wall, allowing you to visualize the final result before committing to the stickers.
Experimenting with different arrangements can help you find the perfect layout that complements your room's decor and creates the ambiance you desire. Don't be afraid to get creative and try out unconventional placements to make your star wall stickers truly stand out.
Maintaining and Removing Star Wall Stickers
Cleaning Your Star Wall Stickers
To keep your star wall stickers looking their best, clean them regularly with a soft, damp cloth. Avoid using abrasive cleaners or scrubbing the stickers forcefully, as this may damage the adhesive or the sticker itself. Gently wipe away any dust or dirt, taking care not to peel the stickers in the process.
Additionally, for stubborn stains or marks on your star wall stickers, you can create a gentle cleaning solution using mild soap and water. Dip a soft cloth in the soapy water, wring it out well, and then gently dab at the stained area. Remember to dry the stickers thoroughly after cleaning to prevent any water damage.
When and How to Replace Stickers
Over time, you may want to replace old or worn-out star wall stickers. When removing them, peel them off slowly and gently, working from one corner to the opposite side. If any residue remains, use a mild adhesive remover or rubbing alcohol to clean the surface before applying new stickers.
Furthermore, when replacing your star wall stickers, consider experimenting with different sizes or colors to give your space a fresh look. You can create unique patterns or constellations by mixing and matching various star sticker designs, allowing you to customize your decor according to your preferences and mood.
Safe Removal Techniques
If you're concerned about damaging the wall or the sticker, you can use a hairdryer on low heat to warm the adhesive behind the sticker. This will make it easier to remove without leaving any residue or causing damage. Be cautious and take your time during the removal process to ensure a smooth transition.
Remember, proper removal of star wall stickers not only preserves your walls but also allows you to change up your decor effortlessly. By following these safe removal techniques, you can enjoy a hassle-free update to your living space whenever inspiration strikes.
With this ultimate guide to star wall stickers, you now have the knowledge and inspiration to create a stunning and personalized space. From understanding the appeal of these versatile stickers to choosing the right ones for your room, applying them with precision, and maintaining or removing them when necessary, you can transform any wall into a dreamy starry masterpiece.