Stitch wall stickers have become increasingly popular in recent years, adding a touch of fun and personality to any room. Whether you're a fan of Disney's beloved character or simply looking to spruce up your walls, these adorable stickers offer a unique and affordable way to transform your space. In this ultimate guide, we'll explore everything you need to know about stitch wall stickers, from what they are to how to choose the right design and safely remove them when needed.
Understanding Stitch Wall Stickers
What are Stitch Wall Stickers?
If you're not familiar with stitch wall stickers, let us introduce you to this delightful decor option. Stitch wall stickers are essentially vinyl decals featuring the mischievous and lovable character from Disney's "Lilo & Stitch." They come in various sizes and designs, allowing you to personalize your walls with ease.
Stitch wall stickers are not only a fun way to decorate your walls but also a fantastic way to showcase your love for this iconic character. Whether you're a die-hard Disney fan or simply appreciate the quirky charm of Stitch, these stickers are sure to bring a smile to your face every time you see them.
The Appeal of Stitch Wall Stickers
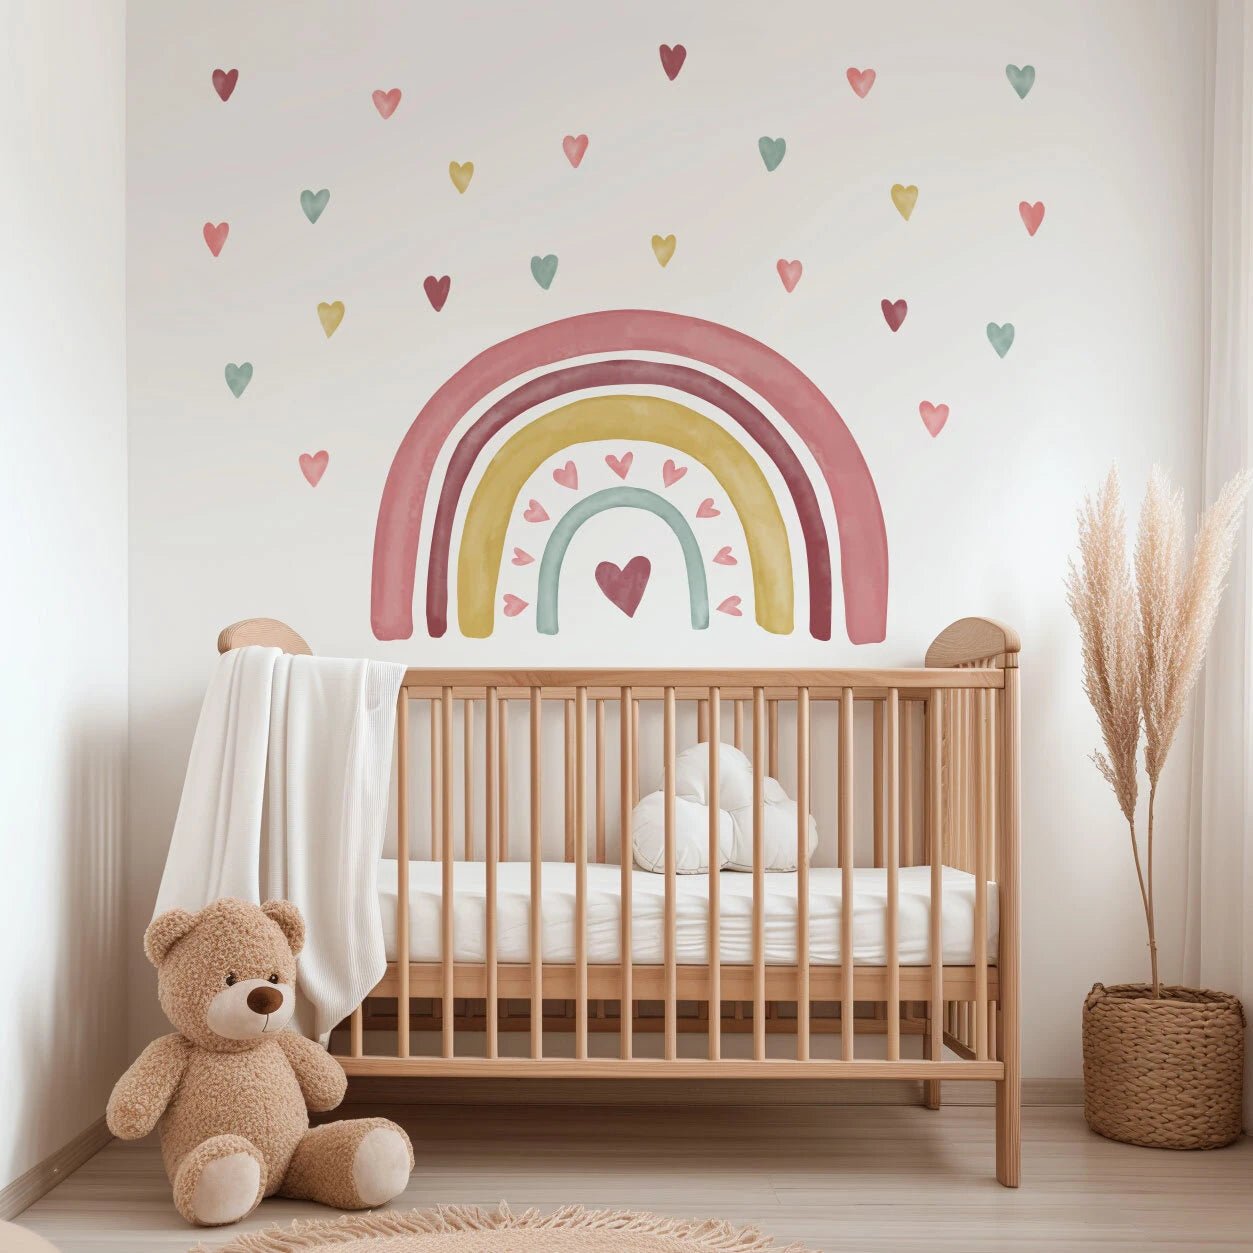
The charm of stitch wall stickers lies in their versatility and simplicity. These stickers can instantly brighten up any space, whether it's a nursery, bedroom, or even an office. The playful nature of Stitch adds a sense of joy and whimsy to your surroundings, making them perfect for both children and adults.
Furthermore, Stitch wall stickers are incredibly easy to apply and remove, making them an ideal choice for those who like to change up their decor frequently. You can experiment with different layouts and designs without the commitment of traditional wallpaper or paint. This flexibility allows you to unleash your creativity and transform your space whenever the mood strikes.
Choosing the Right Stitch Wall Sticker for Your Space
Considering Size and Placement
Before diving into the world of stitch wall stickers, it's important to consider the size and placement of your chosen decal. Take measurements of the area you intend to decorate and ensure that the sticker will fit proportionally. Additionally, think about the desired focal point of your space and place the sticker accordingly.
When selecting the size of your stitch wall sticker, keep in mind that larger stickers can make a bold statement and serve as a striking focal point in a room. On the other hand, smaller stickers can add subtle accents and be incorporated into a gallery wall or a collage of decals. Consider the scale of your furniture and other decor elements to ensure a cohesive look.
Selecting the Right Design
With a wide range of stitch wall stickers available, selecting the perfect design may seem overwhelming. Start by considering the overall theme or style of your room. Are you going for a minimalist look or a vibrant and colorful space? Once you have an idea, browse through various designs, from simple outlines to detailed illustrations. Choose a design that complements your existing decor and reflects your personality.
When choosing a design for your stitch wall sticker, think about the mood you want to create in the space. Intricate and detailed designs can add a touch of elegance and sophistication to a room, while whimsical and playful designs can inject a sense of fun and creativity. Consider the color palette of your room and opt for a sticker that either blends in seamlessly or provides a striking contrast for visual impact.
Installation Process of Stitch Wall Stickers
Preparing Your Wall
Before applying your stitch wall sticker, it's crucial to ensure that your wall is clean and smooth. Remove any dust, dirt, or debris using a damp cloth or mild cleanser. If your wall has recently been painted, allow ample time for the paint to fully dry before proceeding with the installation.
Additionally, if your wall has any rough patches or texture, consider sanding those areas down to create a smoother surface for better adhesion. This extra step can make a significant difference in how well the sticker adheres to the wall and how seamless the final look will be once applied.
Applying the Sticker
Applying stitch wall stickers can be a straightforward process if done correctly. Start by positioning the sticker on the wall, using a level to ensure it's straight. Once satisfied with the placement, slowly peel off the backing paper while pressing the sticker firmly onto the wall. Smooth out any air bubbles using a soft cloth or squeegee, working from the center towards the edges.
For larger stickers or intricate designs, consider enlisting the help of a friend to ensure a smooth application process. Having an extra set of hands can make it easier to position the sticker accurately and prevent any creases or misalignments. Take your time during this step to avoid any mistakes and achieve a professional-looking result.
Maintenance and Care for Your Stitch Wall Stickers
Stitch wall stickers are a delightful addition to any room, bringing a touch of whimsy and charm to your space. These adorable decals are not only easy to apply but also simple to maintain, ensuring that they continue to enhance your decor for a long time.
Cleaning Your Wall Stickers
Keeping your stitch wall stickers looking their best is relatively effortless. Gently wipe them with a damp cloth to remove any dust or smudges. Avoid using harsh chemicals or abrasive materials, as these can damage the decal's adhesive or design. Regular cleaning will ensure your stickers retain their vibrant colors and pristine appearance.
For stubborn stains or dirt buildup, you can mix a mild detergent with water to create a gentle cleaning solution. Dip a soft cloth in the mixture and carefully dab at the affected area, ensuring not to saturate the sticker. Once the stain is removed, wipe the area with a clean, damp cloth to rinse off any residue. Allow the sticker to air dry completely before admiring its renewed beauty.
Ensuring Longevity of Your Stickers
To ensure the longevity of your stitch wall stickers, it's essential to protect them from direct sunlight and excessive humidity. Both of these factors can cause the stickers to fade or peel over time. Additionally, avoid hanging objects or applying pressure directly on the stickers, as this can compromise their adhesion to the wall. By taking these precautions, you can enjoy your stitch wall stickers for years to come.
Consider periodically rotating the position of your stickers to prevent uneven fading from prolonged exposure to sunlight. This simple step can help maintain the vibrancy of the colors and ensure that your stickers age gracefully. Furthermore, if you live in a particularly humid environment, using a dehumidifier in the room can help regulate the moisture levels and protect the adhesive backing of the stickers.
Removing and Replacing Stitch Wall Stickers
When to Replace Your Wall Stickers
While stitch wall stickers are designed to be durable, there may come a time when you want to replace them. Perhaps you've redecorated or grown fond of a different design. When the time comes for a change, ensure that your stickers are fully removable before attempting to remove them.
It's important to note that the lifespan of wall stickers can vary depending on factors such as exposure to sunlight, humidity levels, and the quality of the adhesive. If you start to notice peeling edges, fading colors, or if the design no longer suits your style, it might be time to consider replacing your Stitch wall stickers.
Safe Removal Techniques
To remove stitch wall stickers safely, start by using a hairdryer on low heat to warm up the sticker and loosen the adhesive. Once heated, gently peel off the sticker from one corner, slowly and steadily. If any residue is left behind, use a mild adhesive remover or soapy water to clean the area. Remember to be patient and cautious to avoid damaging the wall surface.
If you find that the adhesive is particularly stubborn, you can try using a plastic scraper or a credit card to help lift the sticker gently. Avoid using sharp objects that could scratch or gouge the wall paint. Taking your time during the removal process will help ensure a smooth transition to your new wall decor.
In conclusion, stitch wall stickers offer a delightful way to transform your space with minimal effort and cost. By understanding what these stickers are, considering size and design, properly installing and maintaining them, and knowing safe removal techniques, you can enjoy the charm of Stitch while adding a touch of whimsy to your surroundings. So go ahead, unleash your creativity, and let stitch wall stickers take your interior decor to new heights!