


Key Takeaways
- Winnie the Pooh characters have been cherished for nearly a century, making them ideal for nursery decor.
- Winnie the Pooh wall decals offer a commitment-free decorating option compared to traditional paint or wallpaper.
- These decals are perfect for first-time parents hesitant about permanent design choices.
- Wall decals are suitable for rental spaces where permanent changes are not allowed.
- Pooh decals provide a beautiful focal point that can easily adapt as a child grows.
Table of Contents
- Why Winnie the Pooh Decals Are the Flexible Choice for Growing Rooms
- Understanding Winnie the Pooh Wall Decal Types
- Preparing Your Walls: The Foundation Success
- Step-by-Step Application: Getting Perfect Results
- Step 3: Apply from Top to Bottom
- Arranging Multiple Decals: Creating Cohesive Scenes
- Coordinating Pooh Decals with 2025 Nursery Trends
- Removing and Repositioning: The Flexibility Advantage
- Troubleshooting Common Decal Problems
- Making Pooh Decals Work in Rentals
- Quality Indicators: What to Look For
- Design Inspiration: Styling for Different Aesthetics
Why Winnie the Pooh Decals Are the Flexible Choice for Growing Rooms
Winnie the Pooh has captured hearts for nearly a century, making these beloved characters a natural choice for nurseries. But winnie the pooh decals for walls offer something traditional paint or wallpaper can't: commitment-free decorating. Whether you're a first-time parent nervous about making the "wrong" design choice, or decorating a rental where permanent changes aren't allowed, Pooh decals provide that perfect balance, beautiful enough to be your focal point, flexible enough to evolve as your little one grows.
Unlike wallpaper requiring professional removal or paint demanding complete redecoration, quality removable decals let you refresh your space in an afternoon. When your toddler's obsession shifts from Hundred Acre Wood to dinosaurs, you're not stuck with an expensive mistake, you're ready for the next adventure. For a whimsical touch, consider the Bear in Airplane Nursery Wall Sticker as an alternative focal point.
Understanding Winnie the Pooh Wall Decal Types

Not all winnie the pooh sticker options are created equal. Understanding the differences helps you choose the right type for your specific walls and aesthetic preferences.
If you're curious about the broader world of wall decals, this ultimate guide to wall decals offers helpful insights for parents and decorators.
Peel-and-Stick Vinyl Decals
These pre-cut designs with self-adhesive backing are the most popular choice. Simply peel away the backing and press onto your wall. They're repositionable during application and leave zero residue when removed properly. Quality vinyl decals work on clean, smooth walls and typically last 3-5 years.
Fabric Wall Decals
Printed on flexible fabric materials, these offer a softer aesthetic than rigid vinyl. They feel less plasticky and blend naturally with textured walls. Particularly effective on slightly imperfect plaster or when you want a tactile element children can safely touch. For a premium option, explore premium stickers (woven fabric) that combine durability with a soft finish.
Multi-Layer Dimensional Decals
These advanced designs use separate pieces layered together for depth. A Pooh character might come as body, head, and limbs positioned slightly offset, creating a 3D shadow effect. Application takes longer but delivers stunning visual impact.
| Decal Type | Application Time | Wall Compatibility | Lifespan | Best For |
|---|---|---|---|---|
| Vinyl (peel-and-stick) | 5-10 minutes | Smooth, clean walls | 3-5 years | Most nurseries; renters |
| Fabric | 10-15 minutes | Textured walls | 3-4 years | Softer aesthetic; tactile spaces |
| Multi-layer | 20-30 minutes | Smooth walls | 3-5 years | Statement pieces; visual drama |
Preparing Your Walls: The Foundation Success
Wall preparation determines whether your winnie the pooh decals for walls will look professional or problematic. Most application failures stem from rushed preparation, not product defects.
Essential Cleaning Steps
Dust walls thoroughly with a microfibre cloth to remove particles that create air pockets. For sticky residue from previous decals or tape, use a slightly damp cloth with mild dish soap, then dry completely. Wait at least 30 minutes after cleaning, residual moisture compromises adhesion.
Wall Finish Compatibility
Smooth, clean walls are ideal. Semi-gloss or glossy paint needs light sanding with 220-grit sandpaper to create texture for adhesive grip. Matte finishes work perfectly as-is. Never apply decals to freshly painted walls, wait two weeks for paint to cure fully, as new paint releases fumes interfering with adhesion.
Handling Textured Walls
Traditional vinyl struggles on heavily textured surfaces. Consider fabric decals that conform better to texture, or apply smooth primer to a contained area where the decal will go, creating a "landing pad" without repainting the entire wall.
Step-by-Step Application: Getting Perfect Results
Apply decals when room temperature sits between 15-25°C. Cold rooms make adhesive sluggish; hot rooms cause it to set too quickly, trapping air bubbles.
Step 1: Position Your Design
Hold the decal sheet against the wall before peeling anything. Use light pencil marks at top corners or painter's tape to outline placement. This two-minute step prevents applying the decal only to realise it's positioned incorrectly.
Step 2: Remove Backing Paper
Gently peel backing paper at a 45-degree angle. Go slowly, the design should stay on transfer tape, not lift with backing. If design pieces start lifting, press them back down and peel more gradually.
Step 3: Apply from Top to Bottom

Position the transfer tape with your design against the wall, starting at the top. Press the top edge firmly using a plastic squeegee or credit card to smooth it down. Work slowly downward, smoothing as you go to prevent air pockets from getting trapped underneath.
Step 4: Remove Transfer Tape
Once the entire design is pressed firmly against the wall, carefully peel back the transfer tape at a shallow angle, nearly parallel to the wall. Go slowly; if any part of the design starts lifting with the tape, press it back down and try again. The design should remain on the wall.
Step 5: Final Smoothing
Run your squeegee over the entire design one final time, paying special attention to edges and corners. Press firmly but avoid scratching the design itself. The complete process should take 10-15 minutes for a single character or small scene.
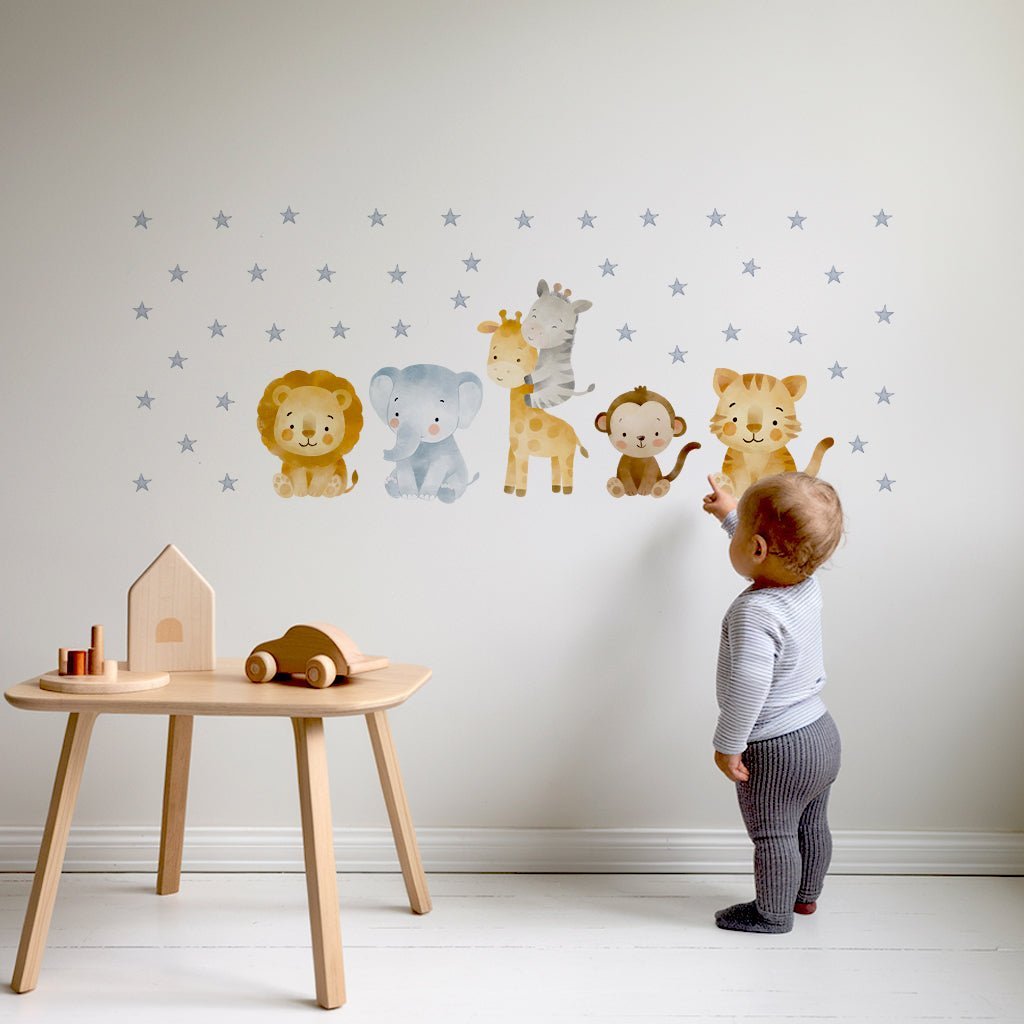
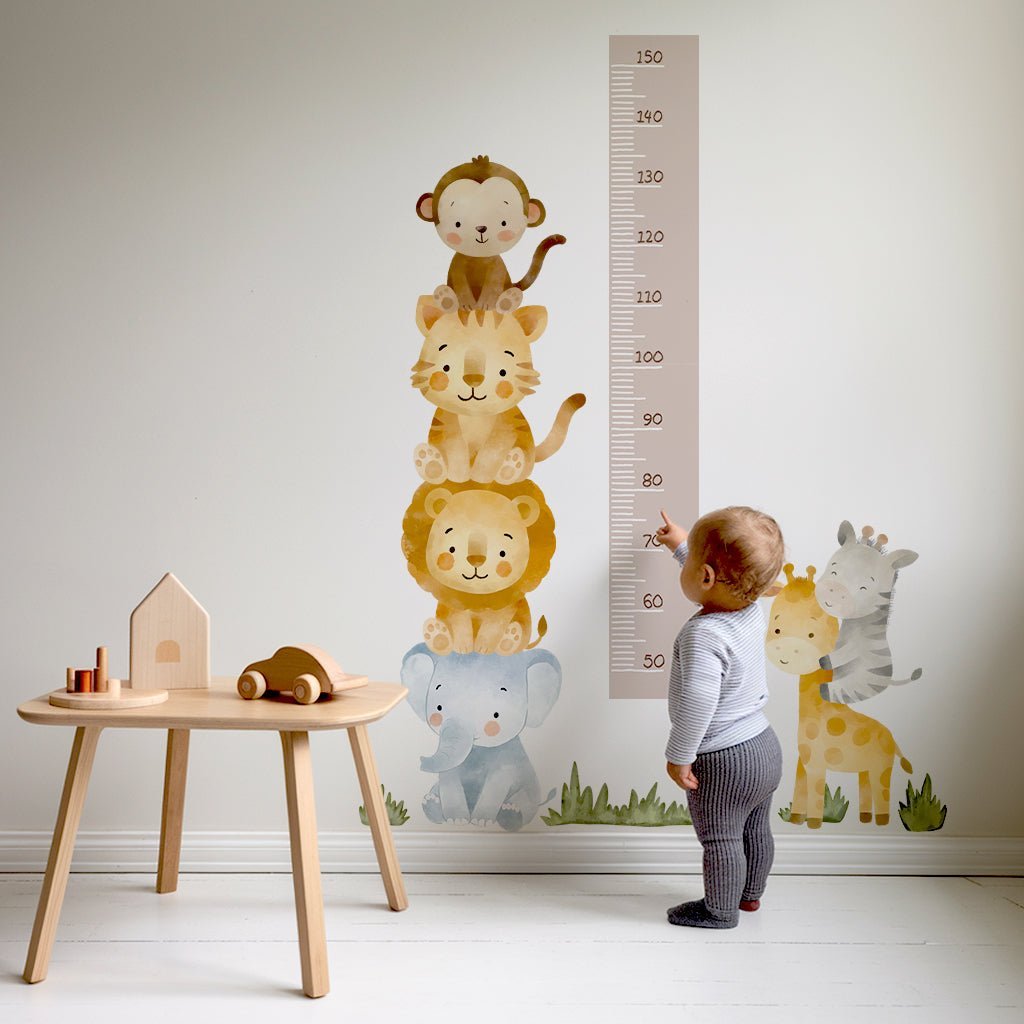
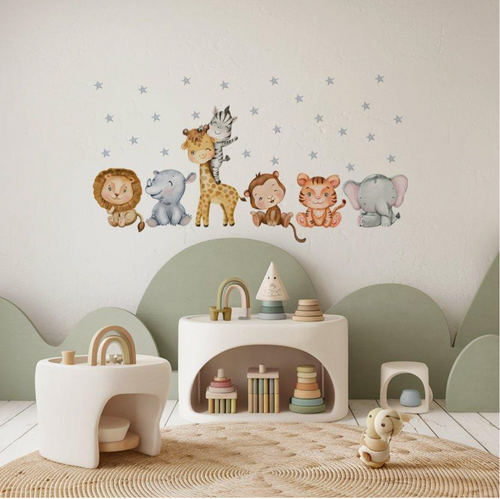
Arranging Multiple Decals: Creating Cohesive Scenes
When using several Pooh characters, Winnie, Piglet, Tigger, and Eeyore, strategic placement makes the difference between "charming" and "cluttered." Thoughtful arrangement creates visual storytelling that enhances your nursery's atmosphere.
Visual Balance Techniques
Use the rule of odd numbers, groups of three or five feel more naturally balanced than pairs or even numbers. If you have four characters, arrange three in a visual grouping and place the fourth as a secondary accent elsewhere in the room. This creates visual rhythm without overwhelming the space.
Creating Narrative Flow
Rather than scattering characters randomly, imagine a path through the room. Arrange characters as if they're walking across the wall toward a focal point like a window or cot, or ascending a "climb" up one wall. This storytelling element makes the room feel intentional and engaging. For more inspiration, the Sleepy Bear Nursery Wall Sticker can be a delightful addition to your scene arrangement.
Height and Size Variation
Stagger character heights, some higher, some lower, to create visual interest and rhythm. A small Piglet peeking out from behind a large Pooh character creates depth and playfulness. Leave breathing room between elements so the eye travels comfortably around the room without feeling overwhelmed.
Coordinating Pooh Decals with 2025 Nursery Trends
This year's nursery design is moving toward spaces with warmth, personality, and layered textures. Winnie the pooh decals for walls fit beautifully into this shift away from stark, minimalist all-white rooms toward more lived-in, comfortable environments.
Earthy, Warm Colour Palettes
Current trends favour sage green, warm terracotta, and soft clay tones. Rather than placing Pooh decals on white walls, pair them with these warm backgrounds. A soft sage wall with Pooh and friends creates instant cosiness whilst feeling current and thoughtfully designed.
Texture and Pattern Layering
Your winnie the pooh sticker collection becomes part of a larger sensory experience when combined with boucle furniture, woven wall hangings, and textured rugs. This approach makes the room feel curated rather than relying on decals alone to carry the design weight.
Nature-Inspired Design Integration
Pooh's Hundred Acre Wood setting aligns perfectly with the current emphasis on nature, greenery, and organic shapes. Pair Pooh decals with botanical elements, wooden furniture, and natural textures to feel completely contemporary whilst maintaining the timeless charm of these beloved characters.
Removing and Repositioning: The Flexibility Advantage

The greatest advantage of quality removable decals is exactly that, they're genuinely removable without damage or residue. This flexibility sets winnie the pooh decals for walls apart from permanent decorating solutions.
Immediate Repositioning
If you've just applied a decal and realised it's slightly off-position, you have approximately 24 hours to reposition without damage. Simply lift an edge gently and reapply. After 24 hours, the adhesive sets more firmly, making repositioning trickier but still possible with careful technique.
Proper Removal Technique
For set decals, carefully lift a corner using your fingernail or plastic scraper, never metal tools that can damage paint. Work slowly around edges, peeling at a shallow angle rather than pulling straight out from the wall. The slower you go, the less likely you are to tear the decal or leave residue.
Handling Residue
If any adhesive remains, apply a small amount of rubbing alcohol on a soft cloth and gently rub in circular motions. Test on an inconspicuous area first. Allow complete drying before repainting or applying new decals. Quality removable vinyl should leave minimal to no residue when properly removed.
Troubleshooting Common Decal Problems
Even with careful application, occasional issues arise. Most problems have straightforward solutions when addressed promptly and correctly.
Bubbles and Wrinkles
If you notice air pockets shortly after applying your winnie the pooh sticker, use a squeegee or plastic card to gently push air toward the nearest edge. Work slowly to avoid tearing. For stubborn bubbles, carefully lift that section, smooth it down again, and resqueegee. For tiny persistent bubbles after 24 hours, poke a small hole with a pin and smooth, the hole will be invisible.
For more troubleshooting tips and expert advice, read this complete guide to the best wall stickers for nursery.
Edge Peeling Problems
Peeling edges usually indicate insufficient wall cleaning or inadequate edge pressure during application. For fresh decals, press edges firmly with your squeegee, paying extra attention to corners. If peeling occurs after weeks or months, it's natural adhesion weakening, time for a refresh.
Difficult Wall Surfaces
Dark or textured walls can challenge adhesion. Clean thoroughly, ensure complete dryness, and consider fabric decals instead of vinyl for textured surfaces. Alternatively, apply thin primer to create a smooth landing pad for your decal without repainting the entire wall.
Making Pooh Decals Work in Rentals
Removable decals eliminate decoration guilt in rental properties. winnie the pooh decals for walls become your design superpower where painting restrictions limit traditional decorating options.
Renters' Protection Strategy
Photograph walls before applying decals for move-out protection. Keep packaging and instructions accessible for future reference. Remove decals at least one week before moving to address any residue issues before inspection. This preparation prevents security deposit complications.
Experimental Design Freedom
Layer multiple decal designs without commitment, start with Pooh characters, add nature elements, introduce seasonal accents. If one design isn't working, remove it and try something else. This experimental freedom is impossible with paint or wallpaper. For a playful accent, try the Mini Teddy Bear Nursery Wall Stickers to add variety to your space.
Adapting to Growing Interests
Your toddler's Pooh obsession at age two might shift to dinosaurs by age four. Remove Pooh decals and apply new designs without wall damage, budget strain, or major disruption. This flexibility proves invaluable for evolving family needs.
Quality Indicators: What to Look For

Not all winnie the pooh decals for walls offer equal quality, and price alone doesn't guarantee performance. Understanding quality markers helps you choose decals that last years and remove cleanly.
Material Composition
Premium removable decals use high-grade vinyl or fabric specifically formulated for firm adhesion with clean release. Budget options often use thinner materials that tear easily or adhesives that either won't stick properly or leave residue. At Nursery Stickers, we use premium removable vinyl and fabric, printed locally for quality assurance and environmental responsibility.
Print Quality and Licensing
Quality decals maintain vibrant colours and sharp detail through superior inks. Cheaper alternatives appear faded or blurry, particularly on fine details like character features. Officially licensed Disney designs ensure authentic artwork and proper character representation, the difference between "definitely Pooh" and "almost like Pooh." For a statement piece, the Moon & Bear Height Chart Nursery Wall Sticker combines playful design with practical function.
| Quality Factor | Premium Decals | Budget Options | Nursery Stickers |
|---|---|---|---|
| Material | High-grade removable vinyl/fabric | Thin, basic adhesive | Premium removable vinyl, UK-printed |
| Print Quality | Vibrant, sharp detail | Faded, potentially blurry | Professional-grade inks, crisp detail |
| Licensing | Official Disney approval | Often unlicensed | Fully licensed authentic designs |
| Warranty | 30-60 day returns | Limited/no warranty | 60-day satisfaction guarantee |
| Removal | Clean, no residue | May leave marks/residue | Zero residue guarantee |
Warranty and Support
Reputable brands offer reasonable return windows (30-60 days) and warranty against manufacturing defects. Companies unwilling to accept returns of defective products signal low confidence in their quality standards. For more information on what to look for, read the ultimate guide to nursery room wall decals.
Design Inspiration: Styling for Different Aesthetics
Winnie the Pooh's timeless appeal adapts to multiple design directions. Rather than limiting Pooh to "classic nursery only," consider these contemporary styling approaches that make winnie the pooh sticker collections feel current and sophisticated.
Warm, Earthy Modern
Pair Pooh decals with sage green or warm terracotta walls, natural wood furniture, and woven textures for a modern yet cosy look. Add a few botanical prints or a rattan light fixture to complete the vibe. This approach feels fresh and inviting, perfect for families who want a nursery that grows with their child.
Scandi Minimalist
Opt for a neutral palette, think soft greys, whites, and pale woods. Use a single large Pooh decal as a focal point above the cot, keeping the rest of the decor simple and uncluttered. This style is ideal for those who love a calm, airy space with a playful touch.
Storybook Whimsy
Layer Pooh decals with other woodland creatures, trees, and clouds to create a mural effect. Mix in patterned textiles, fairy lights, and vintage-inspired furniture for a magical, storybook feel. This look encourages imagination and makes bedtime stories come alive.
Gender-Neutral Approach
Choose decals in soft yellows, greens, and creams, and pair with simple geometric patterns or monochrome accessories. This creates a welcoming space for any child and makes it easy to update the room as interests change.
Frequently Asked Questions
What are the main benefits of using Winnie the Pooh wall decals compared to traditional paint or wallpaper in nurseries?
Winnie the Pooh wall decals offer a commitment-free way to decorate, allowing you to create a beautiful focal point without the permanence of paint or wallpaper. They’re quick to apply and easy to remove or reposition, making them ideal for adapting the nursery as your child’s tastes change.
What types of Winnie the Pooh wall decals are available, and how do they differ in terms of material, application, and durability?
Winnie the Pooh decals come mainly in peel-and-stick vinyl, fabric, and removable adhesive varieties. Vinyl decals are easy to apply and reposition, fabric decals add texture and a soft finish, while all types are designed to be durable yet removable without damaging walls, giving you flexible options depending on your style and wall surface.
How can I prepare my walls properly to ensure the best application and longevity of Winnie the Pooh decals?
To prepare your walls, make sure they’re clean, dry, and smooth, wipe away dust or grease with a gentle cleaner and avoid textured surfaces. This helps decals stick well and last longer, ensuring a smooth, bubble-free finish that’s easy to reposition if needed.
Are Winnie the Pooh decals suitable for rental spaces, and what makes them a flexible decorating option for growing children?
Yes, Winnie the Pooh decals are perfect for rentals because they remove cleanly without leaving residue or damaging walls. Their easy application and removability mean you can refresh your child’s room as their interests evolve, making decorating stress-free and adaptable throughout childhood.